Garmin GPSMAP 6012 Owner's Manual - Page 69
Top Right, Bottom Left, Bottom Right, Charts, Data Bars, Cruising, Data Bar Setup, Top Left
 |
View all Garmin GPSMAP 6012 manuals
Add to My Manuals
Save this manual to your list of manuals |
Page 69 highlights
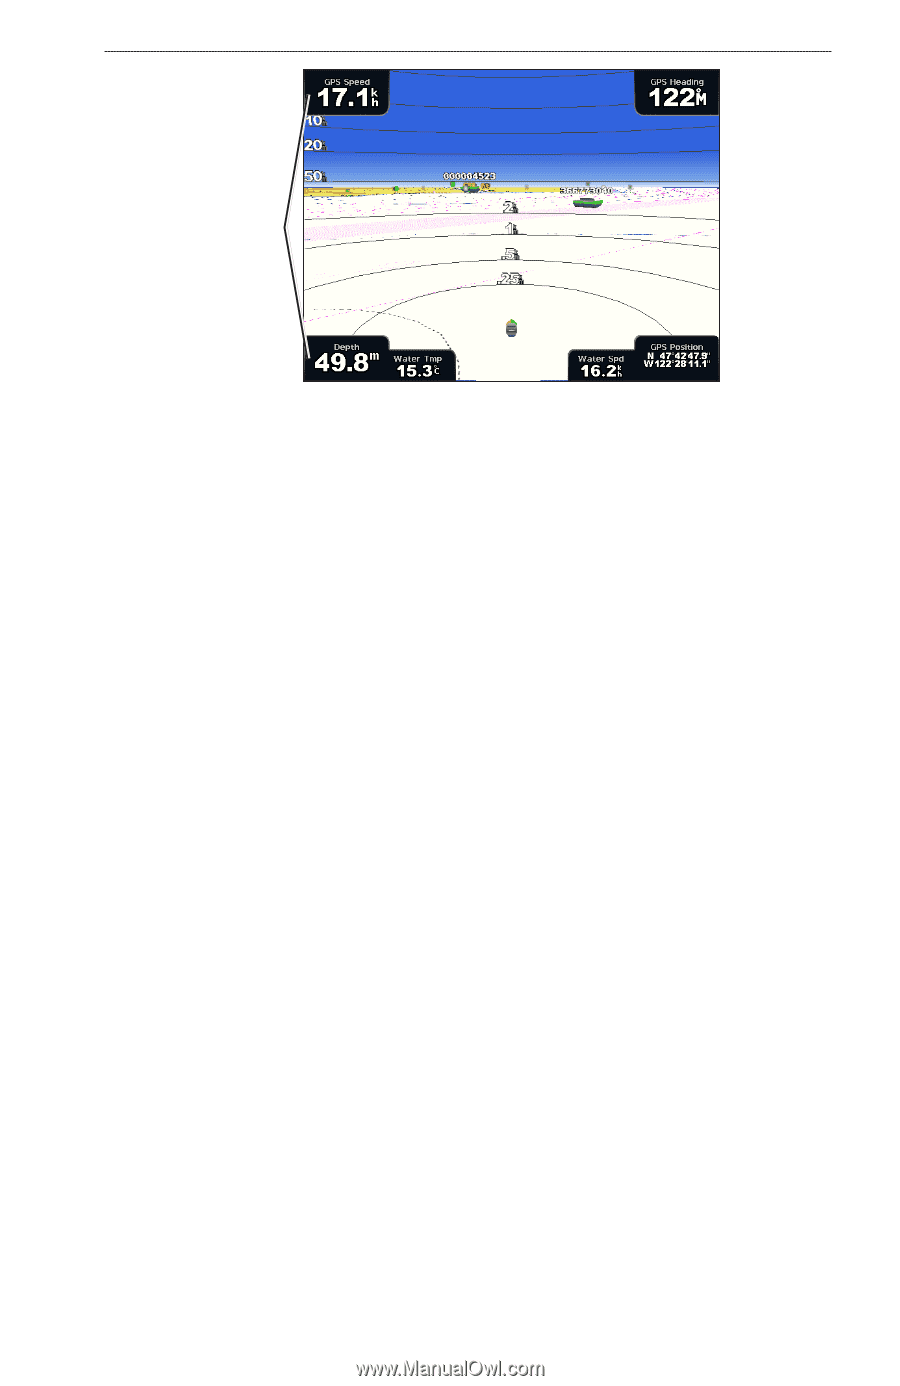
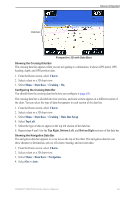
Device Configuration Data bars Perspective 3D with Data Bars Showing the Cruising Data Bar The cruising data bar appears while you are navigating to a destination. It shows GPS speed, GPS heading, depth, and GPS position data. 1. From the Home screen, select Charts. 2. Select a chart or a 3D chart view. 3. Select Menu > Data Bars > Cruising > On. Configuring the Cruising Data Bar You should show the cruising data bar before you configure it (page 63). The cruising data bar is divided into four sections, and each section appears in a different corner of the chart. You can select the type of data that appears in each section of the data bar. 1. From the Home screen, select Charts. 2. Select a chart or a 3D chart view. 3. Select Menu > Data Bars > Cruising > Data Bar Setup. 4. Select Top Left. 5. Select the type of data to appear in the top left section of the data bar. 6. Repeat steps 4 and 5 for the Top Right, Bottom Left, and Bottom Right sections of the data bar. Showing the Navigation Data Bar The navigation data bar appears in a row across the top of the chart. The navigation data bar can show distance to destination, arrival, off-course, bearing, and next turn data. 1. From the Home screen, select Charts. 2. Select a chart or a 3D chart view. 3. Select Menu > Data Bars > Navigation. 4. Select On or Auto. GPSMAP® 6000/7000 Series Owner's Manual 63
-
 1
1 -
2
-
3
-
4
-
5
-
6
-
7
-
8
-
9
-
10
-
11
-
12
-
13
-
14
-
15
-
16
-
17
-
18
-
19
-
20
-
21
-
22
-
23
-
24
-
25
-
26
-
27
-
28
-
29
-
30
-
31
-
32
-
33
-
34
-
35
-
36
-
37
-
38
-
39
-
40
-
41
-
42
-
43
-
44
-
45
-
46
-
47
-
48
-
49
-
50
-
51
-
52
-
53
-
54
-
55
-
56
-
57
-
58
-
59
-
60
-
61
-
62
-
63
-
 64
64 -
 65
65 -
 66
66 -
 67
67 -
 68
68 -
 69
69 -
 70
70 -
 71
71 -
 72
72 -
 73
73 -
 74
74 -
75
-
76
-
77
-
78
-
79
-
80
-
81
-
82
-
83
-
84
-
85
-
86
-
87
-
88
-
89
-
90
-
91
-
92
-
93
-
94
-
95
-
96
-
97
-
98
-
99
-
100
-
101
-
102
-
103
-
104
-
105
-
106
-
107
-
108
-
109
-
110
-
111
-
112
-
113
-
114
-
115
-
116
-
117
-
118
-
119
-
120
-
121
-
122
-
123
-
124
-
125
-
126
-
127
-
128
-
129
-
130
-
131
-
132
 |
 |