Canon PowerShot G5 X Camera User Guide - Page 136
Sending to a Smartphone Assigned to the, Button
 |
View all Canon PowerShot G5 X manuals
Add to My Manuals
Save this manual to your list of manuals |
Page 136 highlights
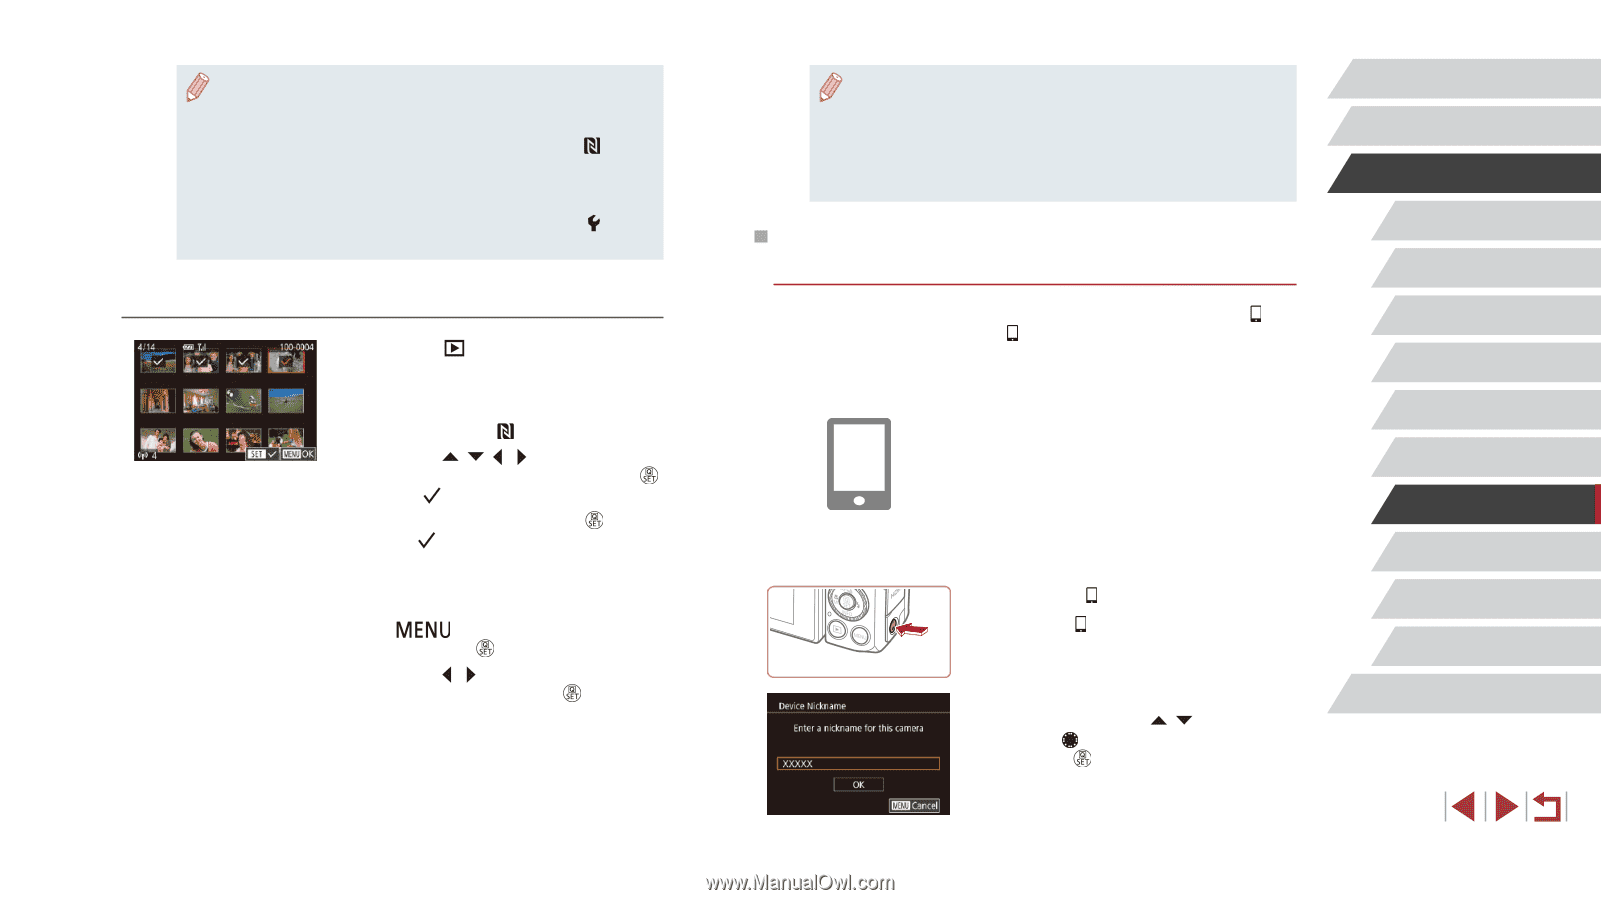
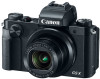
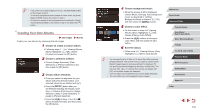
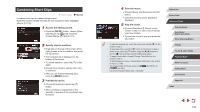
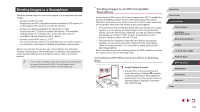
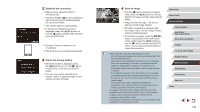
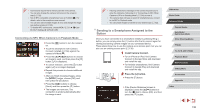
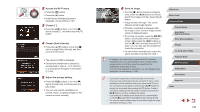
●● Connections require that a memory card be in the camera. ●● You can also change the camera nickname on the screen in step 2 (=32). ●● Not all NFC-compatible smartphones have an N-Mark ( ). For details, refer to the smartphone user manual. ●● You can also send multiple images at once and change the image size before sending (=150). ●● To disable NFC connections, choose MENU (=31) ► [ 4] tab ► [Wi-Fi Settings] ► [NFC] ► [Off]. Connecting via NFC When Camera Is in Playback Mode zzPress the [ ] button to turn the camera on. zzTouch the smartphone with Camera Connect installed (=134) against the camera's N-Mark ( ). zzPress the buttons to choose an image to send, and then press the [ ] button. [ ] is displayed. zzTo cancel selection, press the [ ] button again. [ ] is no longer displayed. zzRepeat this process to choose additional images. zzAfter you finish choosing images, press the [ ] button, choose [OK], and then press the [ ] button. zzPress the [ ][ ] buttons to choose [Send], and then press the [ ] button. zzThe images are now sent. The connection is ended automatically after the image is sent. ●● If during connection a message on the camera requests you to enter the nickname, follow step 2 in "Connecting via NFC When Camera Is Off or in Shooting Mode" (= 134) to enter it. ●● The camera does not keep a record of smartphones you connect to via NFC in Playback mode. ●● You can preset images to transfer at your desired size (=152). Sending to a Smartphone Assigned to the Button Once you have connected to a smartphone initially by pressing the [ ] button, you can simply press the [ ] button after that to connect again for viewing and saving camera images on your connected device. These steps show how to use the camera as an access point, but you can also use an existing access point (=139). 1 Install Camera Connect. zzFor an iPhone or iPad, find Camera Connect in the App Store and download and install the app. zzFor Android smartphones, find Camera Connect in Google Play and download and install the app. 2 Press the [ ] button. zzPress the [ ] button. zzIf the [Device Nickname] screen is displayed, press the [ ][ ] buttons or turn the [ ] dial to choose [OK], and then press the [ ] button. Before Use Basic Guide Advanced Guide Camera Basics Auto Mode / Hybrid Auto Mode Other Shooting Modes P Mode Tv, Av, M, and C Mode Playback Mode Wi-Fi Functions Setting Menu Accessories Appendix Index 136
-
 1
1 -
2
-
3
-
4
-
5
-
6
-
7
-
8
-
9
-
10
-
11
-
12
-
13
-
14
-
15
-
16
-
17
-
18
-
19
-
20
-
21
-
22
-
23
-
24
-
25
-
26
-
27
-
28
-
29
-
30
-
31
-
32
-
33
-
34
-
35
-
36
-
37
-
38
-
39
-
40
-
41
-
42
-
43
-
44
-
45
-
46
-
47
-
48
-
49
-
50
-
51
-
52
-
53
-
54
-
55
-
56
-
57
-
58
-
59
-
60
-
61
-
62
-
63
-
64
-
65
-
66
-
67
-
68
-
69
-
70
-
71
-
72
-
73
-
74
-
75
-
76
-
77
-
78
-
79
-
80
-
81
-
82
-
83
-
84
-
85
-
86
-
87
-
88
-
89
-
90
-
91
-
92
-
93
-
94
-
95
-
96
-
97
-
98
-
99
-
100
-
101
-
102
-
103
-
104
-
105
-
106
-
107
-
108
-
109
-
110
-
111
-
112
-
113
-
114
-
115
-
116
-
117
-
118
-
119
-
120
-
121
-
122
-
123
-
124
-
125
-
126
-
127
-
128
-
129
-
130
-
 131
131 -
 132
132 -
 133
133 -
 134
134 -
 135
135 -
 136
136 -
 137
137 -
 138
138 -
 139
139 -
 140
140 -
 141
141 -
142
-
143
-
144
-
145
-
146
-
147
-
148
-
149
-
150
-
151
-
152
-
153
-
154
-
155
-
156
-
157
-
158
-
159
-
160
-
161
-
162
-
163
-
164
-
165
-
166
-
167
-
168
-
169
-
170
-
171
-
172
-
173
-
174
-
175
-
176
-
177
-
178
-
179
-
180
-
181
-
182
-
183
-
184
-
185
-
186
-
187
-
188
-
189
-
190
-
191
-
192
-
193
-
194
-
195
-
196
-
197
-
198
-
199
-
200
-
201
-
202
-
203
-
204
-
205
-
206
-
207
-
208
-
209
-
210
-
211
-
212
-
213
-
214
-
215
-
216
-
217
 |
 |