Canon PowerShot G5 X Camera User Guide - Page 177
Installing the Software
 |
View all Canon PowerShot G5 X manuals
Add to My Manuals
Save this manual to your list of manuals |
Page 177 highlights
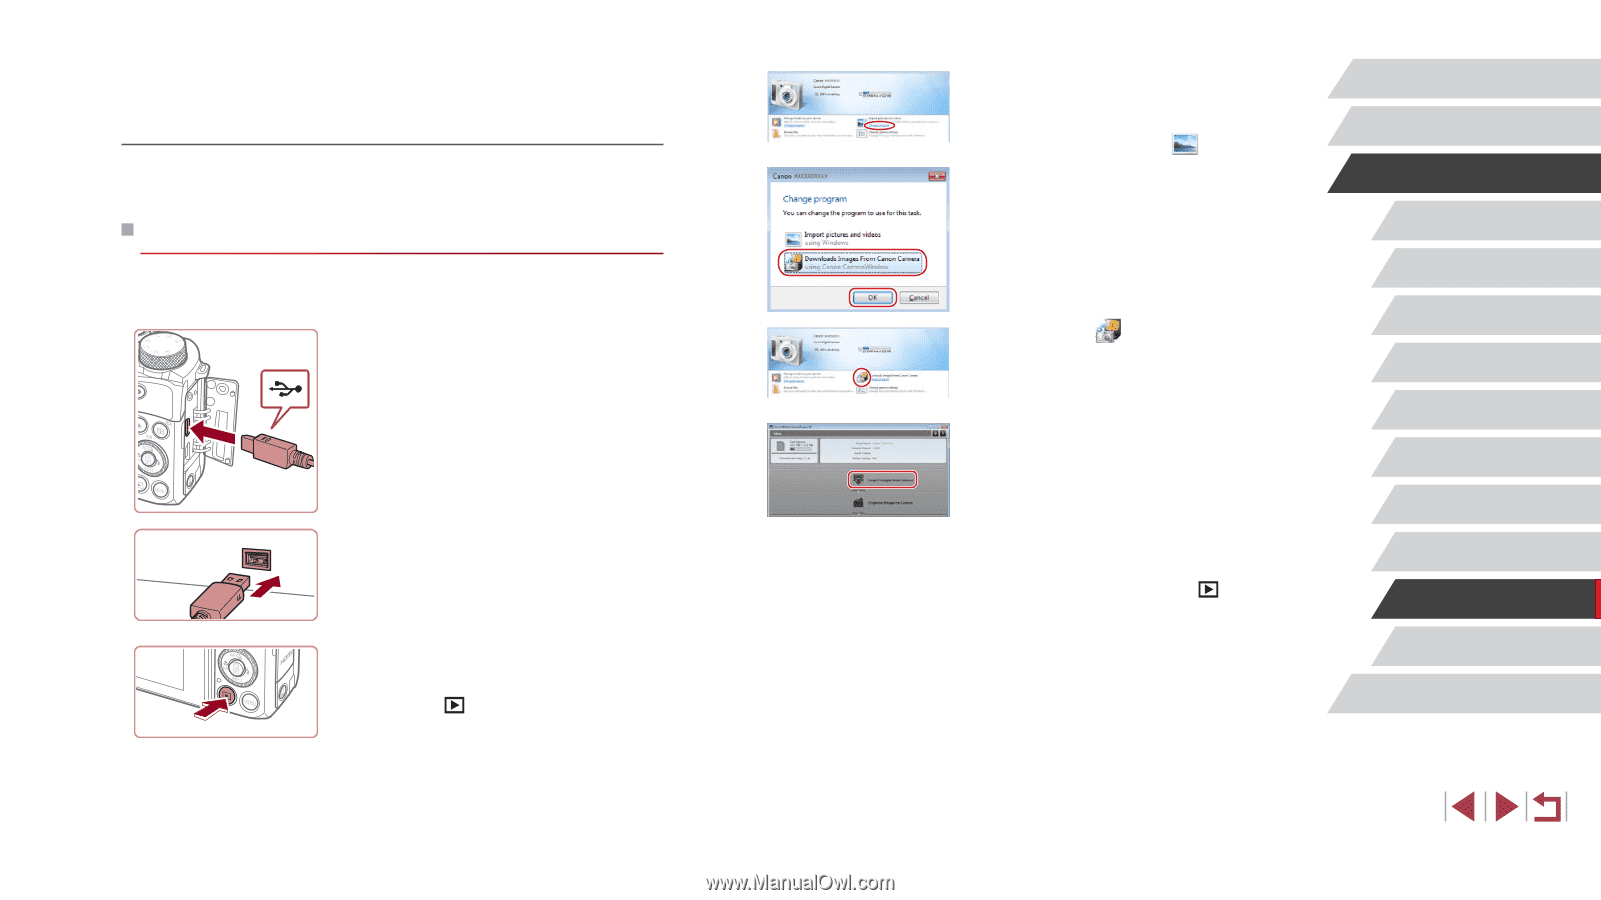
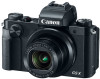
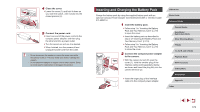
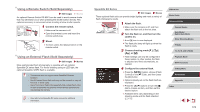
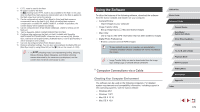
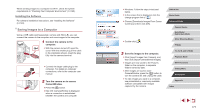
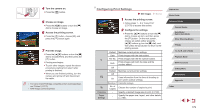
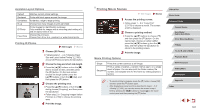
When sending images to a computer via Wi-Fi, check the system requirements in "Checking Your Computer Environment" (= 140). Installing the Software For software installation instructions, see "Installing the Software" (= 140). Saving Images to a Computer Using a USB cable (sold separately; camera end: Micro-B), you can connect the camera to the computer and save images to the computer. 1 Connect the camera to the computer. zzWith the camera turned off, open the cover. With the smaller plug of the cable in the orientation shown, insert the plug fully into the camera terminal. zzConnect the larger cable plug to the computer. For details on computer connections, refer to the computer user manual. 2 Turn the camera on to access CameraWindow. zzPress the [ ] button. zzMac OS: CameraWindow is displayed when a connection is established between the camera and computer. zzWindows: Follow the steps introduced below. zzIn the screen that is displayed, click the change program link of [ ]. zzChoose [Downloads Images From Canon Camera] and then click [OK]. zzDouble-click [ ]. 3 Save the images to the computer. zzClick [Import Images from Camera], and then click [Import Untransferred Images]. zzImages are now saved to the Pictures folder on the computer, in separate folders named by date. zzAfter images are saved, close CameraWindow, press the [ ] button to turn the camera off, and unplug the cable. zzTo view images you save to a computer, use preinstalled or commonly available software compatible with images captured by the camera. Before Use Basic Guide Advanced Guide Camera Basics Auto Mode / Hybrid Auto Mode Other Shooting Modes P Mode Tv, Av, M, and C Mode Playback Mode Wi-Fi Functions Setting Menu Accessories Appendix Index 177
-
 1
1 -
2
-
3
-
4
-
5
-
6
-
7
-
8
-
9
-
10
-
11
-
12
-
13
-
14
-
15
-
16
-
17
-
18
-
19
-
20
-
21
-
22
-
23
-
24
-
25
-
26
-
27
-
28
-
29
-
30
-
31
-
32
-
33
-
34
-
35
-
36
-
37
-
38
-
39
-
40
-
41
-
42
-
43
-
44
-
45
-
46
-
47
-
48
-
49
-
50
-
51
-
52
-
53
-
54
-
55
-
56
-
57
-
58
-
59
-
60
-
61
-
62
-
63
-
64
-
65
-
66
-
67
-
68
-
69
-
70
-
71
-
72
-
73
-
74
-
75
-
76
-
77
-
78
-
79
-
80
-
81
-
82
-
83
-
84
-
85
-
86
-
87
-
88
-
89
-
90
-
91
-
92
-
93
-
94
-
95
-
96
-
97
-
98
-
99
-
100
-
101
-
102
-
103
-
104
-
105
-
106
-
107
-
108
-
109
-
110
-
111
-
112
-
113
-
114
-
115
-
116
-
117
-
118
-
119
-
120
-
121
-
122
-
123
-
124
-
125
-
126
-
127
-
128
-
129
-
130
-
131
-
132
-
133
-
134
-
135
-
136
-
137
-
138
-
139
-
140
-
141
-
142
-
143
-
144
-
145
-
146
-
147
-
148
-
149
-
150
-
151
-
152
-
153
-
154
-
155
-
156
-
157
-
158
-
159
-
160
-
161
-
162
-
163
-
164
-
165
-
166
-
167
-
168
-
169
-
170
-
171
-
 172
172 -
 173
173 -
 174
174 -
 175
175 -
 176
176 -
 177
177 -
 178
178 -
 179
179 -
 180
180 -
 181
181 -
 182
182 -
183
-
184
-
185
-
186
-
187
-
188
-
189
-
190
-
191
-
192
-
193
-
194
-
195
-
196
-
197
-
198
-
199
-
200
-
201
-
202
-
203
-
204
-
205
-
206
-
207
-
208
-
209
-
210
-
211
-
212
-
213
-
214
-
215
-
216
-
217
 |
 |