Dell 1815dn User's Guide - Page 109
Scanning Using the Default Settings, Scanning Using My Settings - scan to pdf
 |
UPC - 000061100008
View all Dell 1815dn manuals
Add to My Manuals
Save this manual to your list of manuals |
Page 109 highlights
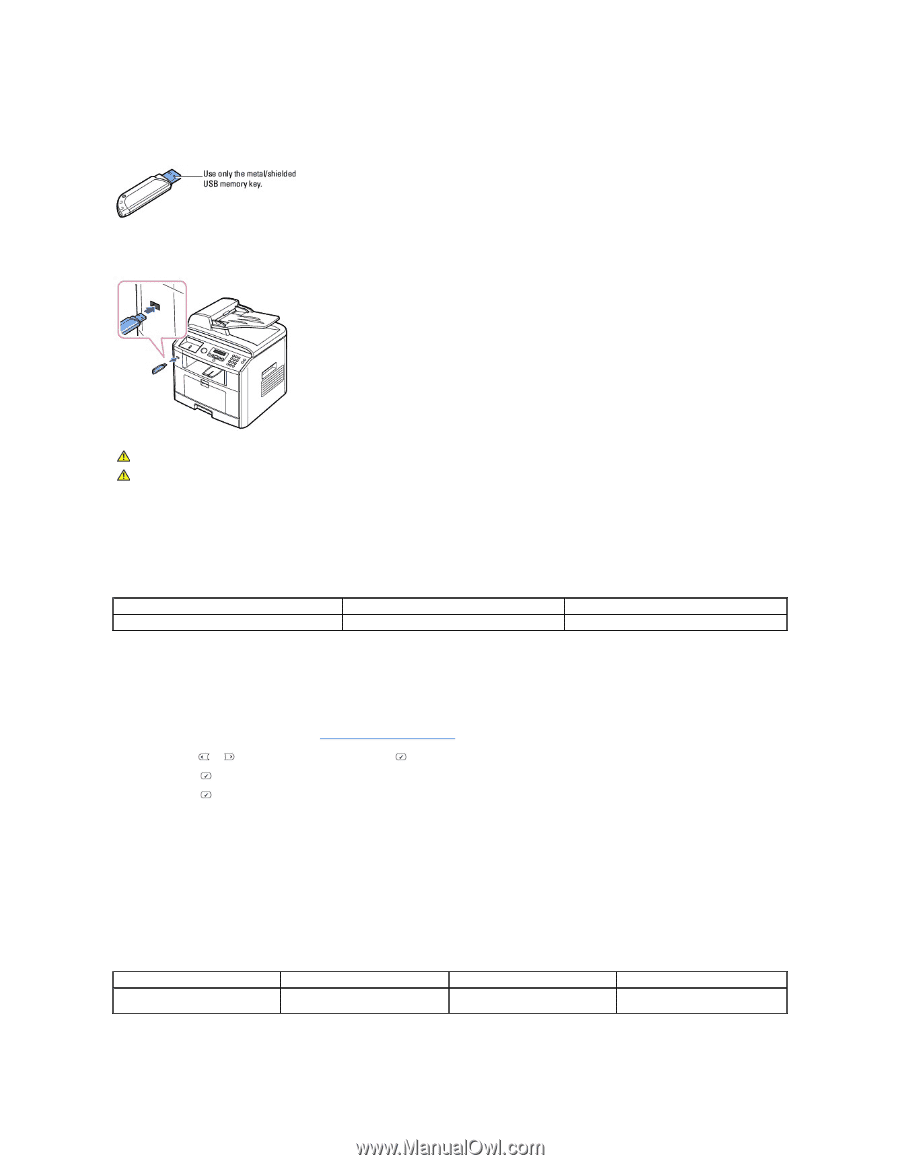
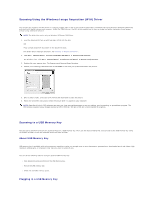
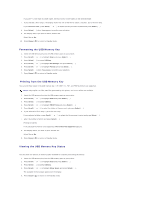
The USB memory port on the front of your printer is designed for USB V1.1 and USB V2.0 memory. You must use only an authorized USB memory key whose connector style is A Plug Type. Insert a USB memory key into the USB memory port on the front of your printer. CAUTION: Do not remove the USB memory key while the printer is in operation. This may damage your printer. CAUTION: If your USB memory key has certain features, such as security settings and password settings, your printer may not automatically detect it. For details about these features, see the User's Guide which came with your USB memory key. Scanning Using the Default Settings The following table shows the default settings. Image Size Letter (USA), A4 (UK) Version JPEG Resolution 200 dpi 1. Insert the USB memory key into the USB memory port on your printer. 2. Load the document(s) face up with top edge in first into the ADF. OR Place a single document face down on the document glass. For details about loading a document, see "Loading an Original Document". 3. Press Scroll ( or ) to highlight Scan and press Select ( ). 4. Press Select ( ) to access USB key. 5. Press Select ( ) to access Quick Scan. Your printer begins scanning the document and save it to your USB memory key. For the document loaded on the document glass, the display asks if you want to load another page. Select Yes to add. Otherwise, select No. The scanned documents are saved on the USB memory key . Scanning Using My Settings The following table shows the options you can select. Image Size Letter, A4, Legal, Folio, Executive, A5, A6, B5 Version JPEG, BMP, TIFF, PDF Color Color, Gray, Mono 1. Insert the USB memory key into the USB memory port on your printer. 2. Load the document(s) face up with top edge in first into the ADF. Resolution 100, 200, 300dpi
-
 1
1 -
2
-
3
-
4
-
5
-
6
-
7
-
8
-
9
-
10
-
11
-
12
-
13
-
14
-
15
-
16
-
17
-
18
-
19
-
20
-
21
-
22
-
23
-
24
-
25
-
26
-
27
-
28
-
29
-
30
-
31
-
32
-
33
-
34
-
35
-
36
-
37
-
38
-
39
-
40
-
41
-
42
-
43
-
44
-
45
-
46
-
47
-
48
-
49
-
50
-
51
-
52
-
53
-
54
-
55
-
56
-
57
-
58
-
59
-
60
-
61
-
62
-
63
-
64
-
65
-
66
-
67
-
68
-
69
-
70
-
71
-
72
-
73
-
74
-
75
-
76
-
77
-
78
-
79
-
80
-
81
-
82
-
83
-
84
-
85
-
86
-
87
-
88
-
89
-
90
-
91
-
92
-
93
-
94
-
95
-
96
-
97
-
98
-
99
-
100
-
101
-
102
-
103
-
 104
104 -
 105
105 -
 106
106 -
 107
107 -
 108
108 -
 109
109 -
 110
110 -
 111
111 -
 112
112 -
 113
113 -
 114
114 -
115
-
116
-
117
-
118
-
119
-
120
-
121
-
122
-
123
-
124
-
125
-
126
-
127
-
128
-
129
-
130
-
131
-
132
-
133
-
134
-
135
-
136
-
137
-
138
-
139
-
140
-
141
-
142
-
143
-
144
-
145
-
146
-
147
-
148
 |
 |