Dell 1815dn User's Guide - Page 44
Installing the MFP Driver - password
 |
UPC - 000061100008
View all Dell 1815dn manuals
Add to My Manuals
Save this manual to your list of manuals |
Page 44 highlights
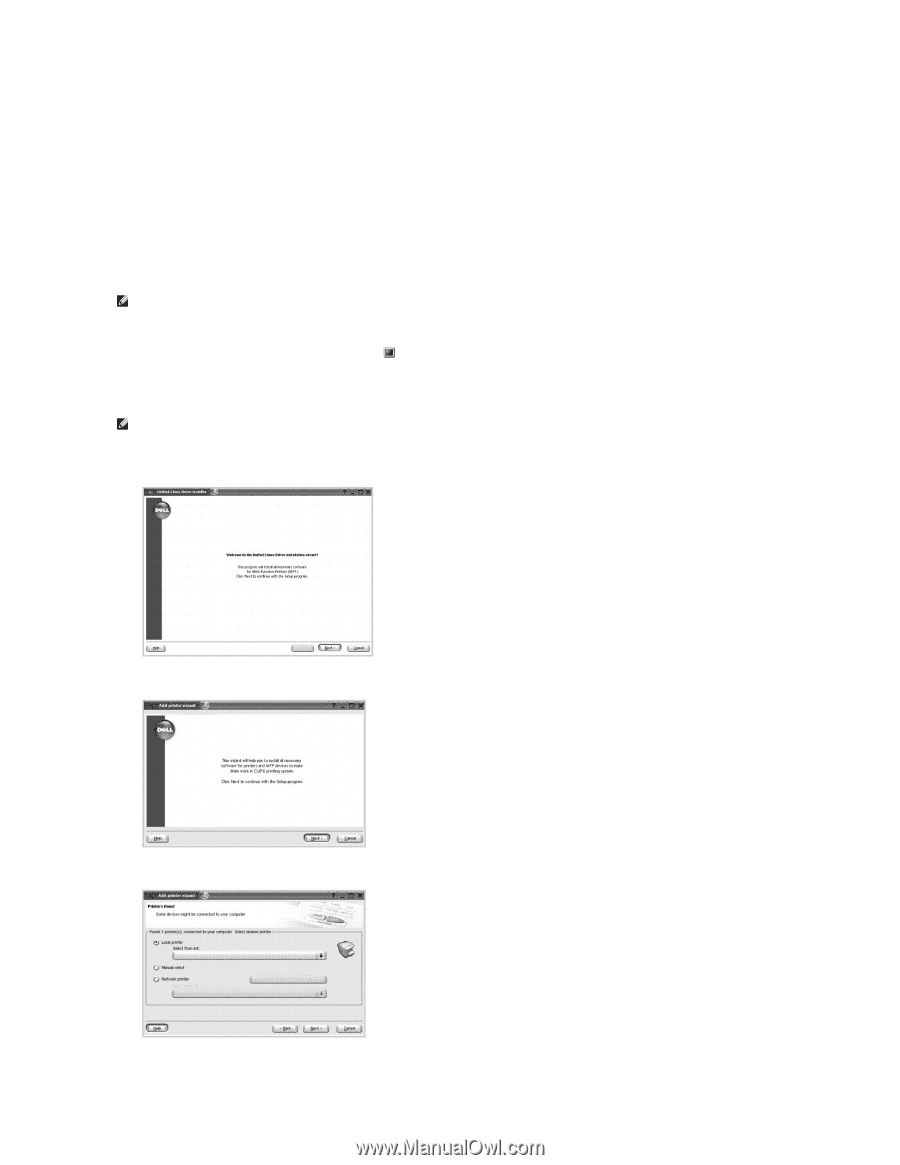
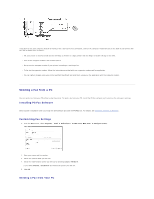
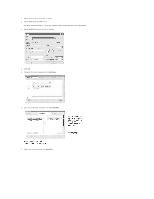
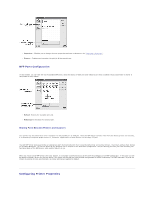
l Glibc 2.2 or higher l CUPS l SANE Installing the MFP Driver 1. Make sure that you connect your printer to your computer. Turn both the computer and the printer on. 2. When the Administrator Login window appears, type in root in the Login field and enter the system password. NOTE: You must log in as a super user (root) to install the printer software. If you are not a super user, ask your system administrator. 1. Insert the Drivers and Utilities CD. The Drivers and Utilities CD will automatically run. If the printer driver CD does not automatically run, click the icon at the bottom of the desktop. When the Terminal screen appears, type in: [root@localhost root]#cd /mnt/cdrom/Linux [root@localhost root]#./install.sh NOTE: The installation program runs automatically if you have an autorun software package installed and configured. 2. Click Install. 3. When the welcome screen appears, click Next. 4. Installation is started. When the installation is almost complete, the Add printer wizard appears automatically. Click Next. 5. If you connect your printer using the USB cable, the following window appears. Select your printer from the drop-down list and click Next.
-
 1
1 -
2
-
3
-
4
-
5
-
6
-
7
-
8
-
9
-
10
-
11
-
12
-
13
-
14
-
15
-
16
-
17
-
18
-
19
-
20
-
21
-
22
-
23
-
24
-
25
-
26
-
27
-
28
-
29
-
30
-
31
-
32
-
33
-
34
-
35
-
36
-
37
-
38
-
 39
39 -
 40
40 -
 41
41 -
 42
42 -
 43
43 -
 44
44 -
 45
45 -
 46
46 -
 47
47 -
 48
48 -
 49
49 -
50
-
51
-
52
-
53
-
54
-
55
-
56
-
57
-
58
-
59
-
60
-
61
-
62
-
63
-
64
-
65
-
66
-
67
-
68
-
69
-
70
-
71
-
72
-
73
-
74
-
75
-
76
-
77
-
78
-
79
-
80
-
81
-
82
-
83
-
84
-
85
-
86
-
87
-
88
-
89
-
90
-
91
-
92
-
93
-
94
-
95
-
96
-
97
-
98
-
99
-
100
-
101
-
102
-
103
-
104
-
105
-
106
-
107
-
108
-
109
-
110
-
111
-
112
-
113
-
114
-
115
-
116
-
117
-
118
-
119
-
120
-
121
-
122
-
123
-
124
-
125
-
126
-
127
-
128
-
129
-
130
-
131
-
132
-
133
-
134
-
135
-
136
-
137
-
138
-
139
-
140
-
141
-
142
-
143
-
144
-
145
-
146
-
147
-
148
 |
 |