HP Designjet 250c Service Manual - Page 118
Performing the Accuracy Calibration on the DesignJet 330 and 350C
 |
View all HP Designjet 250c manuals
Add to My Manuals
Save this manual to your list of manuals |
Page 118 highlights
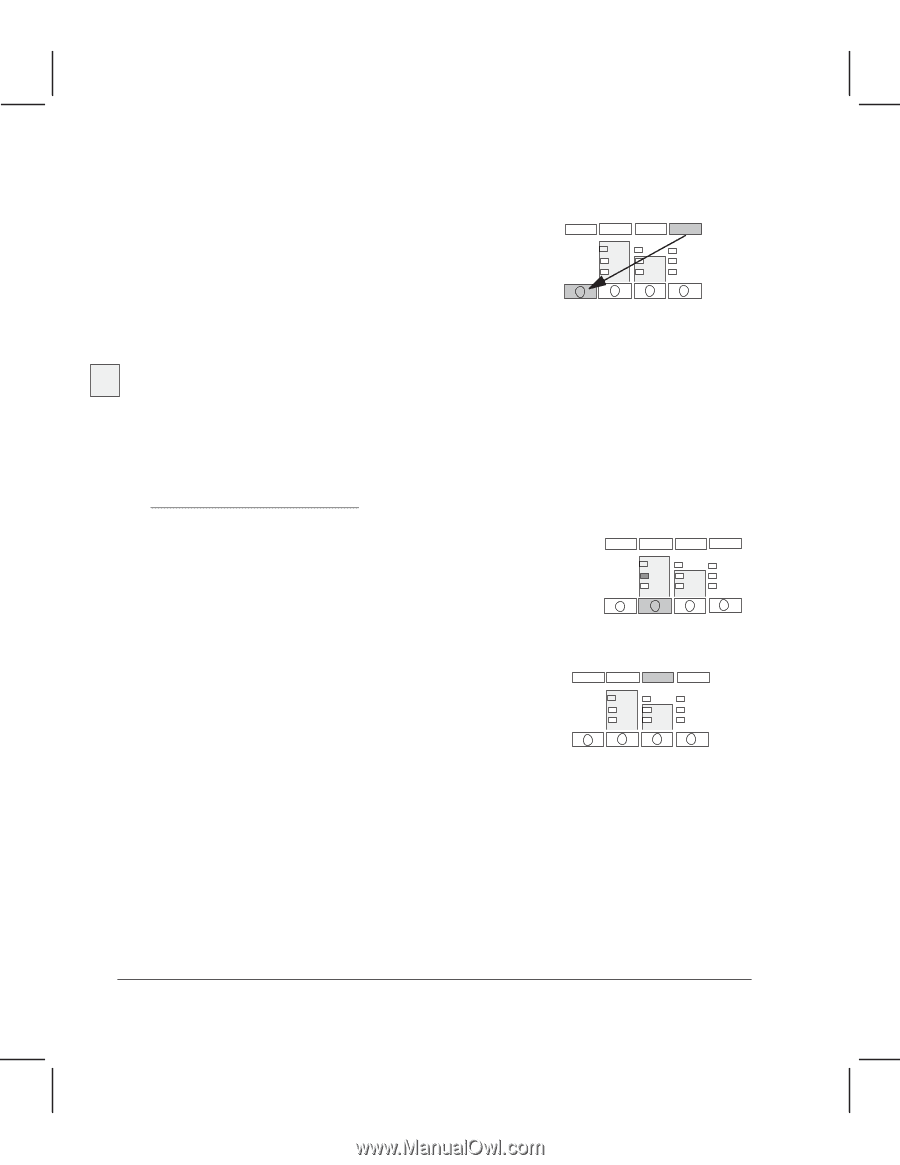
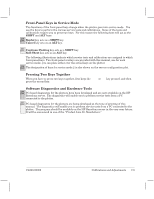
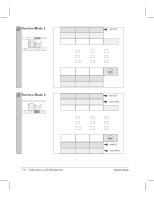
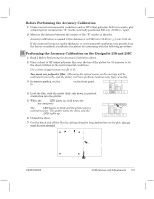
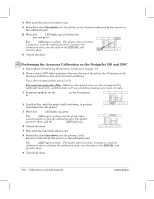
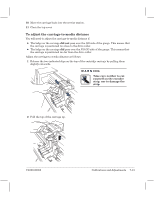
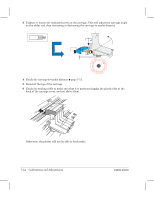
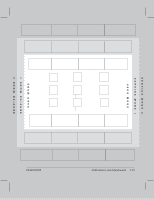
8 Wait until the ink on the sheet is dry. 9 Reload the sheet facedown into the plotter, in the direction indicated by the arrows on the calibration plot. 10 When the Ready LED lights up, hold down the SHIFT key and press Accuracy Calib. Read, The Ready LED begins to flash. The plotter takes less than 1 minute to: read the calibration sheet; calculate the calibration data; save the data in the EEROM; and eject the sheet. 11 Unload the sheet. Accuracy Calib. Read SHIFT 330 350C Performing the Accuracy Calibration on the DesignJet 330 and 350C 1 Read w Before Performing the Accuracy Calibration on page 7Ć9. 2 Place a sheet of HP inkjet polyester film over the top of the plotter for 10 minutes to let the sheet stabilize to the environmental conditions. Use a sheet of approximate size A1 or D. You must use polyester film. Otherwise the optical sensor on the carriage will be calibrated incorrectly, and the plotter will have problems loading some types of media. 3 In service mode 2, set the Media Type on the front panel to Film. Film 4 Load the film, with the matte (dull) side down, in portrait orientation into the plotter. Media Type 5 When the Ready LED lights up, press Accuracy Calibration. The Ready LED begins to flash and the plotter takes several minutes to plot the calibration plot. The plotter ejects the sheet, and the Load Media LED lights up. Accuracy Calibration 6 Unload the sheet. 7 Wait until the ink on the sheet is dry. 8 Reload the sheet facedown into the plotter, in the direction indicated by the arrows on the calibration plot. The Ready LED begins to flash. The plotter takes less than 1 minute to: read the calibration sheet; calculate the calibration data; save the data in the EEROM; and eject the sheet. 9 Unload the sheet. 7Ć10 Calibrations and Adjustments C4699Ć90000
-
 1
1 -
2
-
3
-
4
-
5
-
6
-
7
-
8
-
9
-
10
-
11
-
12
-
13
-
14
-
15
-
16
-
17
-
18
-
19
-
20
-
21
-
22
-
23
-
24
-
25
-
26
-
27
-
28
-
29
-
30
-
31
-
32
-
33
-
34
-
35
-
36
-
37
-
38
-
39
-
40
-
41
-
42
-
43
-
44
-
45
-
46
-
47
-
48
-
49
-
50
-
51
-
52
-
53
-
54
-
55
-
56
-
57
-
58
-
59
-
60
-
61
-
62
-
63
-
64
-
65
-
66
-
67
-
68
-
69
-
70
-
71
-
72
-
73
-
74
-
75
-
76
-
77
-
78
-
79
-
80
-
81
-
82
-
83
-
84
-
85
-
86
-
87
-
88
-
89
-
90
-
91
-
92
-
93
-
94
-
95
-
96
-
97
-
98
-
99
-
100
-
101
-
102
-
103
-
104
-
105
-
106
-
107
-
108
-
109
-
110
-
111
-
112
-
 113
113 -
 114
114 -
 115
115 -
 116
116 -
 117
117 -
 118
118 -
 119
119 -
 120
120 -
 121
121 -
 122
122 -
 123
123 -
124
-
125
-
126
-
127
-
128
-
129
-
130
-
131
-
132
-
133
-
134
-
135
-
136
-
137
-
138
-
139
-
140
-
141
-
142
-
143
-
144
-
145
-
146
-
147
-
148
-
149
-
150
-
151
-
152
-
153
-
154
-
155
-
156
-
157
-
158
-
159
-
160
-
161
-
162
-
163
-
164
-
165
-
166
-
167
-
168
-
169
-
170
-
171
-
172
-
173
-
174
-
175
-
176
-
177
-
178
-
179
-
180
-
181
-
182
-
183
-
184
-
185
-
186
-
187
-
188
-
189
-
190
-
191
-
192
-
193
-
194
-
195
-
196
-
197
-
198
-
199
-
200
-
201
-
202
-
203
-
204
-
205
-
206
-
207
-
208
-
209
-
210
-
211
-
212
-
213
-
214
-
215
-
216
-
217
-
218
-
219
-
220
-
221
-
222
-
223
-
224
-
225
-
226
-
227
-
228
-
229
-
230
-
231
-
232
-
233
-
234
-
235
-
236
-
237
-
238
-
239
-
240
-
241
-
242
-
243
-
244
-
245
-
246
-
247
-
248
-
249
-
250
-
251
-
252
-
253
-
254
-
255
-
256
-
257
-
258
-
259
-
260
-
261
-
262
-
263
-
264
-
265
-
266
-
267
-
268
 |
 |