HP Designjet 250c Service Manual - Page 173
Carriage Test for the DesignJet 230 and 250C, In service mode
 |
View all HP Designjet 250c manuals
Add to My Manuals
Save this manual to your list of manuals |
Page 173 highlights
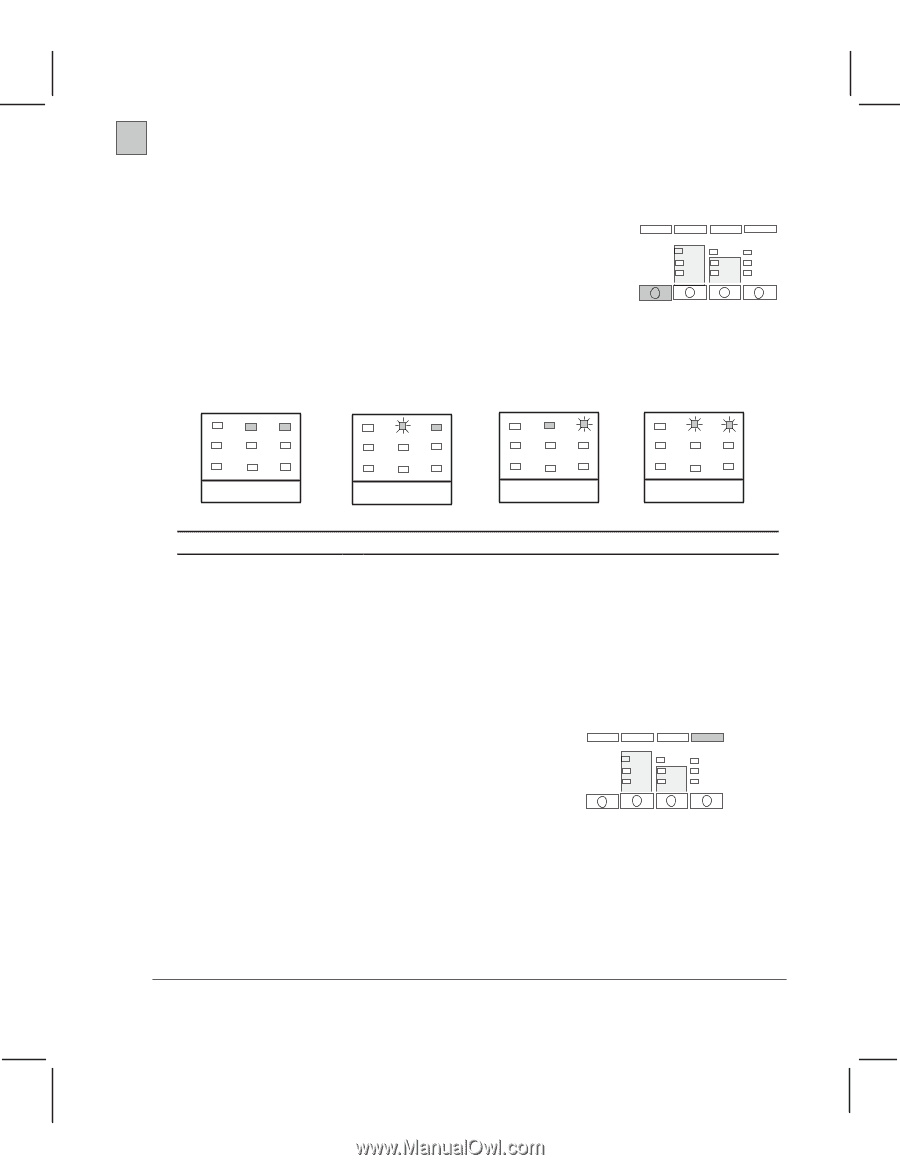
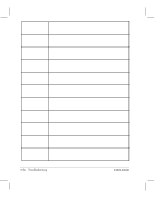
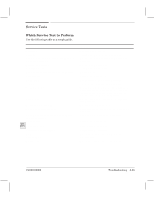
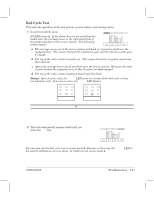
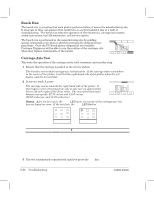
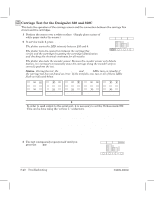
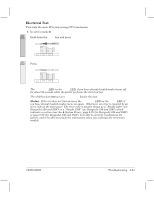
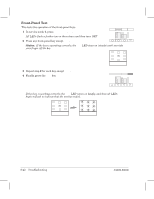
230 250C Carriage Test for the DesignJet 230 and 250C This tests the operation of the carriage sensor and the connection between the carriage flex circuit and the cartridges. 1 Position the sensor over a white surface. (Simply place a piece of white paper under the sensor.) 2 In service mode 1, press Carriage Test. The plotter varies the LED intensity between 255 and 0. The plotter tests the connection between the carriage flex circuit and the cartridges by getting the cartridge identification and checking the electrical continuity for all nozzles. Carriage Test Status. During the test, the Cartridges and Error LEDs turn on (steady) if the carriage test has not found an error. If the test fails, one or both of these LEDs flash as indicated below: Both OK Sensor Failed Flex-Circuit Connection Failed Both Failed Output to the Serial Port (Viewing Output ' 8-36) Error code: If an error has occurred in the sensor test, this code specifies more precisely what has gone wrong. Include this information in the report to your HP Response Center, if the problem cannot be fixed. Pen 0 = Cyan; Pen 1 = Magenta; Pen 2 = Yellow; Pen 3 = Black. Sensor sensitivity: The sensitivity measured during the test. The figures should vary from 255 to 0. Failure occurs when the sensitivity does not vary (for example, it stays at 255). Pen ID: If a pen does not fail, the plotter outputs the pen ID. 3 The test continuously repeats itself until you Shift press the Shift key. C4699Ć90000 Troubleshooting 8Ć39
-
 1
1 -
2
-
3
-
4
-
5
-
6
-
7
-
8
-
9
-
10
-
11
-
12
-
13
-
14
-
15
-
16
-
17
-
18
-
19
-
20
-
21
-
22
-
23
-
24
-
25
-
26
-
27
-
28
-
29
-
30
-
31
-
32
-
33
-
34
-
35
-
36
-
37
-
38
-
39
-
40
-
41
-
42
-
43
-
44
-
45
-
46
-
47
-
48
-
49
-
50
-
51
-
52
-
53
-
54
-
55
-
56
-
57
-
58
-
59
-
60
-
61
-
62
-
63
-
64
-
65
-
66
-
67
-
68
-
69
-
70
-
71
-
72
-
73
-
74
-
75
-
76
-
77
-
78
-
79
-
80
-
81
-
82
-
83
-
84
-
85
-
86
-
87
-
88
-
89
-
90
-
91
-
92
-
93
-
94
-
95
-
96
-
97
-
98
-
99
-
100
-
101
-
102
-
103
-
104
-
105
-
106
-
107
-
108
-
109
-
110
-
111
-
112
-
113
-
114
-
115
-
116
-
117
-
118
-
119
-
120
-
121
-
122
-
123
-
124
-
125
-
126
-
127
-
128
-
129
-
130
-
131
-
132
-
133
-
134
-
135
-
136
-
137
-
138
-
139
-
140
-
141
-
142
-
143
-
144
-
145
-
146
-
147
-
148
-
149
-
150
-
151
-
152
-
153
-
154
-
155
-
156
-
157
-
158
-
159
-
160
-
161
-
162
-
163
-
164
-
165
-
166
-
167
-
 168
168 -
 169
169 -
 170
170 -
 171
171 -
 172
172 -
 173
173 -
 174
174 -
 175
175 -
 176
176 -
 177
177 -
 178
178 -
179
-
180
-
181
-
182
-
183
-
184
-
185
-
186
-
187
-
188
-
189
-
190
-
191
-
192
-
193
-
194
-
195
-
196
-
197
-
198
-
199
-
200
-
201
-
202
-
203
-
204
-
205
-
206
-
207
-
208
-
209
-
210
-
211
-
212
-
213
-
214
-
215
-
216
-
217
-
218
-
219
-
220
-
221
-
222
-
223
-
224
-
225
-
226
-
227
-
228
-
229
-
230
-
231
-
232
-
233
-
234
-
235
-
236
-
237
-
238
-
239
-
240
-
241
-
242
-
243
-
244
-
245
-
246
-
247
-
248
-
249
-
250
-
251
-
252
-
253
-
254
-
255
-
256
-
257
-
258
-
259
-
260
-
261
-
262
-
263
-
264
-
265
-
266
-
267
-
268
 |
 |