HP Designjet 250c Service Manual - Page 180
PrintĆQuality Plot, Printing the Plot, Interpreting the Plot
 |
View all HP Designjet 250c manuals
Add to My Manuals
Save this manual to your list of manuals |
Page 180 highlights
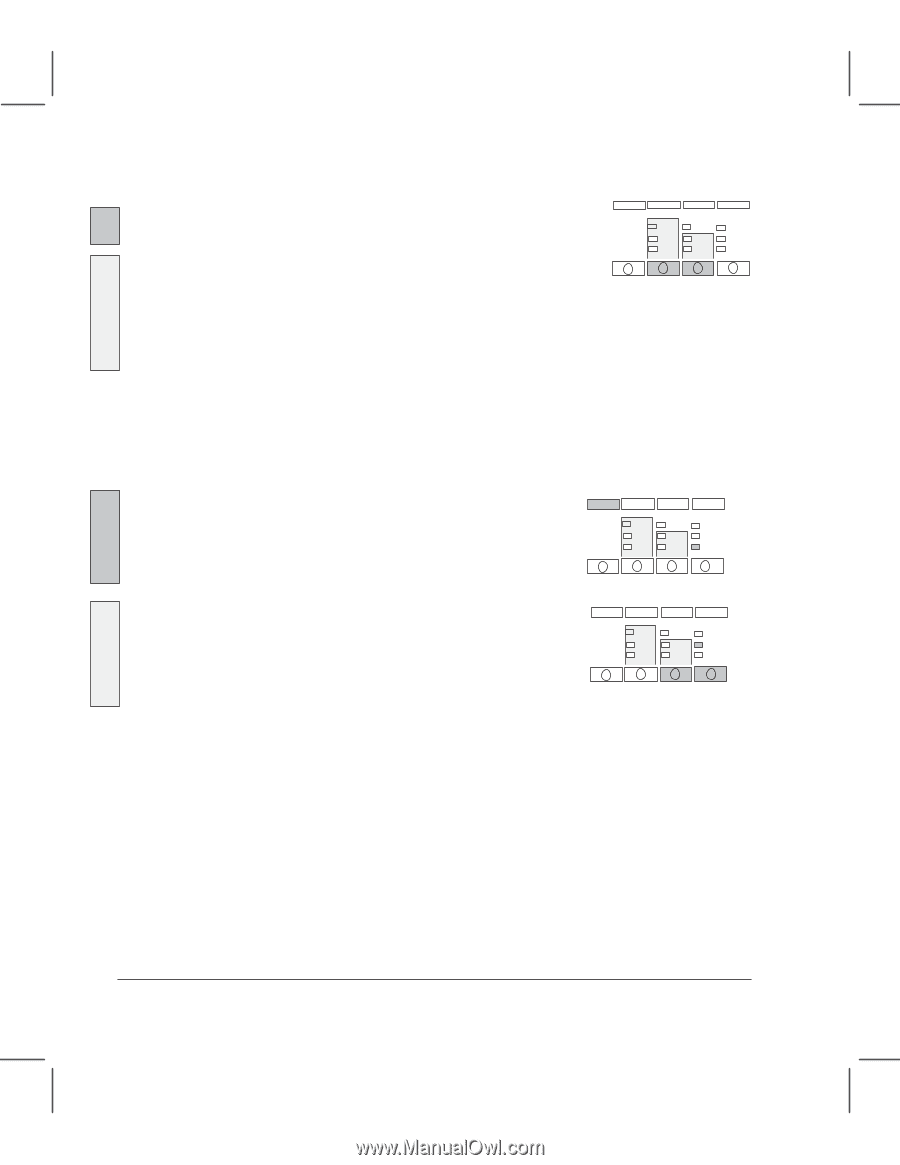
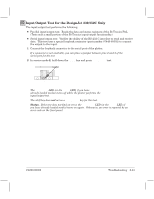
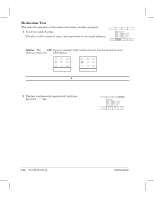
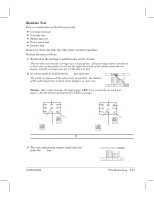
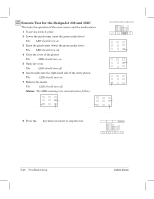
PrintĆQuality Plot Printing the Plot 1 Before printing the plot: 230 250C In service mode 2, set the Media Type and Print Quality on the front panel to the settings that you want to test. 330 350C In Normal mode, set the Media Type and Print Quality on the front panel to the settings that you want to test. The printĆquality plot can be plotted without the need to enter the service mode. This is because the customer will be requested to plot the printĆquality plot and he will be given the following instructions to plot it without entering the service mode. Media Print Type Quality 2 Load a sheet of media in portrait orientation. Use E/A0Ćsize or D/A1Ćsize media if you want to examine verticalĆline straightness (VLS) at both ends of the roller. Otherwise, A/A4Ćsize media is sufficient. 3 When the Ready LED lights up: 230 250C Press Print-Quality Plot. Print-Quality Plot Ready 330 350C Press the Print Quality and Roll/Sheet keys together. The Ready light begins to flash, and the media moves slightly forward. The carriage moves to the right side of the plotter, and the fan turns on. The plotter plots the printĆquality plot and ejects the media. 4 Unload the media. 5 At the end of the plot, mark which printĆquality setting you used. For Example: j Fast j Normal n Best Interpreting the Plot See ' page 8Ć56, w PrintĆQuality Troubleshooting. Ready Print Roll/Sheet Quality 8Ć46 Troubleshooting C4699Ć90000
-
 1
1 -
2
-
3
-
4
-
5
-
6
-
7
-
8
-
9
-
10
-
11
-
12
-
13
-
14
-
15
-
16
-
17
-
18
-
19
-
20
-
21
-
22
-
23
-
24
-
25
-
26
-
27
-
28
-
29
-
30
-
31
-
32
-
33
-
34
-
35
-
36
-
37
-
38
-
39
-
40
-
41
-
42
-
43
-
44
-
45
-
46
-
47
-
48
-
49
-
50
-
51
-
52
-
53
-
54
-
55
-
56
-
57
-
58
-
59
-
60
-
61
-
62
-
63
-
64
-
65
-
66
-
67
-
68
-
69
-
70
-
71
-
72
-
73
-
74
-
75
-
76
-
77
-
78
-
79
-
80
-
81
-
82
-
83
-
84
-
85
-
86
-
87
-
88
-
89
-
90
-
91
-
92
-
93
-
94
-
95
-
96
-
97
-
98
-
99
-
100
-
101
-
102
-
103
-
104
-
105
-
106
-
107
-
108
-
109
-
110
-
111
-
112
-
113
-
114
-
115
-
116
-
117
-
118
-
119
-
120
-
121
-
122
-
123
-
124
-
125
-
126
-
127
-
128
-
129
-
130
-
131
-
132
-
133
-
134
-
135
-
136
-
137
-
138
-
139
-
140
-
141
-
142
-
143
-
144
-
145
-
146
-
147
-
148
-
149
-
150
-
151
-
152
-
153
-
154
-
155
-
156
-
157
-
158
-
159
-
160
-
161
-
162
-
163
-
164
-
165
-
166
-
167
-
168
-
169
-
170
-
171
-
172
-
173
-
174
-
 175
175 -
 176
176 -
 177
177 -
 178
178 -
 179
179 -
 180
180 -
 181
181 -
 182
182 -
 183
183 -
 184
184 -
 185
185 -
186
-
187
-
188
-
189
-
190
-
191
-
192
-
193
-
194
-
195
-
196
-
197
-
198
-
199
-
200
-
201
-
202
-
203
-
204
-
205
-
206
-
207
-
208
-
209
-
210
-
211
-
212
-
213
-
214
-
215
-
216
-
217
-
218
-
219
-
220
-
221
-
222
-
223
-
224
-
225
-
226
-
227
-
228
-
229
-
230
-
231
-
232
-
233
-
234
-
235
-
236
-
237
-
238
-
239
-
240
-
241
-
242
-
243
-
244
-
245
-
246
-
247
-
248
-
249
-
250
-
251
-
252
-
253
-
254
-
255
-
256
-
257
-
258
-
259
-
260
-
261
-
262
-
263
-
264
-
265
-
266
-
267
-
268
 |
 |