HP Designjet 250c Service Manual - Page 179
Modular Test
 |
View all HP Designjet 250c manuals
Add to My Manuals
Save this manual to your list of manuals |
Page 179 highlights
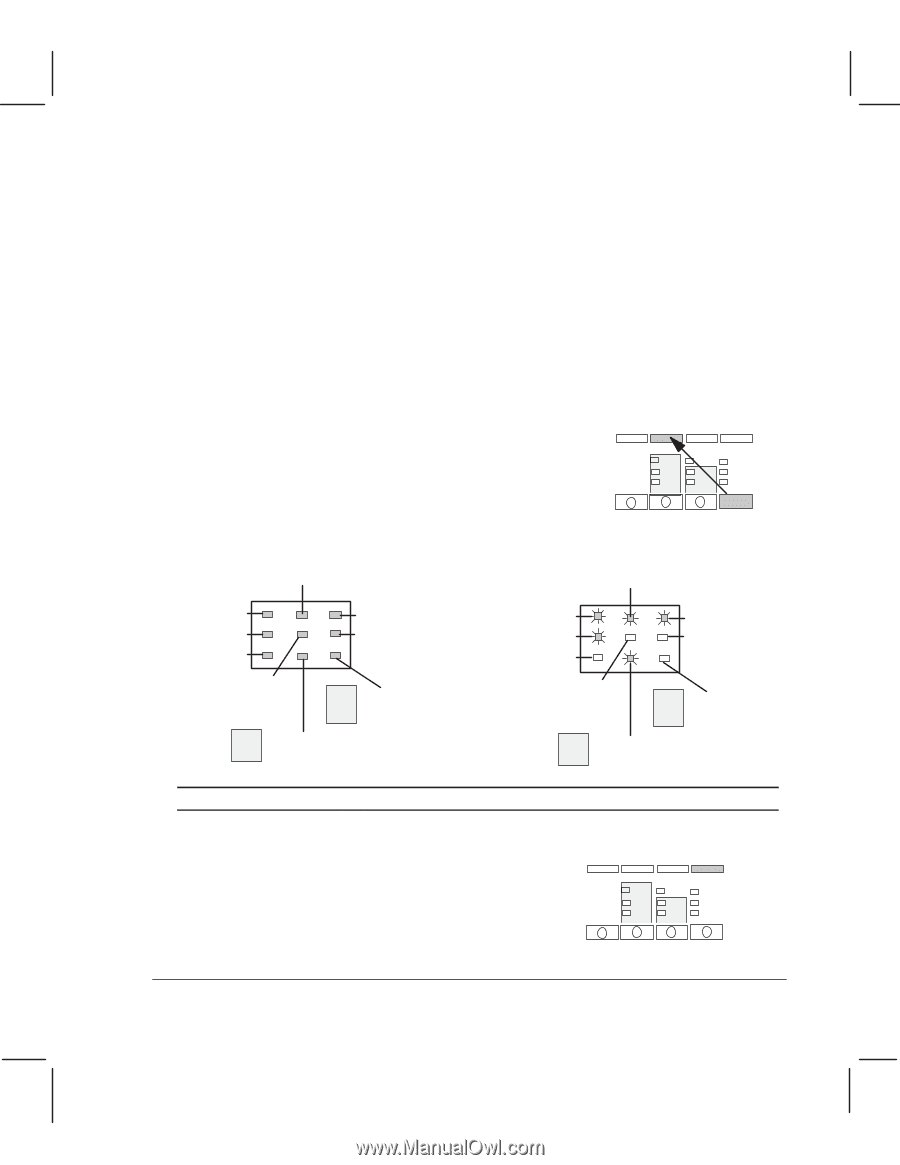
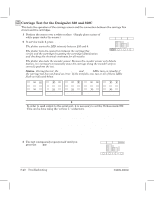
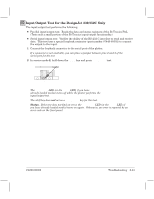
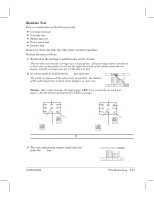
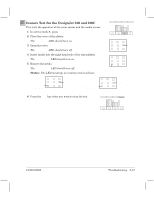
Modular Test This is a combination of the following tests: D CarriageĆaxis test D Carriage test D MediaĆaxis test D FrontĆpanel test D Sensors test If one part of the test fails, the other parts continue regardless. Perform the test as follows: 1 Ensure that the carriage is parked in the service station. The test does not include carriageĆaxis initialization. If the carriage starts somewhere in the center of the plotter, it will hit the rightĆhand side of the plotter when the test begins, and the carriageĆaxis part of the test will fail. Modular 2 In service mode 1, hold down the ALT key and press Modular Test. Test The plotter performs all the above tests in parallel. See details of the individual tests to know what happens in each case. ALT Status. After a few seconds, the appropriate LEDs turn on (steady) as each test passes. See the following diagram for LED meanings: Carriage sensor OK Carriage sensor failed Carriage axis OK Flex circuit OK Media axis OK Media present, and sensor OK The front-panel key that you are pressing is OK Cover closed, and sensor OK 330 Pinch-arms 350C lowered and Sensor OK 330 Encoder Sensor 350C OK Carriage axis failed Flex circuit connection failed Media axis failed Media not present, or sensor failed The front-panel key that you are pressing has failed Cover open. or sensor failed 330 Pinch-arms 350C raised or Sensor failed 330 Encoder Sensor 350C failed Output to the Serial Port (Viewing Output ' 8-36) See Individual tests 3 The test continuously repeats itself until you Shift press the Shift key. C4699Ć90000 Troubleshooting 8Ć45
-
 1
1 -
2
-
3
-
4
-
5
-
6
-
7
-
8
-
9
-
10
-
11
-
12
-
13
-
14
-
15
-
16
-
17
-
18
-
19
-
20
-
21
-
22
-
23
-
24
-
25
-
26
-
27
-
28
-
29
-
30
-
31
-
32
-
33
-
34
-
35
-
36
-
37
-
38
-
39
-
40
-
41
-
42
-
43
-
44
-
45
-
46
-
47
-
48
-
49
-
50
-
51
-
52
-
53
-
54
-
55
-
56
-
57
-
58
-
59
-
60
-
61
-
62
-
63
-
64
-
65
-
66
-
67
-
68
-
69
-
70
-
71
-
72
-
73
-
74
-
75
-
76
-
77
-
78
-
79
-
80
-
81
-
82
-
83
-
84
-
85
-
86
-
87
-
88
-
89
-
90
-
91
-
92
-
93
-
94
-
95
-
96
-
97
-
98
-
99
-
100
-
101
-
102
-
103
-
104
-
105
-
106
-
107
-
108
-
109
-
110
-
111
-
112
-
113
-
114
-
115
-
116
-
117
-
118
-
119
-
120
-
121
-
122
-
123
-
124
-
125
-
126
-
127
-
128
-
129
-
130
-
131
-
132
-
133
-
134
-
135
-
136
-
137
-
138
-
139
-
140
-
141
-
142
-
143
-
144
-
145
-
146
-
147
-
148
-
149
-
150
-
151
-
152
-
153
-
154
-
155
-
156
-
157
-
158
-
159
-
160
-
161
-
162
-
163
-
164
-
165
-
166
-
167
-
168
-
169
-
170
-
171
-
172
-
173
-
 174
174 -
 175
175 -
 176
176 -
 177
177 -
 178
178 -
 179
179 -
 180
180 -
 181
181 -
 182
182 -
 183
183 -
 184
184 -
185
-
186
-
187
-
188
-
189
-
190
-
191
-
192
-
193
-
194
-
195
-
196
-
197
-
198
-
199
-
200
-
201
-
202
-
203
-
204
-
205
-
206
-
207
-
208
-
209
-
210
-
211
-
212
-
213
-
214
-
215
-
216
-
217
-
218
-
219
-
220
-
221
-
222
-
223
-
224
-
225
-
226
-
227
-
228
-
229
-
230
-
231
-
232
-
233
-
234
-
235
-
236
-
237
-
238
-
239
-
240
-
241
-
242
-
243
-
244
-
245
-
246
-
247
-
248
-
249
-
250
-
251
-
252
-
253
-
254
-
255
-
256
-
257
-
258
-
259
-
260
-
261
-
262
-
263
-
264
-
265
-
266
-
267
-
268
 |
 |