Konica Minolta AccurioPress C14000 Plockmatic PowerSquare R2L User Manual - Page 38
The CON Window
 |
View all Konica Minolta AccurioPress C14000 manuals
Add to My Manuals
Save this manual to your list of manuals |
Page 38 highlights
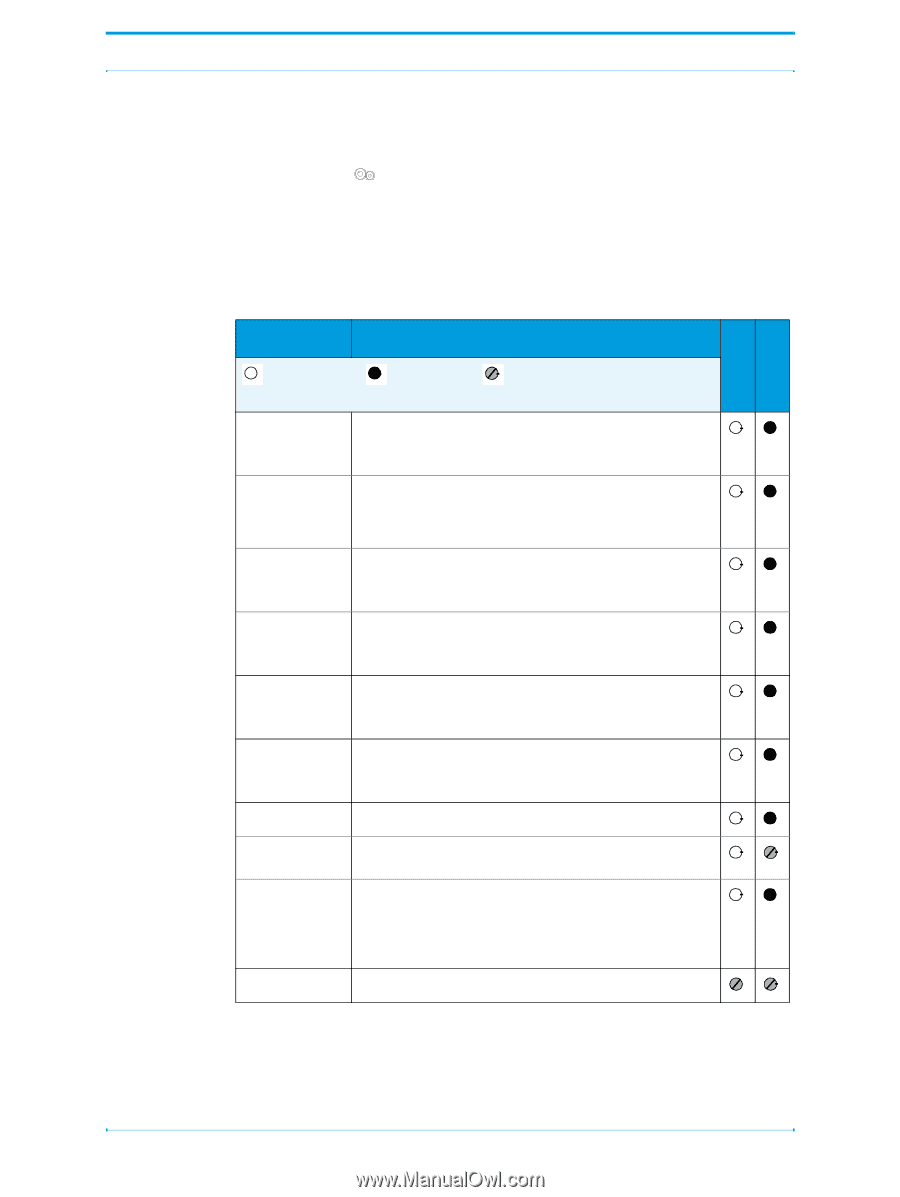
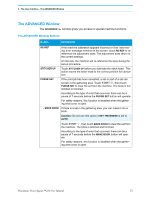
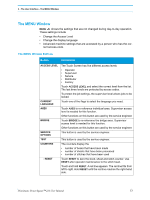
3 - The User Interface - The CONFIGURE Window The CONFIGURE Window The CONFIGURE window lets you make changes to the configuration of the machine. Some functions and buttons are only available at certain access levels, see "ACCESS LEVEL" on page 33. The CONFIGURE Window Buttons Operator Supervisor Button Hidden Information Active Visible MACHINE OPTIONS Touch MACHINE OPTIONS to view the general machine set-up. Some of the settings can be changed, depending on the current access level. - MEASUREMENT Select 'mm' or 'inch' as the unit of measurement. To get best accuracy, use millimetres to measure the set. - STITCH SENSOR There is a sensor that checks for stitches. Touch STITCH SENSOR to turn the stitch sensor on or off. The default setting is ON. - PRESET PAPER SIZES The preset paper sizes can be either ISO A sizes or US paper sizes. To select which preset paper sizes are available, touch the relevant button. - SIDE TRIM (P2T) Touch SIDE TRIM (P2T) to switch off communication to the Side-Trimmer. Only do this if the Side-Trimmer is disconnected. - PBS Touch PBS INSTALLED to switch off communication to INSTALLED the Book Stacker. Only do this if the Book Stacker is disconnected. SHUTTLE Touch SHUTTLE to make adjustment to the tamper. - TAMPER DELAY - TAMPER TIME FORM SETUP This button is used by the service engineer. TAMPER TIME adjusts the time that the tamper touches the set. An increase in TAMPER TIME causes a decrease in the production rate for thin books. This button is used by the service engineer. 32 Plockmatic PowerSquare™224 User Manual
-
 1
1 -
2
-
3
-
4
-
5
-
6
-
7
-
8
-
9
-
10
-
11
-
12
-
13
-
14
-
15
-
16
-
17
-
18
-
19
-
20
-
21
-
22
-
23
-
24
-
25
-
26
-
27
-
28
-
29
-
30
-
31
-
32
-
 33
33 -
 34
34 -
 35
35 -
 36
36 -
 37
37 -
 38
38 -
 39
39 -
 40
40 -
 41
41 -
 42
42 -
 43
43 -
44
-
45
-
46
-
47
-
48
-
49
-
50
-
51
-
52
-
53
-
54
-
55
-
56
-
57
-
58
-
59
-
60
-
61
-
62
-
63
-
64
-
65
-
66
-
67
-
68
-
69
-
70
-
71
-
72
-
73
-
74
-
75
-
76
-
77
-
78
-
79
-
80
-
81
-
82
-
83
-
84
-
85
-
86
-
87
-
88
-
89
-
90
-
91
-
92
-
93
-
94
-
95
-
96
-
97
-
98
-
99
-
100
-
101
-
102
-
103
-
104
-
105
-
106
-
107
-
108
-
109
-
110
-
111
-
112
-
113
-
114
-
115
-
116
-
117
-
118
-
119
-
120
-
121
-
122
-
123
-
124
-
125
-
126
-
127
-
128
-
129
-
130
-
131
-
132
-
133
-
134
-
135
-
136
-
137
-
138
-
139
-
140
-
141
-
142
-
143
-
144
-
145
-
146
-
147
-
148
-
149
-
150
-
151
-
152
-
153
-
154
-
155
-
156
 |
 |