Brother International Entrepreneur PR-650 Users Manual - English - Page 198
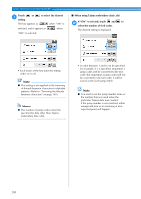
Changing the display, guides
 |
View all Brother International Entrepreneur PR-650 manuals
Add to My Manuals
Save this manual to your list of manuals |
Page 198 highlights
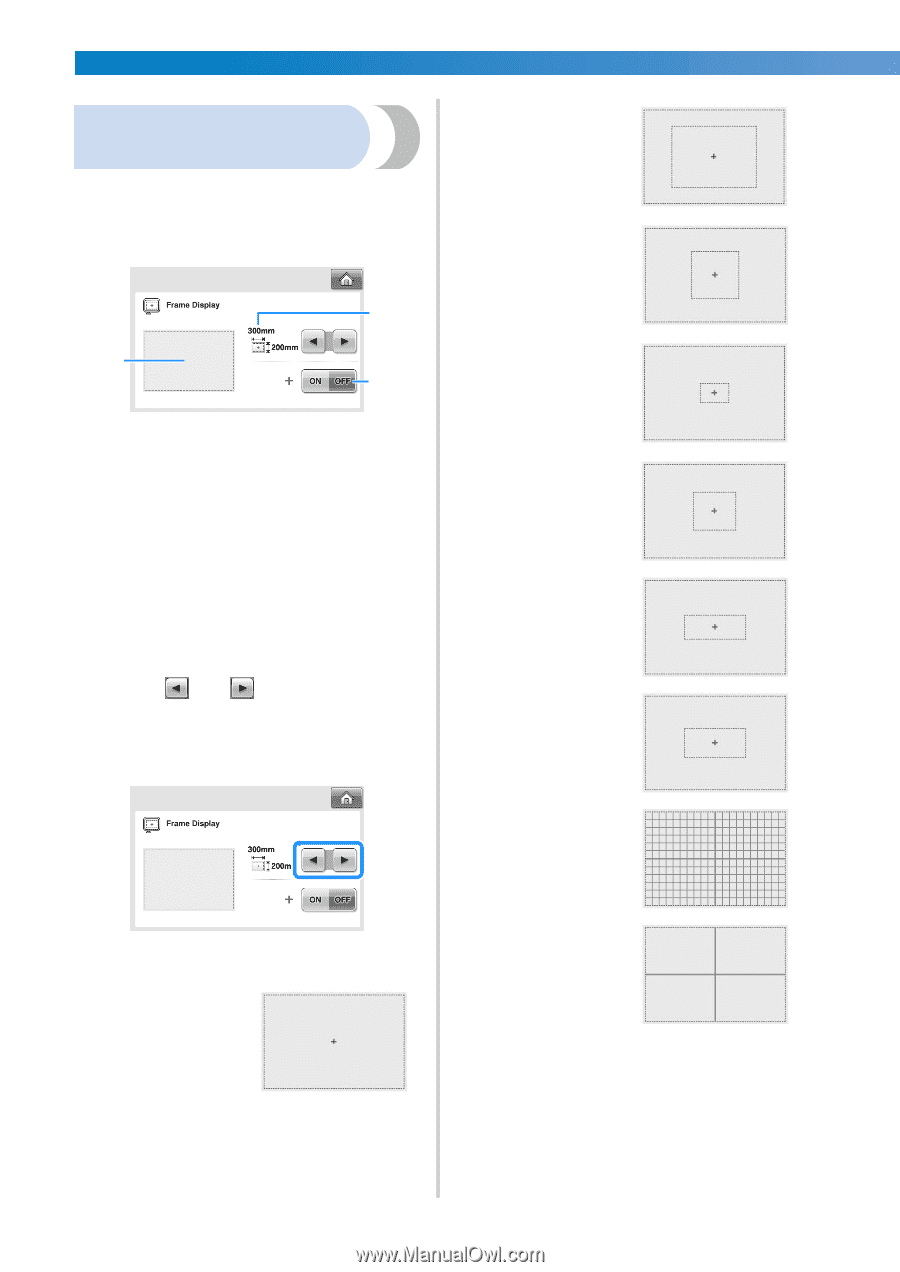
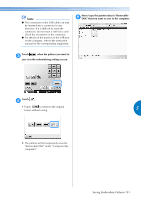
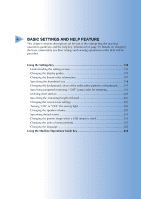
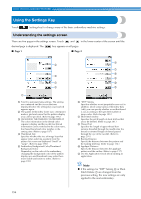
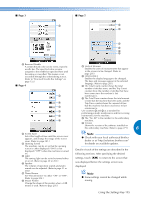
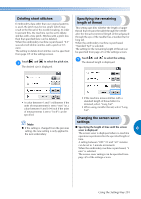
BASIC SETTINGS AND HELP FEATURE Changing the display guides The guides in the pattern display area can be set for the desired embroidery frame. The guide settings can be specified from page 1/5 of the settings screen. 2 1 3 1 How the guides will appear with the specified settings can be previewed here. 2 AREA Specifies the size of the embroidery frame displayed as a guide. The guides that appears does not indicates the size of the embroidery frame that is actually installed. 3 CENTERPOINT Display (ON) or hides (OFF) the centerpoint marker of the design. ■ Size of the embroidery frame When the embroidery machine is purchased, the extra-large embroidery frame is selected. Touch and to select the desired 1 embroidery frame display. The embroidering area for the desired embroidery frame is displayed. Embroidering area of the large embroidery frame [130 mm × 180 mm (5-1/8 inches × 7-1/8 inches)] Embroidering area of the medium embroidery frame [100 mm × 100 mm (4 inches × 4 inches)] Embroidering area of the small embroidery frame [40 mm × 60 mm (1-1/2 inches × 2-3/8 inches)] Embroidery area of the optional cylinder frame [80 mm × 90 mm (3 inches × 3-1/2 inches)] Embroidery area of the optional cap frame [50 mm × 130 mm (2 inches × 5-1/8 inches)] Embroidery area of the optional cap frame [60 mm × 130 mm (2-3/8 inches × 5-1/8 inches)] Grid lines (Example: When the centerpoint if set to "ON".) Embroidering area of the extra-large embroidery frame [200 mm × 300 mm (7-7/8 inches × 11-3/4 inches)] Cross grid lines 196
-
 1
1 -
2
-
3
-
4
-
5
-
6
-
7
-
8
-
9
-
10
-
11
-
12
-
13
-
14
-
15
-
16
-
17
-
18
-
19
-
20
-
21
-
22
-
23
-
24
-
25
-
26
-
27
-
28
-
29
-
30
-
31
-
32
-
33
-
34
-
35
-
36
-
37
-
38
-
39
-
40
-
41
-
42
-
43
-
44
-
45
-
46
-
47
-
48
-
49
-
50
-
51
-
52
-
53
-
54
-
55
-
56
-
57
-
58
-
59
-
60
-
61
-
62
-
63
-
64
-
65
-
66
-
67
-
68
-
69
-
70
-
71
-
72
-
73
-
74
-
75
-
76
-
77
-
78
-
79
-
80
-
81
-
82
-
83
-
84
-
85
-
86
-
87
-
88
-
89
-
90
-
91
-
92
-
93
-
94
-
95
-
96
-
97
-
98
-
99
-
100
-
101
-
102
-
103
-
104
-
105
-
106
-
107
-
108
-
109
-
110
-
111
-
112
-
113
-
114
-
115
-
116
-
117
-
118
-
119
-
120
-
121
-
122
-
123
-
124
-
125
-
126
-
127
-
128
-
129
-
130
-
131
-
132
-
133
-
134
-
135
-
136
-
137
-
138
-
139
-
140
-
141
-
142
-
143
-
144
-
145
-
146
-
147
-
148
-
149
-
150
-
151
-
152
-
153
-
154
-
155
-
156
-
157
-
158
-
159
-
160
-
161
-
162
-
163
-
164
-
165
-
166
-
167
-
168
-
169
-
170
-
171
-
172
-
173
-
174
-
175
-
176
-
177
-
178
-
179
-
180
-
181
-
182
-
183
-
184
-
185
-
186
-
187
-
188
-
189
-
190
-
191
-
192
-
 193
193 -
 194
194 -
 195
195 -
 196
196 -
 197
197 -
 198
198 -
 199
199 -
 200
200 -
 201
201 -
 202
202 -
 203
203 -
204
-
205
-
206
-
207
-
208
-
209
-
210
-
211
-
212
-
213
-
214
-
215
-
216
-
217
-
218
-
219
-
220
-
221
-
222
-
223
-
224
-
225
-
226
-
227
-
228
-
229
-
230
-
231
-
232
-
233
-
234
-
235
-
236
-
237
-
238
-
239
-
240
-
241
-
242
-
243
-
244
-
245
-
246
-
247
-
248
-
249
-
250
-
251
-
252
-
253
-
254
-
255
-
256
-
257
-
258
-
259
-
260
-
261
-
262
-
263
-
264
-
265
-
266
-
267
-
268
-
269
-
270
-
271
-
272
-
273
-
274
-
275
-
276
-
277
-
278
-
279
-
280
 |
 |