Epson Stylus Pro 10600 - UltraChrome Ink Printer Guide - Page 155
Moving the Printer on the Stand
 |
View all Epson Stylus Pro 10600 - UltraChrome Ink manuals
Add to My Manuals
Save this manual to your list of manuals |
Page 155 highlights
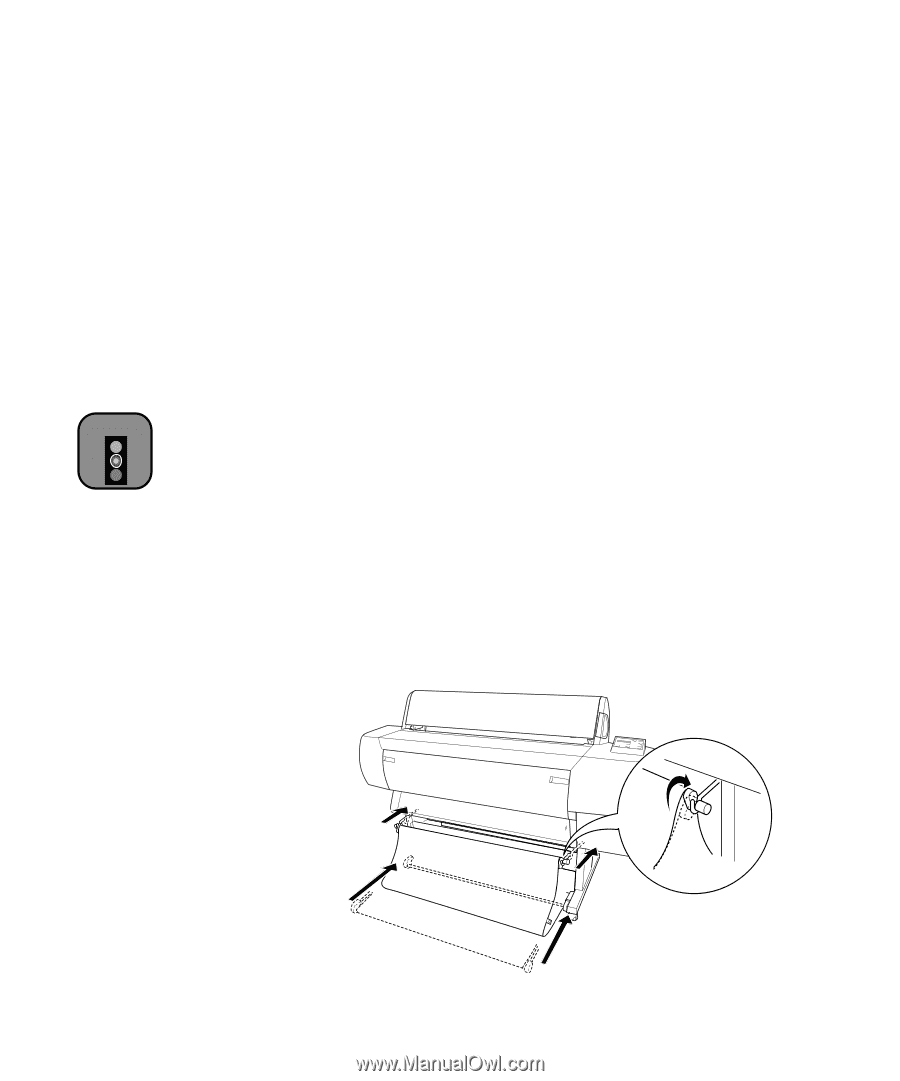
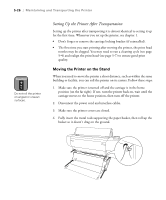
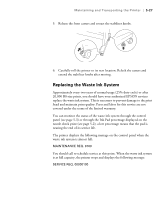
5-26 | Maintaining and Transporting the Printer Caution Do not roll the printer on angled or uneven surfaces. Setting Up the Printer After Transportation Setting up the printer after transporting it is almost identical to setting it up for the first time. Whenever you set up the printer, see chapter 1. • Don't forget to remove the carriage locking bracket (if reinstalled). • The first time you start printing after moving the printer, the print head nozzles may be clogged. You may need to run a cleaning cycle (see page 5-4) and realign the print head (see page 5-7) to ensure good print quality. Moving the Printer on the Stand When you need to move the printer a short distance, such as within the same building or facility, you can roll the printer on its casters. Follow these steps: 1. Make sure the printer is turned off and the carriage is in the home position (on the far right). If not, turn the printer back on, wait until the carriage moves to the home position, then turn off the printer. 2. Disconnect the power cord and interface cables. 3. Make sure the printer covers are closed. 4. Fully insert the metal rods supporting the paper basket, then roll up the basket so it doesn't drag on the ground. 5-26
-
 1
1 -
2
-
3
-
4
-
5
-
6
-
7
-
8
-
9
-
10
-
11
-
12
-
13
-
14
-
15
-
16
-
17
-
18
-
19
-
20
-
21
-
22
-
23
-
24
-
25
-
26
-
27
-
28
-
29
-
30
-
31
-
32
-
33
-
34
-
35
-
36
-
37
-
38
-
39
-
40
-
41
-
42
-
43
-
44
-
45
-
46
-
47
-
48
-
49
-
50
-
51
-
52
-
53
-
54
-
55
-
56
-
57
-
58
-
59
-
60
-
61
-
62
-
63
-
64
-
65
-
66
-
67
-
68
-
69
-
70
-
71
-
72
-
73
-
74
-
75
-
76
-
77
-
78
-
79
-
80
-
81
-
82
-
83
-
84
-
85
-
86
-
87
-
88
-
89
-
90
-
91
-
92
-
93
-
94
-
95
-
96
-
97
-
98
-
99
-
100
-
101
-
102
-
103
-
104
-
105
-
106
-
107
-
108
-
109
-
110
-
111
-
112
-
113
-
114
-
115
-
116
-
117
-
118
-
119
-
120
-
121
-
122
-
123
-
124
-
125
-
126
-
127
-
128
-
129
-
130
-
131
-
132
-
133
-
134
-
135
-
136
-
137
-
138
-
139
-
140
-
141
-
142
-
143
-
144
-
145
-
146
-
147
-
148
-
149
-
 150
150 -
 151
151 -
 152
152 -
 153
153 -
 154
154 -
 155
155 -
 156
156 -
 157
157 -
 158
158 -
 159
159 -
 160
160 -
161
-
162
-
163
-
164
-
165
-
166
-
167
-
168
-
169
-
170
-
171
-
172
-
173
-
174
-
175
-
176
-
177
-
178
-
179
-
180
-
181
-
182
-
183
 |
 |