Epson Stylus Pro 10600 - UltraChrome Ink Printer Guide - Page 66
selected. Then click, On the Ports screen, make sure the new port is added and its checkbox is
 |
View all Epson Stylus Pro 10600 - UltraChrome Ink manuals
Add to My Manuals
Save this manual to your list of manuals |
Page 66 highlights
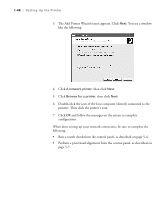
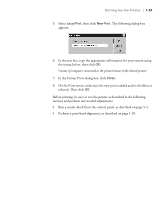
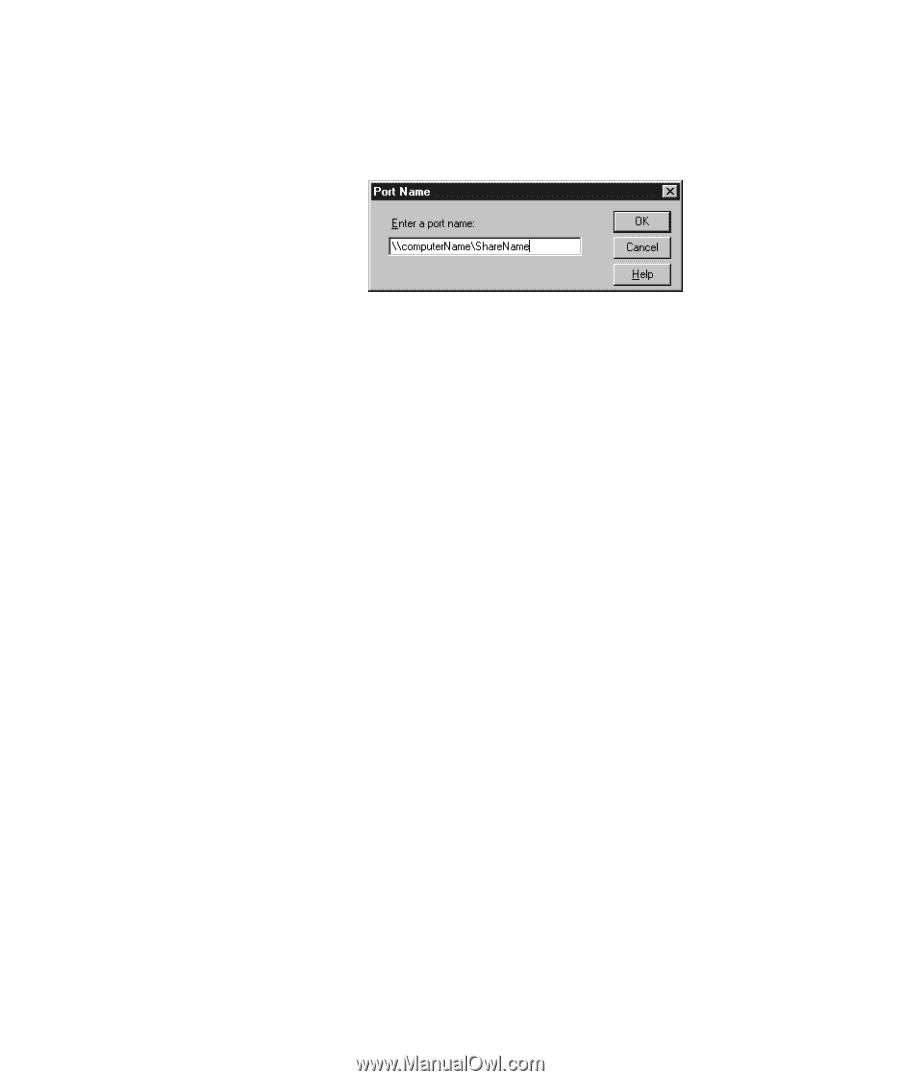
Setting Up the Printer | 1-51 5. Select Local Port, then click New Port. The following dialog box appears: 6. In the text box, type the appropriate information for your system using the syntax below, then click OK: \\name of computer connected to the printer\name of the shared printer 7. In the Printer Ports dialog box, click Close. 8. On the Ports screen, make sure the new port is added and its checkbox is selected. Then click OK. Before printing, be sure to test the printer as described in the following sections and perform any needed adjustments: • Run a nozzle check from the control panel, as described on page 5-4. • Perform a print head alignment, as described on page 1-39. 1-51
-
 1
1 -
2
-
3
-
4
-
5
-
6
-
7
-
8
-
9
-
10
-
11
-
12
-
13
-
14
-
15
-
16
-
17
-
18
-
19
-
20
-
21
-
22
-
23
-
24
-
25
-
26
-
27
-
28
-
29
-
30
-
31
-
32
-
33
-
34
-
35
-
36
-
37
-
38
-
39
-
40
-
41
-
42
-
43
-
44
-
45
-
46
-
47
-
48
-
49
-
50
-
51
-
52
-
53
-
54
-
55
-
56
-
57
-
58
-
59
-
60
-
 61
61 -
 62
62 -
 63
63 -
 64
64 -
 65
65 -
 66
66 -
 67
67 -
 68
68 -
 69
69 -
 70
70 -
 71
71 -
72
-
73
-
74
-
75
-
76
-
77
-
78
-
79
-
80
-
81
-
82
-
83
-
84
-
85
-
86
-
87
-
88
-
89
-
90
-
91
-
92
-
93
-
94
-
95
-
96
-
97
-
98
-
99
-
100
-
101
-
102
-
103
-
104
-
105
-
106
-
107
-
108
-
109
-
110
-
111
-
112
-
113
-
114
-
115
-
116
-
117
-
118
-
119
-
120
-
121
-
122
-
123
-
124
-
125
-
126
-
127
-
128
-
129
-
130
-
131
-
132
-
133
-
134
-
135
-
136
-
137
-
138
-
139
-
140
-
141
-
142
-
143
-
144
-
145
-
146
-
147
-
148
-
149
-
150
-
151
-
152
-
153
-
154
-
155
-
156
-
157
-
158
-
159
-
160
-
161
-
162
-
163
-
164
-
165
-
166
-
167
-
168
-
169
-
170
-
171
-
172
-
173
-
174
-
175
-
176
-
177
-
178
-
179
-
180
-
181
-
182
-
183
 |
 |
1-51
Setting Up the Printer
|
1-51
5.
Select
Local Port
, then click
New Port
. The following dialog box
appears:
6.
In the text box, type the appropriate information for your system using
the syntax below, then click
OK
:
\\
name of computer connected to the printer
\
name of the shared printer
7.
In the Printer Ports dialog box, click
Close
.
8.
On the Ports screen, make sure the new port is added and its checkbox is
selected. Then click
OK
.
Before printing, be sure to test the printer as described in the following
sections and perform any needed adjustments:
•
Run a nozzle check from the control panel, as described on page 5-4.
•
Perform a print head alignment, as described on page 1-39.