HP CP3505 HP Color LaserJet CP3505 Series Printers - User Guide - Page 93
Manage stored jobs, Print a stored job
 |
View all HP CP3505 manuals
Add to My Manuals
Save this manual to your list of manuals |
Page 93 highlights
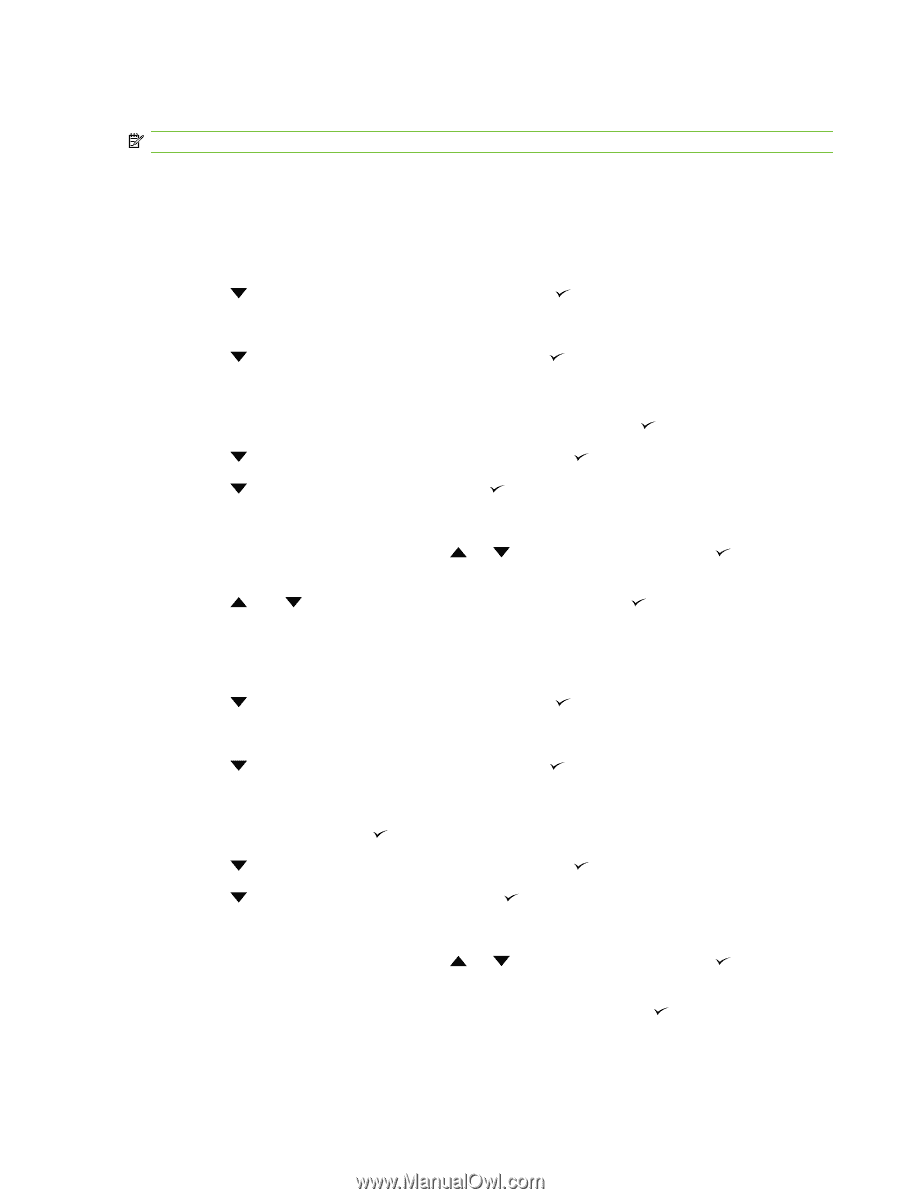
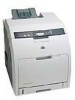
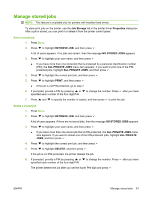
Manage stored jobs NOTE: This feature is available only for printers with installed hard drives. To store print jobs on the printer, use the Job Storage tab in the printer driver Properties dialog box. After a job is stored, you can print it or delete it from the printer control panel. Print a stored job 1. Press Menu. 2. Press to highlight RETRIEVE JOB, and then press . A list of users appears. If no jobs are stored , then the message NO STORED JOBS appears. 3. Press to highlight your user name, and then press . ● If you have more than one stored job that is protected by a personal identification number (PIN), the ALL PRIVATE JOBS menu item appears. If you want to print one of the PINprotected jobs, highlight ALL PRIVATE JOBS, and then press . 4. Press to highlight the correct print job, and then press . 5. Press to highlight PRINT, and then press . ● If the job is not PIN-protected, go to step 7. 6. If prompted, provide a PIN by pressing or to change the number. Press after you have specified each number of the four-digit PIN. 7. Press and to specify the number of copies, and then press to print the job. Delete a stored job 1. Press Menu. 2. Press to highlight RETRIEVE JOB, and then press . A list of users appears. If there are no stored jobs, then the message NO STORED JOBS appears. 3. Press to highlight your user name, and then press . ● If you have more than one stored job that is PIN-protected, the ALL PRIVATE JOBS menu item appears. If you want to delete one of the PIN-protected jobs, highlight ALL PRIVATE JOBS, and then press . 4. Press to highlight the correct print job, and then press . 5. Press to highlight DELETE, and then press . If the job is not PIN-protected, the printer deletes the job. 6. If prompted, provide a PIN by pressing or to change the number. Press after you have specified each number of the four-digit PIN. The printer deletes the job after you set the fourth PIN digit and press . ENWW Manage stored jobs 81
-
 1
1 -
2
-
3
-
4
-
5
-
6
-
7
-
8
-
9
-
10
-
11
-
12
-
13
-
14
-
15
-
16
-
17
-
18
-
19
-
20
-
21
-
22
-
23
-
24
-
25
-
26
-
27
-
28
-
29
-
30
-
31
-
32
-
33
-
34
-
35
-
36
-
37
-
38
-
39
-
40
-
41
-
42
-
43
-
44
-
45
-
46
-
47
-
48
-
49
-
50
-
51
-
52
-
53
-
54
-
55
-
56
-
57
-
58
-
59
-
60
-
61
-
62
-
63
-
64
-
65
-
66
-
67
-
68
-
69
-
70
-
71
-
72
-
73
-
74
-
75
-
76
-
77
-
78
-
79
-
80
-
81
-
82
-
83
-
84
-
85
-
86
-
87
-
 88
88 -
 89
89 -
 90
90 -
 91
91 -
 92
92 -
 93
93 -
 94
94 -
 95
95 -
 96
96 -
 97
97 -
 98
98 -
99
-
100
-
101
-
102
-
103
-
104
-
105
-
106
-
107
-
108
-
109
-
110
-
111
-
112
-
113
-
114
-
115
-
116
-
117
-
118
-
119
-
120
-
121
-
122
-
123
-
124
-
125
-
126
-
127
-
128
-
129
-
130
-
131
-
132
-
133
-
134
-
135
-
136
-
137
-
138
-
139
-
140
-
141
-
142
-
143
-
144
-
145
-
146
-
147
-
148
-
149
-
150
-
151
-
152
-
153
-
154
-
155
-
156
-
157
-
158
-
159
-
160
-
161
-
162
-
163
-
164
-
165
-
166
-
167
-
168
-
169
-
170
-
171
-
172
-
173
-
174
-
175
-
176
-
177
-
178
-
179
-
180
-
181
-
182
-
183
-
184
-
185
-
186
-
187
-
188
-
189
-
190
-
191
-
192
-
193
-
194
-
195
-
196
-
197
-
198
-
199
-
200
-
201
-
202
-
203
-
204
-
205
-
206
-
207
-
208
-
209
-
210
-
211
-
212
-
213
-
214
-
215
-
216
-
217
-
218
-
219
-
220
-
221
-
222
-
223
-
224
-
225
-
226
 |
 |