Hitachi DZ GX5020A Owners Guide - Page 58
Setting white balance manually
 |
UPC - 050585223875
View all Hitachi DZ GX5020A manuals
Add to My Manuals
Save this manual to your list of manuals |
Page 58 highlights
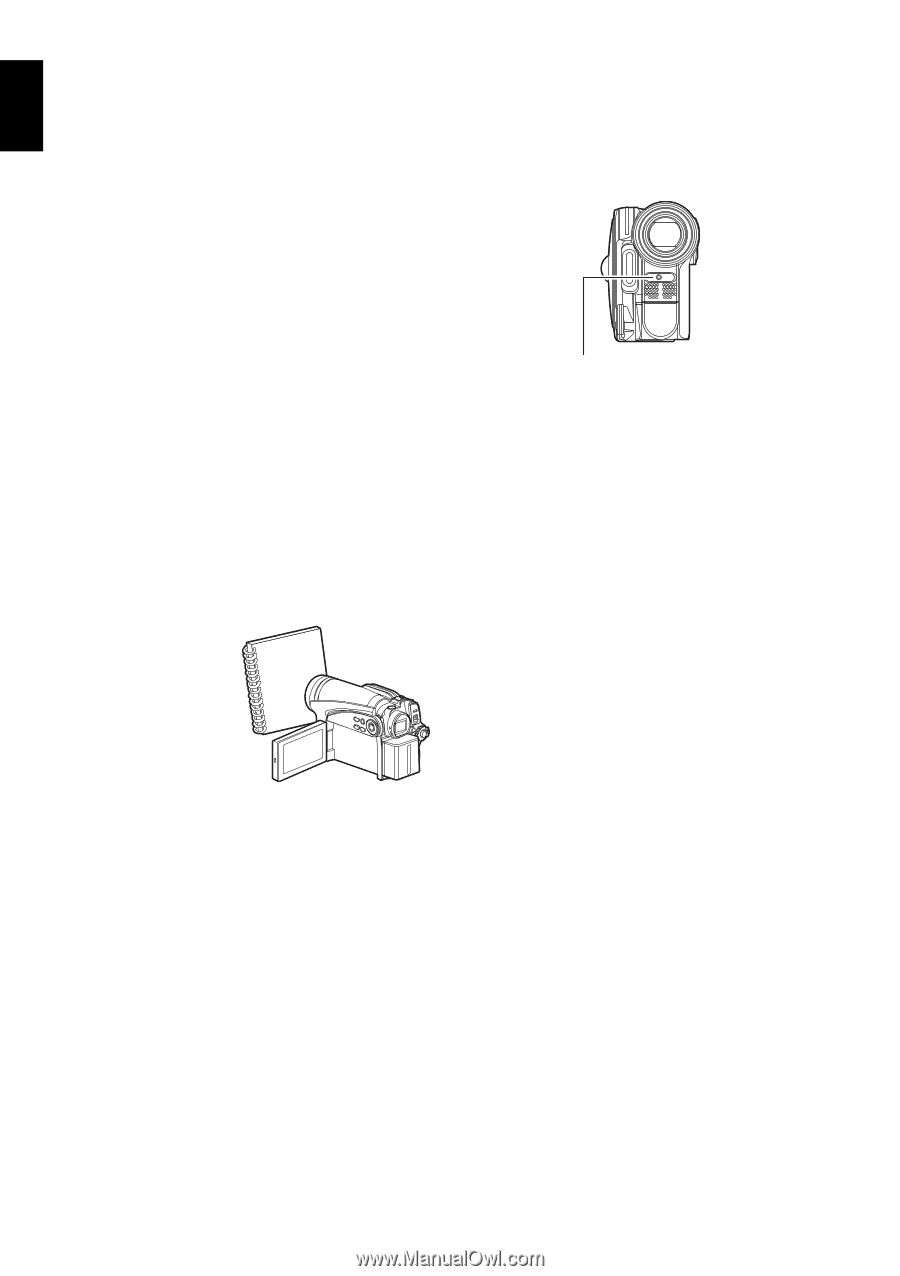
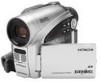
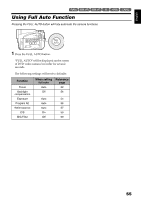
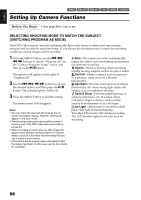
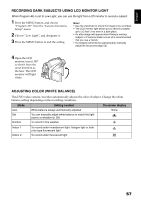
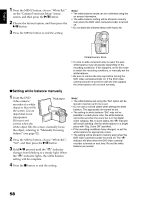
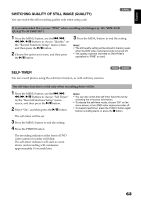
English 1 Press the MENU button, choose "White Bal." on the "Camera Functions Setup" menu screen, and then press the A button. 2 Choose the desired option, and then press the A button. 3 Press the MENU button to end the setting. Note: • The white balance mode can be confirmed using the on-screen information. • The white balance setting will be stored in memory even when the DVD video camera/recorder is turned off. • Do not block the infrared sensor with hand, etc. Infrared sensor block • If a tele or wide-conversion lens is used, the auto white balance may not operate depending on the recording conditions. If this happens, set to the mode to match the recording conditions, or manually set the white balance. • Be sure to remove the lens cap before turning the DVD video camera/recorder on: If the DVD video camera/recorder is turned on with the lens capped, the white balance will not work normally. ●Setting white balance manually 1 Point the DVD video camera/ Thick paper recorder at a white object so that it fills the screen. Use an object that is not transparent. If focus is not correct when the white object fills the screen, manually focus the object, referring to "Manually Focusing Subject" (see page 52). 2 Press the MENU button, choose "White Bal.", "Set", and then press the A button. 3 Hold A pressed until the "h" indicator changes from blinking to a steady light. When the "h" indicator lights, the white balance setting will be complete. 4 Press the C button to end the setting. Note: • The white balance set using the "Set" option will be stored in memory until it is re-set. • Do not use a colored object when setting the white balance: The appropriate tint cannot be set. • The setting on white balance "Set" may not be possible in a dark place. Also, the white balance cannot be set when the zoom bar is in the digital zoom range (p. 50). In such status, the "h" indicator will remain blinking. Set the white balance in a bright place with "Dig. Zoom Off" specified. • If the recording conditions have changed, re-set the white balance for appropriate colors. • The setting will be stored in memory even when the DVD video camera/recorder is turned off: The "h" indicator will blink when the DVD video camera/ recorder is turned on next time. Re-set the white balance as needed. 58
-
 1
1 -
2
-
3
-
4
-
5
-
6
-
7
-
8
-
9
-
10
-
11
-
12
-
13
-
14
-
15
-
16
-
17
-
18
-
19
-
20
-
21
-
22
-
23
-
24
-
25
-
26
-
27
-
28
-
29
-
30
-
31
-
32
-
33
-
34
-
35
-
36
-
37
-
38
-
39
-
40
-
41
-
42
-
43
-
44
-
45
-
46
-
47
-
48
-
49
-
50
-
51
-
52
-
 53
53 -
 54
54 -
 55
55 -
 56
56 -
 57
57 -
 58
58 -
 59
59 -
 60
60 -
 61
61 -
 62
62 -
 63
63 -
64
-
65
-
66
-
67
-
68
-
69
-
70
-
71
-
72
-
73
-
74
-
75
-
76
-
77
-
78
-
79
-
80
-
81
-
82
-
83
-
84
-
85
-
86
-
87
-
88
-
89
-
90
-
91
-
92
-
93
-
94
-
95
-
96
-
97
-
98
-
99
-
100
-
101
-
102
-
103
-
104
-
105
-
106
-
107
-
108
-
109
-
110
-
111
-
112
-
113
-
114
-
115
-
116
-
117
-
118
-
119
-
120
-
121
-
122
-
123
-
124
-
125
-
126
-
127
-
128
-
129
-
130
-
131
-
132
-
133
-
134
-
135
-
136
-
137
-
138
-
139
-
140
-
141
-
142
-
143
-
144
-
145
-
146
-
147
-
148
-
149
-
150
-
151
-
152
-
153
-
154
-
155
-
156
-
157
-
158
 |
 |