Kyocera TASKalfa 3501i Kyocera Command Center RX User Guide Rev-2013.02 - Page 73
Current Universal Time UTC/GMT, Create Self Certificate
 |
View all Kyocera TASKalfa 3501i manuals
Add to My Manuals
Save this manual to your list of manuals |
Page 73 highlights
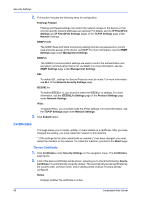
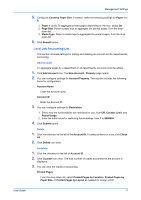
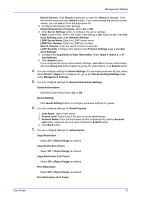
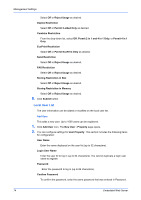
Security Settings Subject Displays the country code and common name. Expiration Displays the validity period of the certificate. Protocol Displays the protocols available (HTTPS, IPP over SSL, Enhanced WSD (SSL), IEEE802.1X, ThinPrint, DSM Scan, IPsecRuleX, and other protocols). 3. This section includes the following items for configuration. Device Certificate 1 (to 5) This sections allows you to modify the initial settings, add a new one, and delete the existing settings. Click Settings button of Device Certificate 1 (to 5). The Device Certificate 1 (to 5) page opens to show the current status. This page allows the following settings: Status: Displays whether the certificate is active. Expiration: Displays the validity period of the certificate. View Certificate: Click View button to view the details of the certificate. Create Self Certificate: Click Create button to open the Certificate Settings page. Enter or select the information for settings. Country Code, State/Province, Locality Name, Organization Name, Organization Unit Name, Common Name, Email Address, Current Universal Time (UTC/GMT), Validity Period, and Key Length are displayed automatically. Key Length is the information needed to generate encryption, in length of either 1024 or 2048 bits. Click Submit button to finalize settings. Edit Certificate: Click Edit button to open the Expiration Settings page. Enter the validity period. Current Universal Time (UTC/GMT) is displayed automatically. Click Submit button to finalize settings. Delete Certificate: When you click Delete button, the certificate is displayed. Delete the content. Export Certificate: When you click Export button, the dialog screen is displayed. Save the certificate. Root Certificate 1 (to 5) Allows you to create, configure, register, or delete the certificate. 1. Click Settings button of Root Certificate 1 (to 5). The Root Certificate 1 (to 5) Settings page opens to show the current status. This page allows the following settings: Status: Displays whether the certificate is active. Expiration: Displays the validity period of the certificate. Import Certificate: Click Import button to open the File Import page. Click Browse button and select a file to import in Import Root Certificate 1 (to 5) file. Click Submit button to finalize settings. 2. To delete a device certificate of Device Certificate 2 (to 5), highlight the certificate and click Delete button. Note: A certificate can be assigned to a protocol or a configuration. To configure the IPSec Rule Certificate, go to TCP/IP Settings page. To configure other Certificates, go to Protocols Settings page under Network Settings. User Guide 69
-
 1
1 -
2
-
3
-
4
-
5
-
6
-
7
-
8
-
9
-
10
-
11
-
12
-
13
-
14
-
15
-
16
-
17
-
18
-
19
-
20
-
21
-
22
-
23
-
24
-
25
-
26
-
27
-
28
-
29
-
30
-
31
-
32
-
33
-
34
-
35
-
36
-
37
-
38
-
39
-
40
-
41
-
42
-
43
-
44
-
45
-
46
-
47
-
48
-
49
-
50
-
51
-
52
-
53
-
54
-
55
-
56
-
57
-
58
-
59
-
60
-
61
-
62
-
63
-
64
-
65
-
66
-
67
-
 68
68 -
 69
69 -
 70
70 -
 71
71 -
 72
72 -
 73
73 -
 74
74 -
 75
75 -
 76
76 -
 77
77 -
 78
78 -
79
-
80
-
81
-
82
-
83
-
84
-
85
-
86
-
87
-
88
-
89
-
90
-
91
-
92
-
93
-
94
-
95
-
96
 |
 |
