Yamaha PSR-9000 Owner's Manual - Page 103
Event Filter, Using the Computer Keyboard
 |
View all Yamaha PSR-9000 manuals
Add to My Manuals
Save this manual to your list of manuals |
Page 103 highlights
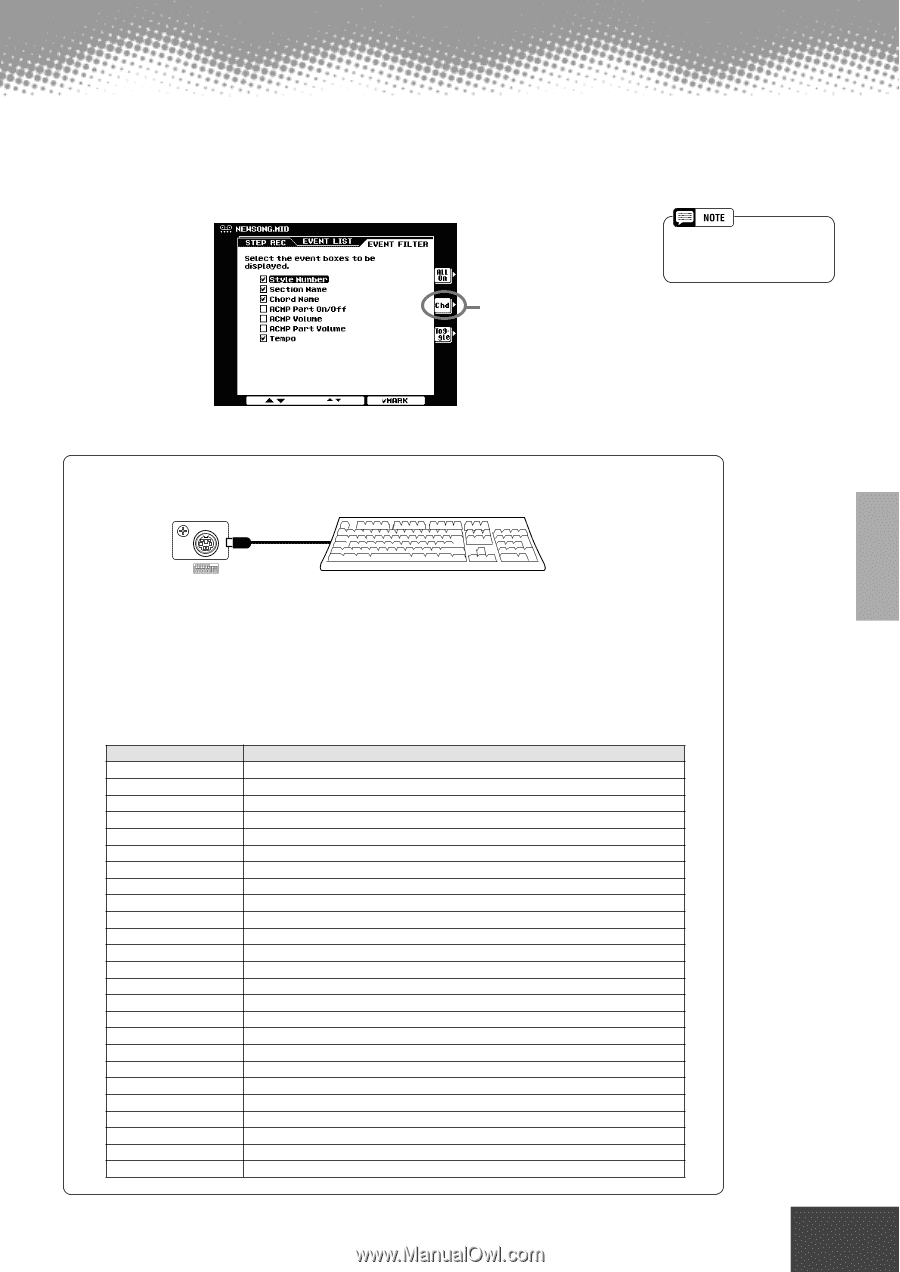
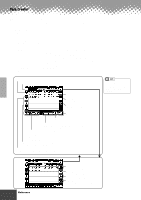
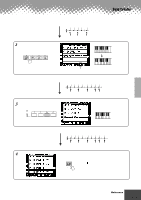
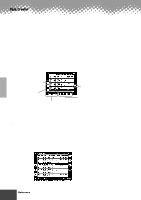
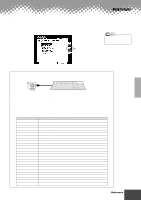
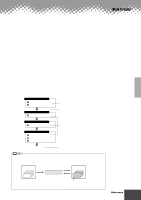
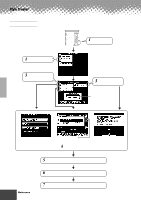
Song Creator s Event Filter This function lets you select the event types that appear on the editing displays. To select an event for display, place a checkmark in the box next to the event name. To filter out an event type (so that it does not appear on the list), remove the checkmark so that the box is empty. Selects only chord data; checkmarks for all other boxes are removed. • Style Number, Section Name, Chord Name, and Tempo are on (checked) by default. Using the Computer Keyboard PC KEYBOARD Using a computer keyboard is a very convenient way to edit events in the Event List. If you're familiar with operating a computer, you'll find many of the editing conventions that you're used to (such as moving the cursor and copying/pasting) apply to editing the PSR-9000 data as well. For details on using a computer keyboard with the PSR-9000, see page 143. For a list of the parameters you can control/operate from a computer keyboard, see below. Computer Keyboard Functions in Step Recording Keys Number keys (0 ~9 ) ENTER BS ESC Insert Delete SPACE Ctrl+X Ctrl+C Ctrl+V Ctrl+Z ALT+A ALT+B ALT+C ALT+D ALT+E ALT+F ALT+G ALT+H ALT+I ALT+J Function For typing in the desired timing (measure, beat, clock) or event data (value). Enters the event data (value) and moves to the next timing position. Enters the event data (value) and moves the cursor upward. Enters the event data (value) and moves the cursor downward. Moves the cursor leftward Moves the cursor rightward Deletes a character Cancels the value entry Inserts the new event Deletes the event of the current location Same as the [START/STOP] button on the panel. Deletes all the selected events and copies them to the clipboard. Copies all the selected events to the clipboard. Pastes all the event data that is currently contained in the clipboard. Cancels the value entry Same as the LCD [A] button Same as the LCD [B] button Same as the LCD [C] button Same as the LCD [D] button Same as the LCD [E] button Same as the LCD [F] button Same as the LCD [G] button Same as the LCD [H] button Same as the LCD [I] button Same as the LCD [J] button q q q q q q q q q q q q q q q q q q q q q q q q q q q q q q q q q q q q q q q q q q q Reference 103 101
-
 1
1 -
2
-
3
-
4
-
5
-
6
-
7
-
8
-
9
-
10
-
11
-
12
-
13
-
14
-
15
-
16
-
17
-
18
-
19
-
20
-
21
-
22
-
23
-
24
-
25
-
26
-
27
-
28
-
29
-
30
-
31
-
32
-
33
-
34
-
35
-
36
-
37
-
38
-
39
-
40
-
41
-
42
-
43
-
44
-
45
-
46
-
47
-
48
-
49
-
50
-
51
-
52
-
53
-
54
-
55
-
56
-
57
-
58
-
59
-
60
-
61
-
62
-
63
-
64
-
65
-
66
-
67
-
68
-
69
-
70
-
71
-
72
-
73
-
74
-
75
-
76
-
77
-
78
-
79
-
80
-
81
-
82
-
83
-
84
-
85
-
86
-
87
-
88
-
89
-
90
-
91
-
92
-
93
-
94
-
95
-
96
-
97
-
 98
98 -
 99
99 -
 100
100 -
 101
101 -
 102
102 -
 103
103 -
 104
104 -
 105
105 -
 106
106 -
 107
107 -
 108
108 -
109
-
110
-
111
-
112
-
113
-
114
-
115
-
116
-
117
-
118
-
119
-
120
-
121
-
122
-
123
-
124
-
125
-
126
-
127
-
128
-
129
-
130
-
131
-
132
-
133
-
134
-
135
-
136
-
137
-
138
-
139
-
140
-
141
-
142
-
143
-
144
-
145
-
146
-
147
-
148
-
149
-
150
-
151
-
152
-
153
-
154
-
155
-
156
-
157
-
158
-
159
-
160
-
161
-
162
-
163
-
164
-
165
-
166
-
167
-
168
-
169
-
170
-
171
-
172
-
173
-
174
-
175
-
176
-
177
-
178
-
179
-
180
-
181
-
182
-
183
-
184
-
185
-
186
-
187
-
188
-
189
-
190
-
191
-
192
-
193
-
194
-
195
-
196
-
197
-
198
-
199
-
200
-
201
-
202
-
203
-
204
-
205
-
206
-
207
-
208
-
209
-
210
-
211
-
212
-
213
-
214
 |
 |