Canon CanoScan FB 1200S Printing Guide - Page 32
Selecting Output Dimensions, Changing a Custom Resolution
 |
View all Canon CanoScan FB 1200S manuals
Add to My Manuals
Save this manual to your list of manuals |
Page 32 highlights
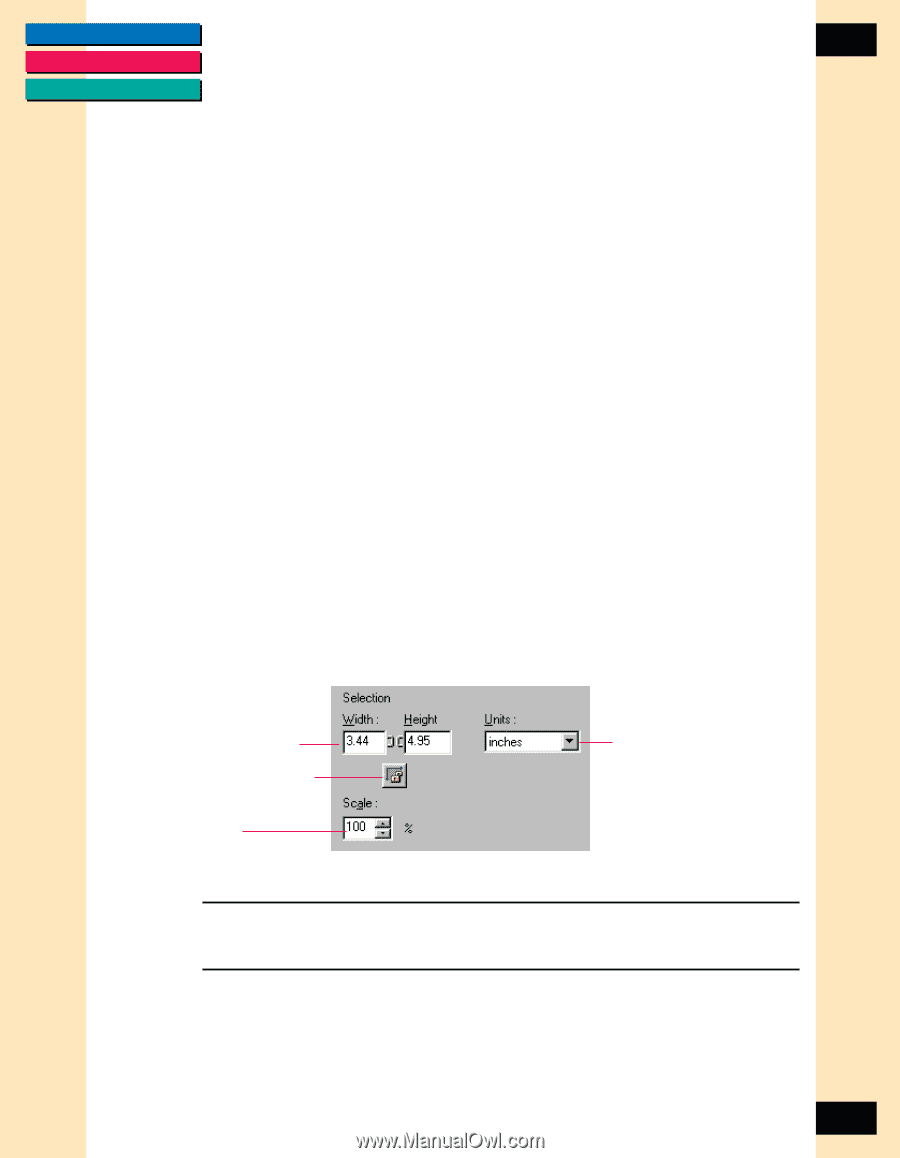
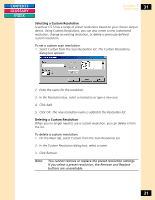
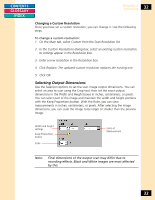
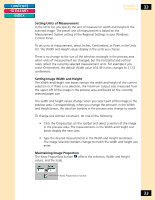
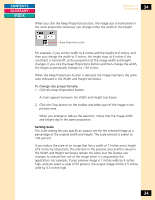
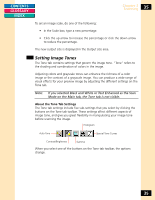
CONTENTS GLOSSARY INDEX Chapter 3 Scanning 32 Changing a Custom Resolution Once you have set a custom resolution, you can change it. Use the following steps. To change a custom resolution: 1. On the Main tab, select Custom from the Scan Resolution list. 2. In the Custom Resolutions dialog box, select an existing custom resolution. Its settings appear in the Resolution box. 3. Enter a new resolution in the Resolution box. 4. Click Replace. The updated custom resolution replaces the existing one. 5. Click OK. Selecting Output Dimensions Use the Selection options to set the scan image output dimensions. You can select an area to scan using the Crop tool, then set the exact output dimensions in the Width and Height boxes in inches, centimeters, or pixels. You can select part of the image and maintain the width and height portions with the Keep Proportions button. With the Ruler, you can view measurements in inches, centimeters, or pixels. After selecting the image dimensions, you can scale the image to be larger or smaller than the preview image. Width and height settings Keep Proportions button Scale Units of Measurement Note: Final dimensions of the output scan may differ due to rounding effects. Black and White images are most affected by this. 32
-
 1
1 -
2
-
3
-
4
-
5
-
6
-
7
-
8
-
9
-
10
-
11
-
12
-
13
-
14
-
15
-
16
-
17
-
18
-
19
-
20
-
21
-
22
-
23
-
24
-
25
-
26
-
 27
27 -
 28
28 -
 29
29 -
 30
30 -
 31
31 -
 32
32 -
 33
33 -
 34
34 -
 35
35 -
 36
36 -
 37
37 -
38
-
39
-
40
-
41
-
42
-
43
-
44
-
45
-
46
-
47
-
48
-
49
-
50
-
51
-
52
-
53
-
54
-
55
-
56
-
57
-
58
-
59
-
60
-
61
-
62
-
63
-
64
-
65
-
66
-
67
-
68
-
69
-
70
-
71
-
72
-
73
-
74
-
75
-
76
-
77
-
78
-
79
-
80
-
81
-
82
-
83
-
84
-
85
-
86
-
87
-
88
-
89
-
90
-
91
-
92
-
93
-
94
-
95
-
96
-
97
-
98
-
99
-
100
-
101
-
102
-
103
-
104
-
105
-
106
-
107
-
108
-
109
-
110
-
111
-
112
-
113
-
114
-
115
 |
 |