Epson PhotoPC 3000Z User Manual - Page 123
Getting Images That You Can Import, Get Photos, Select All, Photos, View Photo, Photo Info
 |
View all Epson PhotoPC 3000Z manuals
Add to My Manuals
Save this manual to your list of manuals |
Page 123 highlights
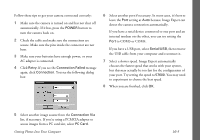
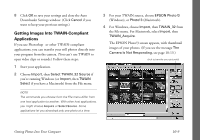
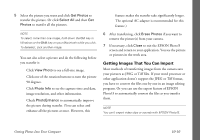
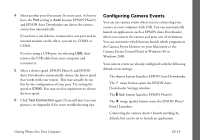
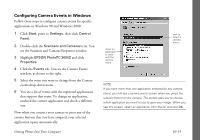
5 Select the picture you want and click Get Photos to transfer the picture. Or click Select All and then Get Photos to transfer all the pictures. NOTE To select more than one image, hold down the Ctrl key in Windows or the Shift key on your Macintosh while you click. To deselect, click another image. You can also select a picture and do the following before you transfer it: ◗ Click View Photo to see a full-size image. ◗ Click one of the rotation buttons to turn the picture 90 degrees. ◗ Click Photo Info to see the capture time and date, image resolution, and other information. ◗ Check PhotoEnhance to automatically improve the picture during transfer. (You can select and enhance all the pictures at once. However, this feature makes the transfer take significantly longer. The optional AC adapter is recommended for this feature.) 6 After transferring, click Erase Photos if you want to remove the picture(s) from your camera. 7 If necessary, click Close to exit the EPSON Photo!3 screen and return to your application. You see the picture or pictures in the work area. Getting Images That You Can Import Most methods of transferring images from the camera save your pictures as JPEG or Tiff files. If your word processor or other application doesn't support the JPEG or Tiff format, you have to convert the files one by one in an image editing program. Or you can use the export feature of EPSON Photo!3 to automatically convert the files as you transfer them. NOTE You can't export video clips or sounds with EPSON Photo!3. Getting Photos Into Your Computer 10-10
-
 1
1 -
2
-
3
-
4
-
5
-
6
-
7
-
8
-
9
-
10
-
11
-
12
-
13
-
14
-
15
-
16
-
17
-
18
-
19
-
20
-
21
-
22
-
23
-
24
-
25
-
26
-
27
-
28
-
29
-
30
-
31
-
32
-
33
-
34
-
35
-
36
-
37
-
38
-
39
-
40
-
41
-
42
-
43
-
44
-
45
-
46
-
47
-
48
-
49
-
50
-
51
-
52
-
53
-
54
-
55
-
56
-
57
-
58
-
59
-
60
-
61
-
62
-
63
-
64
-
65
-
66
-
67
-
68
-
69
-
70
-
71
-
72
-
73
-
74
-
75
-
76
-
77
-
78
-
79
-
80
-
81
-
82
-
83
-
84
-
85
-
86
-
87
-
88
-
89
-
90
-
91
-
92
-
93
-
94
-
95
-
96
-
97
-
98
-
99
-
100
-
101
-
102
-
103
-
104
-
105
-
106
-
107
-
108
-
109
-
110
-
111
-
112
-
113
-
114
-
115
-
116
-
117
-
 118
118 -
 119
119 -
 120
120 -
 121
121 -
 122
122 -
 123
123 -
 124
124 -
 125
125 -
 126
126 -
 127
127 -
 128
128 -
129
-
130
-
131
-
132
-
133
-
134
-
135
-
136
-
137
-
138
-
139
-
140
-
141
-
142
-
143
-
144
-
145
-
146
-
147
-
148
-
149
-
150
-
151
-
152
-
153
-
154
-
155
-
156
-
157
-
158
-
159
-
160
-
161
-
162
-
163
-
164
-
165
-
166
-
167
-
168
-
169
-
170
-
171
-
172
-
173
-
174
-
175
-
176
-
177
-
178
-
179
-
180
-
181
-
182
-
183
-
184
-
185
-
186
-
187
-
188
-
189
-
190
-
191
-
192
-
193
-
194
-
195
-
196
-
197
-
198
-
199
-
200
-
201
-
202
-
203
-
204
-
205
-
206
-
207
-
208
-
209
-
210
-
211
-
212
-
213
-
214
-
215
-
216
-
217
-
218
-
219
-
220
-
221
-
222
-
223
-
224
 |
 |
