Epson T3270 User Manual - Page 136
Pattern, Value, Extra High, Advanced Settings, Roll Paper Tension, Description, Paper Suction
 |
View all Epson T3270 manuals
Add to My Manuals
Save this manual to your list of manuals |
Page 136 highlights
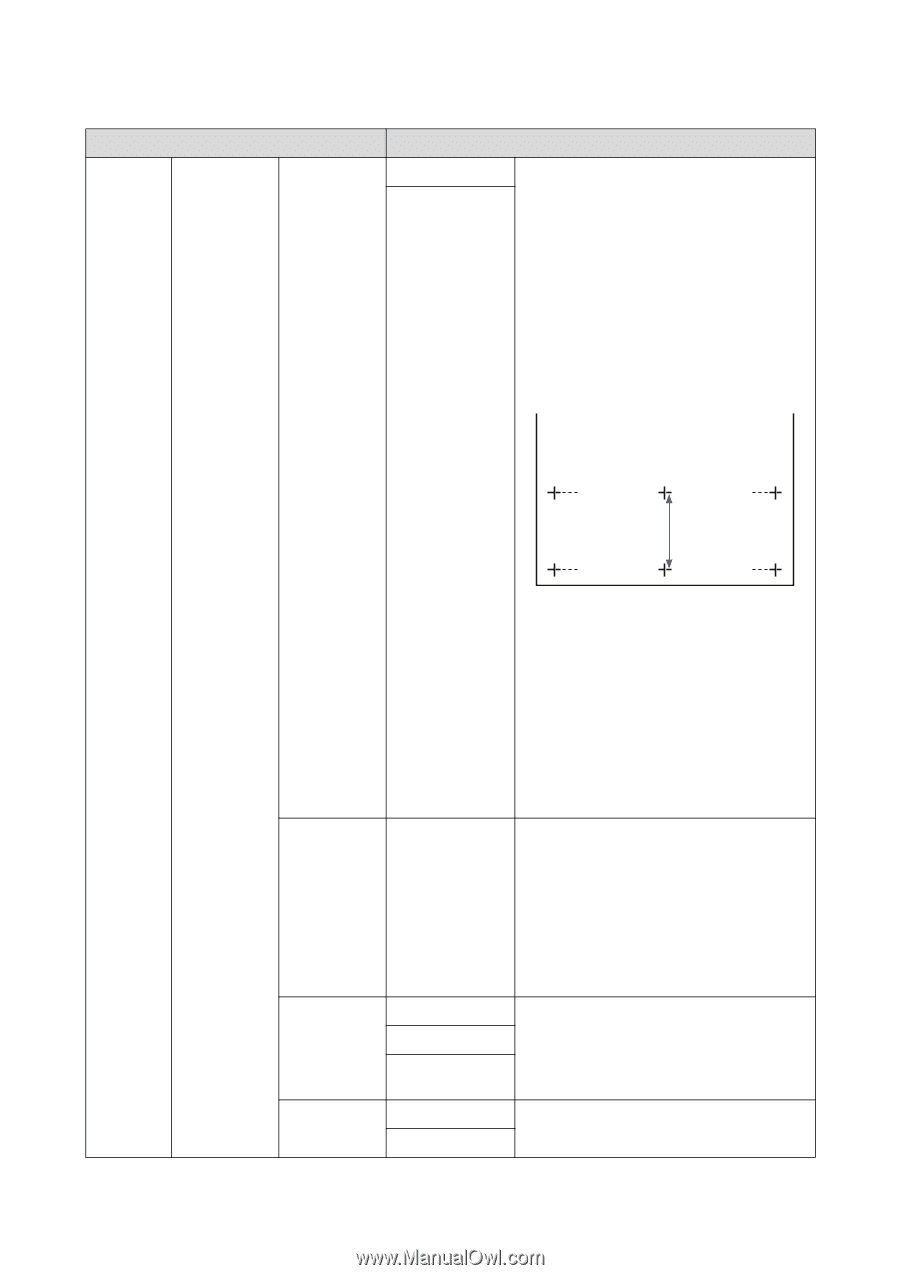
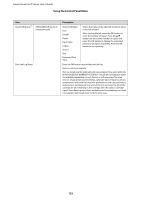
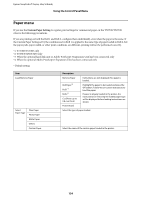
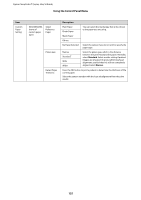
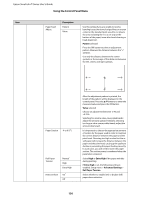
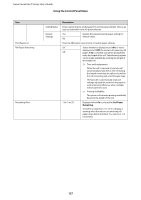
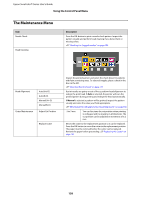
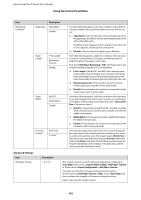
Epson SureColor T-Series User's Guide Using the Control Panel Menu Item Paper Feed Adjust Description Pattern Value Use this setting if you are unable to resolve banding issues (horizontal striped lines or uneven colors) in the standard print area (for cut sheets, the area excluding the 1 to 2 cm strip at the bottom of the paper) even after head cleaning or head alignment. Pattern selected Press the Z button to print an adjustment pattern. Measure the distance between the "+" symbols. Use only the distance between the center symbols or the average of the distances between the left, center, and right symbols. Paper Suction -4 to 0 (0*) Roll Paper Tension Normal* High Extra High Remove Skew On* Off After the adjustment pattern is printed, the length of the pattern will be displayed in the control panel. Press the u/d buttons to enter the measured value and press the Zbutton. Value selected Choose an adjustment between -0.70 and +0.70%. Selecting too small a value causes dark bands; adjust the amount upward. Similarly, choosing too large a value causes white bands; adjust the amount downward. It is important to choose the appropriate amount of suction for the paper used in order to maintain the correct distance between the paper and the print head. Choosing too high a value for thin or soft paper will increase the distance between the paper and the print head, causing print quality to decline or preventing the paper feeding correctly. In such cases, you will need to lower the paper suction. The suction power is weakened when the parameter is lowered. Select High or Extra High if the paper wrinkles during printing. If Extra High is set, the following setting is enabled: Setup menu > Advanced Settings > Roll Paper Tension. Select whether to enable (On) or disable (Off) paper skew reduction. 136
-
 1
1 -
2
-
3
-
4
-
5
-
6
-
7
-
8
-
9
-
10
-
11
-
12
-
13
-
14
-
15
-
16
-
17
-
18
-
19
-
20
-
21
-
22
-
23
-
24
-
25
-
26
-
27
-
28
-
29
-
30
-
31
-
32
-
33
-
34
-
35
-
36
-
37
-
38
-
39
-
40
-
41
-
42
-
43
-
44
-
45
-
46
-
47
-
48
-
49
-
50
-
51
-
52
-
53
-
54
-
55
-
56
-
57
-
58
-
59
-
60
-
61
-
62
-
63
-
64
-
65
-
66
-
67
-
68
-
69
-
70
-
71
-
72
-
73
-
74
-
75
-
76
-
77
-
78
-
79
-
80
-
81
-
82
-
83
-
84
-
85
-
86
-
87
-
88
-
89
-
90
-
91
-
92
-
93
-
94
-
95
-
96
-
97
-
98
-
99
-
100
-
101
-
102
-
103
-
104
-
105
-
106
-
107
-
108
-
109
-
110
-
111
-
112
-
113
-
114
-
115
-
116
-
117
-
118
-
119
-
120
-
121
-
122
-
123
-
124
-
125
-
126
-
127
-
128
-
129
-
130
-
 131
131 -
 132
132 -
 133
133 -
 134
134 -
 135
135 -
 136
136 -
 137
137 -
 138
138 -
 139
139 -
 140
140 -
 141
141 -
142
-
143
-
144
-
145
-
146
-
147
-
148
-
149
-
150
-
151
-
152
-
153
-
154
-
155
-
156
-
157
-
158
-
159
-
160
-
161
-
162
-
163
-
164
-
165
-
166
-
167
-
168
-
169
-
170
-
171
-
172
-
173
-
174
-
175
-
176
-
177
-
178
-
179
-
180
-
181
-
182
-
183
-
184
-
185
-
186
-
187
-
188
-
189
-
190
-
191
-
192
-
193
-
194
-
195
-
196
-
197
-
198
-
199
-
200
-
201
-
202
-
203
-
204
-
205
-
206
-
207
-
208
-
209
-
210
-
211
-
212
-
213
 |
 |