Epson T3270 User Manual - Page 69
Viewing and Printing Saved Print Jobs
 |
View all Epson T3270 manuals
Add to My Manuals
Save this manual to your list of manuals |
Page 69 highlights
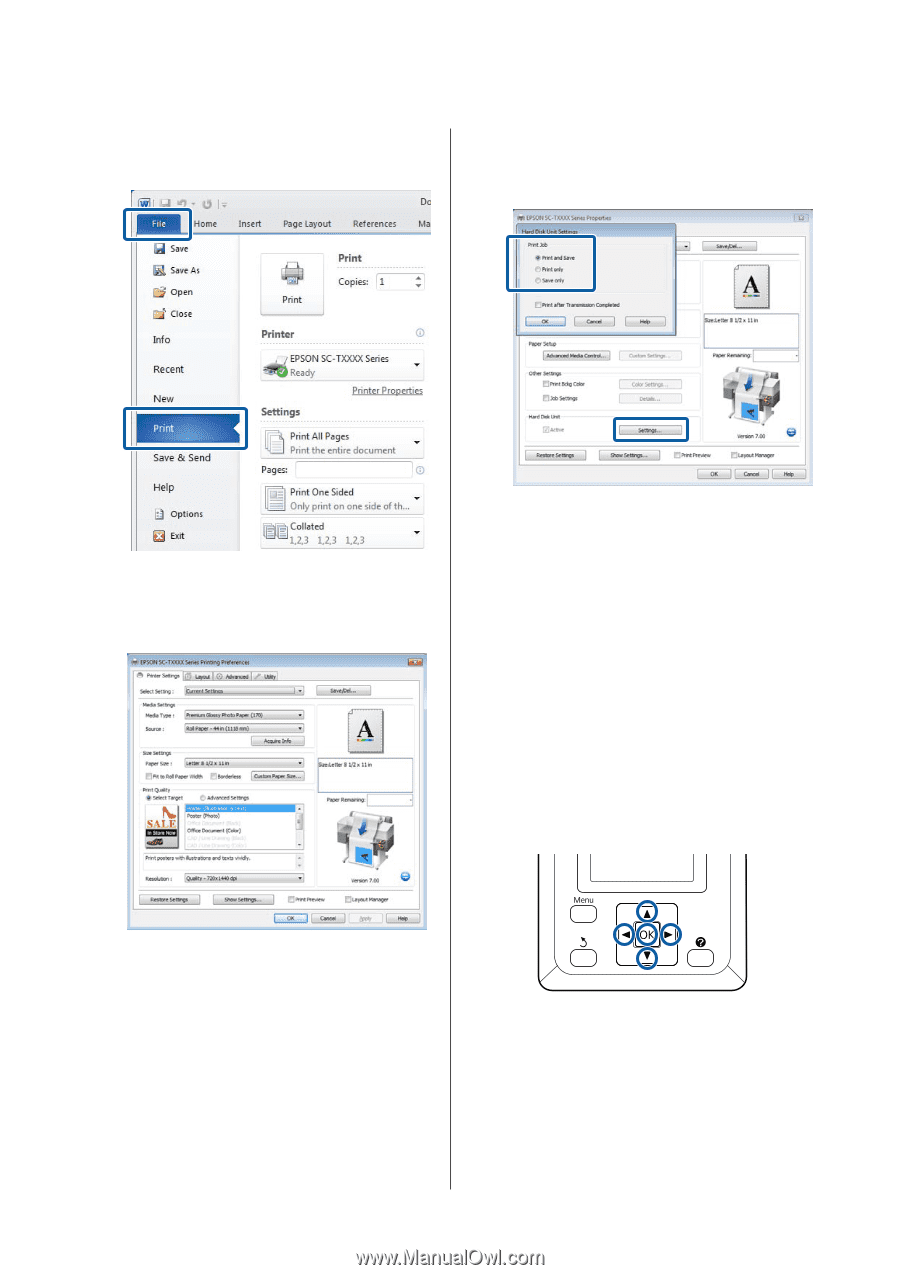
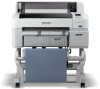
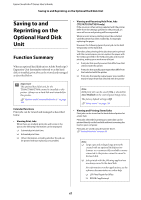
Epson SureColor T-Series User's Guide Saving to and Reprinting on the Optional Hard Disk Unit 1 When you have created the data, click Print in the File menu. 3 In the Advanced tab, click the Settings button in the Hard Disk Unit area and select Print and Save or Save only. 2 After confirming that the printer is selected, click Printer properties or Properties to display printer settings. 4 Next, print the document normally. If Save only is selected, the print job will be saved to the optional hard disk unit but not printed. Viewing and Printing Saved Print Jobs This section describes how to view and print saved jobs from the control panel. Buttons that are used in the following settings 1 Confirm that the printer is ready to print. Press the l/r buttons to highlight , and press the Z button. The Print Queues menu will be displayed. 2 Press the d/u buttons to highlight Stored Job and press the Z button. 69
-
 1
1 -
2
-
3
-
4
-
5
-
6
-
7
-
8
-
9
-
10
-
11
-
12
-
13
-
14
-
15
-
16
-
17
-
18
-
19
-
20
-
21
-
22
-
23
-
24
-
25
-
26
-
27
-
28
-
29
-
30
-
31
-
32
-
33
-
34
-
35
-
36
-
37
-
38
-
39
-
40
-
41
-
42
-
43
-
44
-
45
-
46
-
47
-
48
-
49
-
50
-
51
-
52
-
53
-
54
-
55
-
56
-
57
-
58
-
59
-
60
-
61
-
62
-
63
-
 64
64 -
 65
65 -
 66
66 -
 67
67 -
 68
68 -
 69
69 -
 70
70 -
 71
71 -
 72
72 -
 73
73 -
 74
74 -
75
-
76
-
77
-
78
-
79
-
80
-
81
-
82
-
83
-
84
-
85
-
86
-
87
-
88
-
89
-
90
-
91
-
92
-
93
-
94
-
95
-
96
-
97
-
98
-
99
-
100
-
101
-
102
-
103
-
104
-
105
-
106
-
107
-
108
-
109
-
110
-
111
-
112
-
113
-
114
-
115
-
116
-
117
-
118
-
119
-
120
-
121
-
122
-
123
-
124
-
125
-
126
-
127
-
128
-
129
-
130
-
131
-
132
-
133
-
134
-
135
-
136
-
137
-
138
-
139
-
140
-
141
-
142
-
143
-
144
-
145
-
146
-
147
-
148
-
149
-
150
-
151
-
152
-
153
-
154
-
155
-
156
-
157
-
158
-
159
-
160
-
161
-
162
-
163
-
164
-
165
-
166
-
167
-
168
-
169
-
170
-
171
-
172
-
173
-
174
-
175
-
176
-
177
-
178
-
179
-
180
-
181
-
182
-
183
-
184
-
185
-
186
-
187
-
188
-
189
-
190
-
191
-
192
-
193
-
194
-
195
-
196
-
197
-
198
-
199
-
200
-
201
-
202
-
203
-
204
-
205
-
206
-
207
-
208
-
209
-
210
-
211
-
212
-
213
 |
 |