Epson T3270 User Manual - Page 158
Minimizing Print Misalignments (Head Alignment), Epson Printer Utility 4, Head Cleaning, Utility
 |
View all Epson T3270 manuals
Add to My Manuals
Save this manual to your list of manuals |
Page 158 highlights
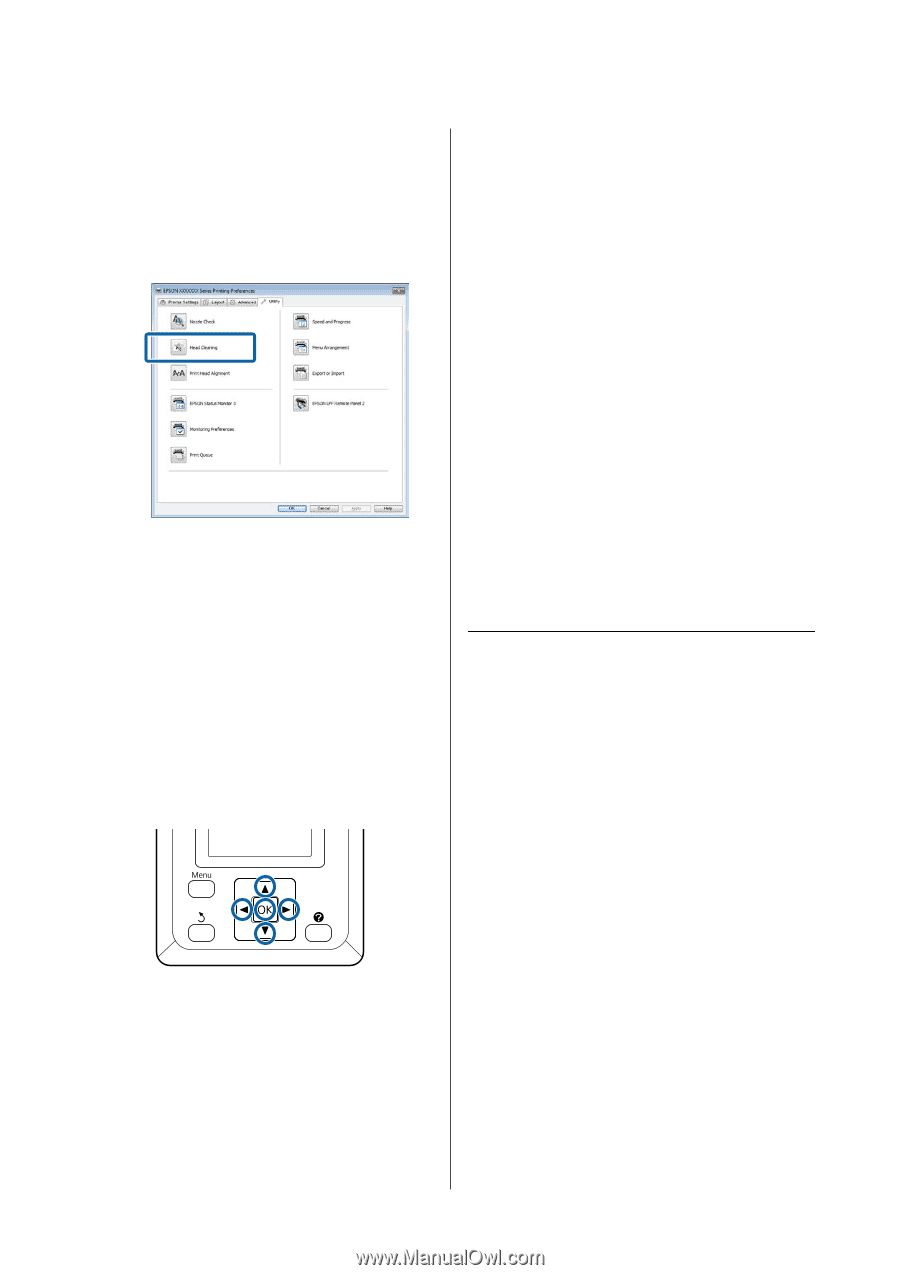
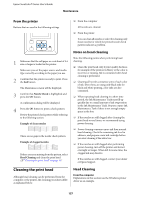
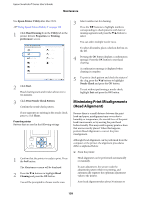
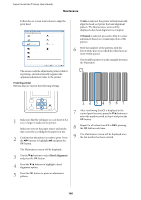
Epson SureColor T-Series User's Guide Maintenance Use Epson Printer Utility 4 for Mac OS X. U"Using Epson Printer Utility 4" on page 122 1 Click Head Cleaning from the Utility tab in the printer driver's Properties (or Printing preferences) screen. 2 Click Start. Head cleaning starts and it takes about one to ten minutes. 3 Click Print Nozzle Check Pattern. Confirm the nozzle check pattern. If any segments are missing in the nozzle check pattern, click Clean. From the printer Buttons that are used in the following settings 1 Confirm that the printer is ready to print. Press the " button. The Maintenance menu will be displayed. 2 Press the d/u buttons to highlight Head Cleaning and press the Z button. You will be prompted to choose nozzle rows. 3 Select nozzle rows for cleaning. Press the l/r buttons to highlight numbers corresponding to check patterns with faint or missing segments and press the d/u button to select. You can select multiple nozzle rows. To select all nozzles, place a check in the box on the left. 4 Pressing the Z button displays a confirmation message. Press the Z button to start head cleaning. A confirmation message is displayed when cleaning is complete. 5 To print a check pattern and check the status of the clog, press the d/u buttons to highlight Nozzle Check and press the Z button. To exit without performing a nozzle check, highlight Exit and press the Z button. Minimizing Print Misalignments (Head Alignment) Because there is a small distance between the print head and paper, misalignment may occur due to humidity or temperature, the inertial force of the print head's movements, or by moving the print head bidirectionally. This may result in grainy prints or lines that are incorrectly placed. When this happens, perform Head Alignment to correct the print misalignment. Although Head Alignment can be performed from the computer or the printer, the alignment procedures differ as explained below. O From the printer Head alignment can be performed automatically or manually. In auto adjustment, the sensor reads the adjustment pattern while it is printing, and automatically registers the optimum adjustment value to the printer. Auto head alignment takes about 30 minutes to 158
-
 1
1 -
2
-
3
-
4
-
5
-
6
-
7
-
8
-
9
-
10
-
11
-
12
-
13
-
14
-
15
-
16
-
17
-
18
-
19
-
20
-
21
-
22
-
23
-
24
-
25
-
26
-
27
-
28
-
29
-
30
-
31
-
32
-
33
-
34
-
35
-
36
-
37
-
38
-
39
-
40
-
41
-
42
-
43
-
44
-
45
-
46
-
47
-
48
-
49
-
50
-
51
-
52
-
53
-
54
-
55
-
56
-
57
-
58
-
59
-
60
-
61
-
62
-
63
-
64
-
65
-
66
-
67
-
68
-
69
-
70
-
71
-
72
-
73
-
74
-
75
-
76
-
77
-
78
-
79
-
80
-
81
-
82
-
83
-
84
-
85
-
86
-
87
-
88
-
89
-
90
-
91
-
92
-
93
-
94
-
95
-
96
-
97
-
98
-
99
-
100
-
101
-
102
-
103
-
104
-
105
-
106
-
107
-
108
-
109
-
110
-
111
-
112
-
113
-
114
-
115
-
116
-
117
-
118
-
119
-
120
-
121
-
122
-
123
-
124
-
125
-
126
-
127
-
128
-
129
-
130
-
131
-
132
-
133
-
134
-
135
-
136
-
137
-
138
-
139
-
140
-
141
-
142
-
143
-
144
-
145
-
146
-
147
-
148
-
149
-
150
-
151
-
152
-
 153
153 -
 154
154 -
 155
155 -
 156
156 -
 157
157 -
 158
158 -
 159
159 -
 160
160 -
 161
161 -
 162
162 -
 163
163 -
164
-
165
-
166
-
167
-
168
-
169
-
170
-
171
-
172
-
173
-
174
-
175
-
176
-
177
-
178
-
179
-
180
-
181
-
182
-
183
-
184
-
185
-
186
-
187
-
188
-
189
-
190
-
191
-
192
-
193
-
194
-
195
-
196
-
197
-
198
-
199
-
200
-
201
-
202
-
203
-
204
-
205
-
206
-
207
-
208
-
209
-
210
-
211
-
212
-
213
 |
 |