TASCAM SS-R200 100 SS-R200 SS-CDR200 Owners Manual - Page 16
TASCAM RC-SS2 wired remote control, A.CUE button
 |
View all TASCAM SS-R200 manuals
Add to My Manuals
Save this manual to your list of manuals |
Page 16 highlights
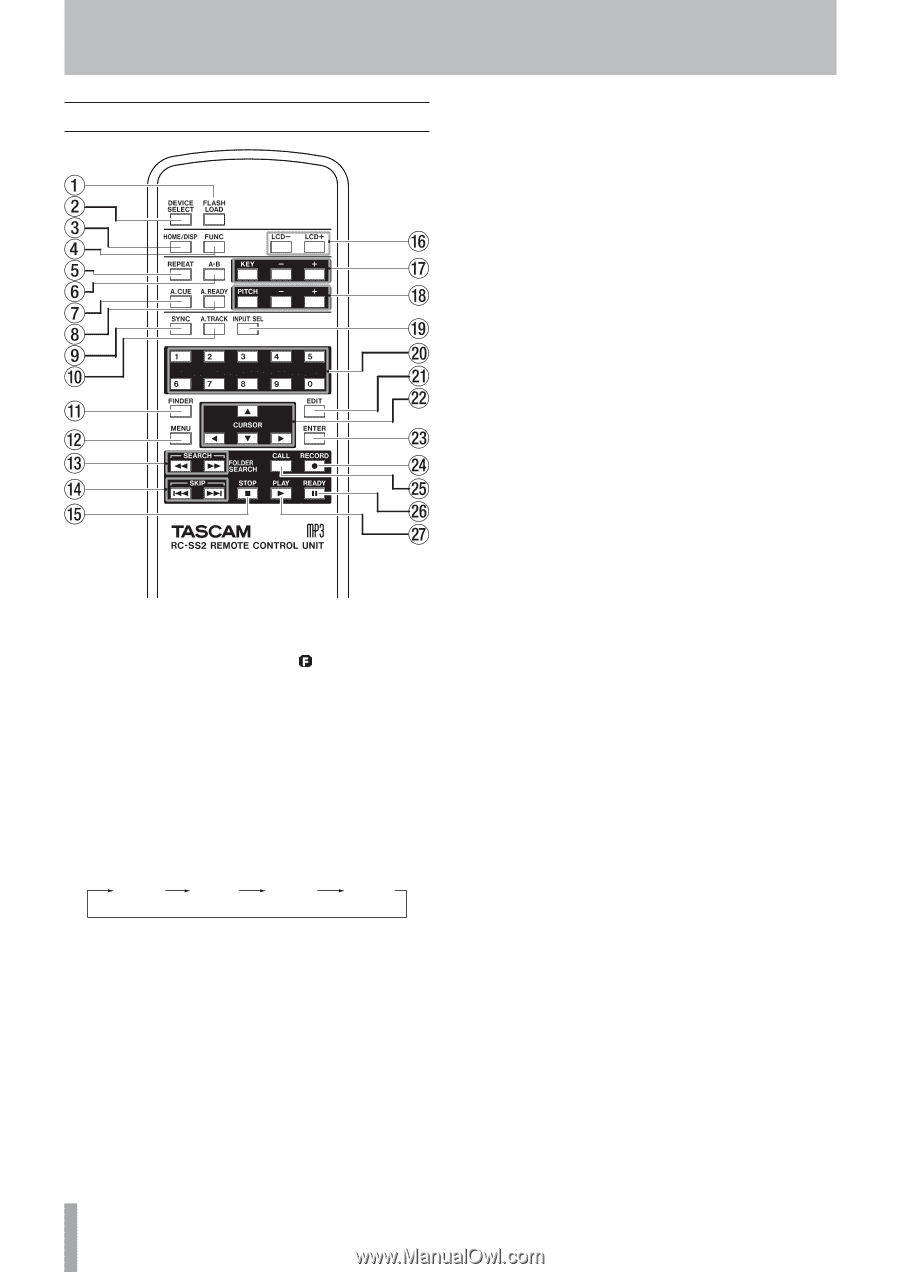
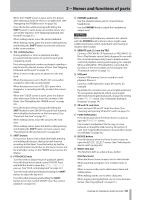
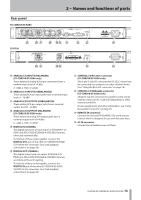
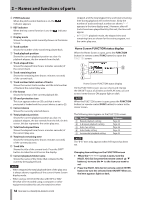
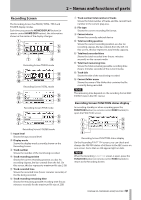
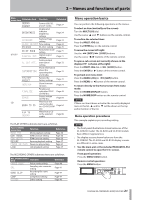
2 − Names and functions of parts TASCAM RC-SS2 wired remote control 1 FLASH LOAD button This loads the registered tracks in preparation for Flash Start. When the tracks are loaded, will appear on the Home Screen. (See "Flash Start function" on page 38.) 2 DEVICE SELECT button This has the same function as the front panel DEVICE button. 3 HOME/DISP button This has the same function as the front panel HOME/ DISPLAY button. Press when the Home Screen is open to change the Home Screen display mode. (See "Home Screen" on page 17.) TRACK mode TOTAL mode TITLE mode FOLDER mode 4 FUNC button This has the same function as the front panel FUNCTION button. 5 REPEAT button Turns the repeat playback function ON/OFF. (See "Ordinary repeat playback" on page 33.) 6 A-B button Use for A-B repeat playback operations. (See "A-B repeat playback" on page 34.) 7 A.CUE button Turns the Auto Cue function ON/OFF. (See "Auto Cue function" on page 34.) 16 TASCAM SS-CDR200/SS-R200/SS-R100 8 A.READY button Turns the Auto Ready function ON/OFF. (See "Auto Ready function" on page 35.) 9 SYNC button Turns sync recording ON/OFF. (See "Sync recording" on page 43.) 0 A.TRACK button Switches the Auto Track mode between OFF, LEVEL, DD and TIME. (See "Auto Track function" on page 45.) q FINDER button Opens the FINDER or USER PLAYLIST screen depending on the play area setting. (See "Opening the FINDER screen" on page 50 and "Editing the playlist (USB/SD/CF media only)" on page 60.) w MENU button This has the same function as the front panel MENU [JOG] button. e SEARCH (m and ,) buttons These have the same functions as the front panel m [SKIP]/, [LOCK] buttons. However, they do not function in menu mode. r SKIP (.and /) buttons These have the same functions as turning the front panel MULTI JOG dial. t STOP buttons This has the same function as the front panel STOP button. y LCD (-/+) buttons These adjust the contrast of the display. (See "Adjusting the display contrast" on page 24.) u KEY (-/+) buttons The KEY button has the same function as pressing the front panel PITCH knob while pressing and holding the SHIFT button. The -/+ buttons to the right of the KEY button have the same functions as turning the front panel PITCH knob while pressing and holding the SHIFT button. (See "Key control playback" on page 33.) i PITCH (-/+) buttons The PITCH button has the same function as pressing the front panel PITCH knob. The -/+ buttons to the right of the PITCH button have the same functions as turning the front panel PITCH knob. (See "Pitch control playback" on page 32.) o INPUT SEL button This selects the recording input source. You can choose unbalanced (RCA), balanced (XLR, SS-CDR200/SS-R200 only) or coaxial. (See "Selecting the input source" on page 40.) Balanced (XLR) cannot be selected on the SS-R100. p Number buttons Use these to select tracks. (See "Specifying a track number" on page 30.)
-
 1
1 -
2
-
3
-
4
-
5
-
6
-
7
-
8
-
9
-
10
-
 11
11 -
 12
12 -
 13
13 -
 14
14 -
 15
15 -
 16
16 -
 17
17 -
 18
18 -
 19
19 -
 20
20 -
 21
21 -
22
-
23
-
24
-
25
-
26
-
27
-
28
-
29
-
30
-
31
-
32
-
33
-
34
-
35
-
36
-
37
-
38
-
39
-
40
-
41
-
42
-
43
-
44
-
45
-
46
-
47
-
48
-
49
-
50
-
51
-
52
-
53
-
54
-
55
-
56
-
57
-
58
-
59
-
60
-
61
-
62
-
63
-
64
-
65
-
66
-
67
-
68
-
69
-
70
-
71
-
72
-
73
-
74
-
75
-
76
-
77
-
78
-
79
-
80
-
81
-
82
-
83
-
84
 |
 |