TASCAM SS-R200 100 SS-R200 SS-CDR200 Owners Manual - Page 35
Auto Ready function, Incremental playback function, Using the menu, Using the dedicated remote control
 |
View all TASCAM SS-R200 manuals
Add to My Manuals
Save this manual to your list of manuals |
Page 35 highlights
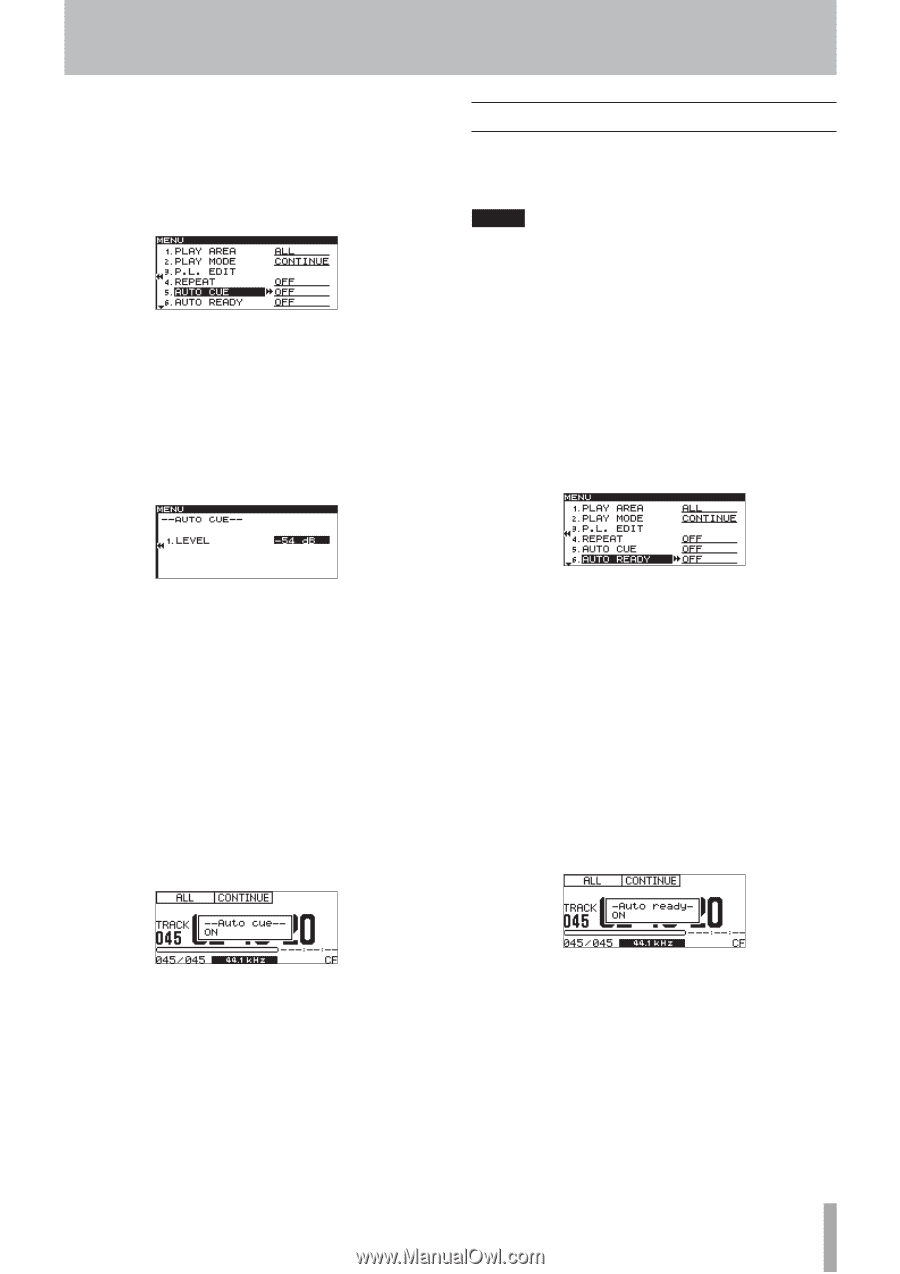
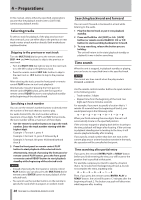
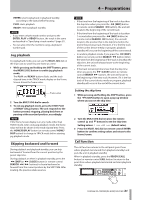
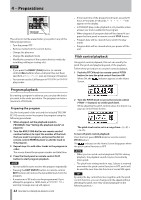
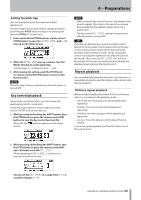
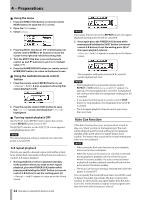
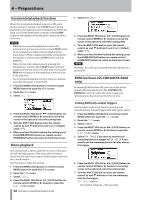
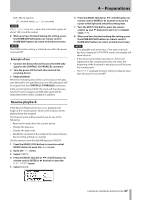
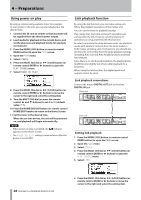
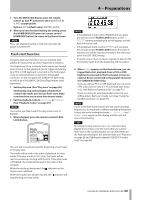
4 − Preparations 88 Using the menu 1 When stopped, press the MENU [JOG] button (or remote control MENU button) to open the MENU screen. 2 Open the PLAY menu. 3 Select AUTO CUE. 4 Press the MULTI JOG dial or , [LOCK] button (or remote control ENTER or t button) to move the cursor to the right and select the setting item. 5 Turn the MULTI JOG dial (or press the remote control 5/b buttons) to set it to ON (default value: OFF). 6 Press the MULTI JOG dial or , [LOCK] button (or remote control ENTER or t button) to open the AUTO CUE setting screen. Auto Ready function If the Auto Ready function is ON, when a track finishes playing, playback standby will occur at the beginning of the next track. NOTE • If the Auto Cue function is ON, playback standby will occur when sound starts in the next track rather than at the beginning of track. • When starting playback with the flash start function, the Auto Ready function is disabled. • The Auto Ready function setting is retained even after the power is turned OFF. 88 Using the menu 1 Press the MENU [JOG] button (or remote control MENU button) to open the MENU screen. 2 Open the PLAY menu. 3 Select AUTO READY. Set the Auto Cue level on this screen. 7 Turn the MULTI JOG dial (or press the remote control 5/b buttons) to set the desired Auto Cue LEVEL. Setting range: -24 dB - -72 dB (6 dB intervals, default value: -54 dB) 8 When you have finished making the setting, press the HOME/DISPLAY button (or remote control HOME/DISP button) to return to the Home Screen. 88 Using the dedicated remote control button 1 Press the remote control A.CUE button to turn the Auto Cue function ON and open a pop-up showing --Auto cue-- and ON. 4 Press the MULTI JOG dial or , [LOCK] button (or remote control ENTER or t button) to move the cursor to the right and select the setting item. 5 Turn the MULTI JOG dial (or press the remote control 5 and b buttons) to set it to ON (default value: OFF). 6 When you have finished making the setting, press the HOME/DISPLAY button (or remote control HOME/DISP button) to return to the Home Screen. 88 Using the dedicated remote control button 1 Press the remote control A.READY button to turn the Auto ready function ON and open a pop-up showing -Auto ready- and ON. 2 Press the remote control FUNC button to open the FUNCTION screen, and check that AUTO CUE is highlighted. 2 Press the remote control FUNC button to open the FUNCTION screen, and check that AUTO READY is highlighted. TASCAM SS-CDR200/SS-R200/SS-R100 35
-
 1
1 -
2
-
3
-
4
-
5
-
6
-
7
-
8
-
9
-
10
-
11
-
12
-
13
-
14
-
15
-
16
-
17
-
18
-
19
-
20
-
21
-
22
-
23
-
24
-
25
-
26
-
27
-
28
-
29
-
 30
30 -
 31
31 -
 32
32 -
 33
33 -
 34
34 -
 35
35 -
 36
36 -
 37
37 -
 38
38 -
 39
39 -
 40
40 -
41
-
42
-
43
-
44
-
45
-
46
-
47
-
48
-
49
-
50
-
51
-
52
-
53
-
54
-
55
-
56
-
57
-
58
-
59
-
60
-
61
-
62
-
63
-
64
-
65
-
66
-
67
-
68
-
69
-
70
-
71
-
72
-
73
-
74
-
75
-
76
-
77
-
78
-
79
-
80
-
81
-
82
-
83
-
84
 |
 |