TASCAM SS-R200 100 SS-R200 SS-CDR200 Owners Manual - Page 43
Finalizing CD-R/CD-RW discs (SS-CDR200 only), Finalizing discs, Sync recording, Sync settings
 |
View all TASCAM SS-R200 manuals
Add to My Manuals
Save this manual to your list of manuals |
Page 43 highlights
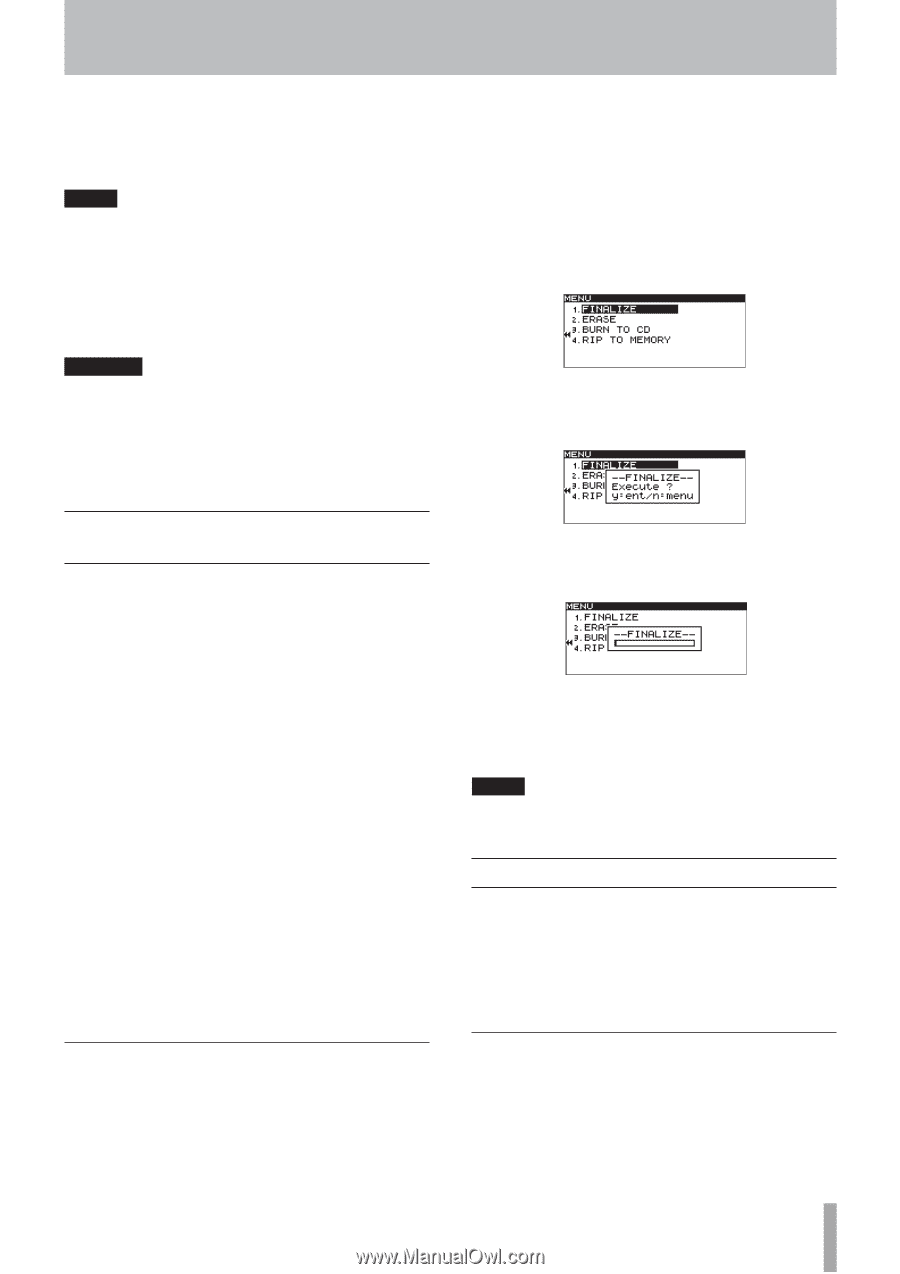
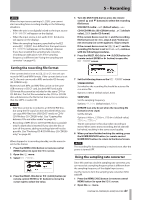
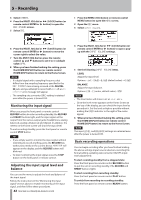
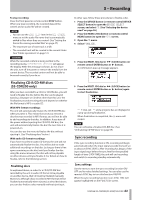
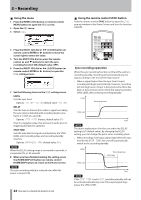
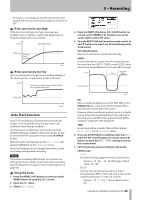
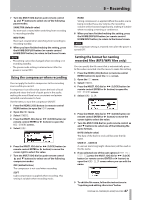
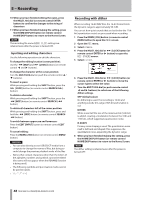
5 - Recording To stop recording: Press the front panel or remote control STOP button. When you stop recording, the recorded data will be written and an audio file will be created. NOTE • You can use the WORD CLIP item in the REC OTHERS menu to set the audio file name that is automatically added to files when they are created. (See "Setting the format for naming recorded files" on page 47.) • The maximum size of each track is 2 GB. • The recorded track will be created in the current folder. (See "Folder operations" on page 51.) CAUTION While the recorded content is being written to the recording media, INFORMATION WRITING will appear the display. While this message is shown, do not move the unit, turn off the power or remove the media from the current device. The recorded content will not be able to be saved correctly if you do so. Finalizing CD-R/CD-RW discs (SS-CDR200 only) After you have recorded to a CD-R or CD-RW disc, you will need to finalize the disc before the disc can be played back by a CD player or CD drive other than this unit. The finalization procedures using this unit depend on whether the file format is MP3 or audio CD. With MP3 format recordings: The unit will automatically finalize the CD-R/CD-RW disc when you eject it. This means that once you remove a disc that was recorded in MP3 format, you will not be able to add recordings to that disc. In addition, if you turn off the power without ejecting the CD-R/CD-RW disc, the unit will automatically finalize the disc the next time it is powered-on. You can also use the menu to finalize the disc without ejecting it. (See "Finalizing discs" below.) With audio CD format recordings: If you have recorded in audio CD format, the unit will not automatically finalize the disc. You will be able to make additional recordings on that disc (as long as there is free space remaining on the disc) until you finalize the disc using the menu. However, the disc will not be playable on other devices until you finalize it. For details on how to finalize, refer to the following section. Finalizing discs As explained above, in order for a CD-R/CD-RW disc recorded by the unit in audio CD format to be playable on another device, that CD must be finalized manually. Moreover, although discs recorded in MP3 format will be finalized automatically when ejected, as described above, you can also finalize a disc manually without ejecting it. In either case, follow these procedures to finalize a disc. 1 Press the DEVICE button (or remote control DEVICE SELECT button) to open the DEVICE SELECT screen, and select CD. (See "Selecting the device used" on page 26.) 2 Press the MENU [JOG] button (or remote control MENU button) to open the MENU screen. 3 Open the CD menu. 4 Select FINALIZE. 5 Press the MULTI JOG dial or , [LOCK] button (or remote control ENTER button or t button). A confirmation pop-up message appears. 6 Press the MULTI JOG dial or , [LOCK] button (or remote control ENTER button or t button) again to start finalization. -- FINALIZE -- and a progress bar are displayed in a pop-up during finalization. When finalization is completed, the CD menu will reopen. NOTE You can unfinalize a finalized CD-RW disc. (See "Unfinalizing CD-RW discs" on page 69.) Sync recording If the sync recording function is ON, recording will begin automatically when the input signal exceeds the level set in advance (SYNC LEVEL). After recording has begun, if the input signal stays below the sync level for the specified length of time (STOP TIME), the unit will end recording and switch to recording standby automatically. Sync settings Use the menu to turn the sync recording function ON/ OFF and to make detailed settings. You can also use the remote's SYNC key to turn this function ON/OFF. When the sync recording function is on, SYNC REC will appear highlighted on the FUNCTION screen. TASCAM SS-CDR200/SS-R200/SS-R100 43
-
 1
1 -
2
-
3
-
4
-
5
-
6
-
7
-
8
-
9
-
10
-
11
-
12
-
13
-
14
-
15
-
16
-
17
-
18
-
19
-
20
-
21
-
22
-
23
-
24
-
25
-
26
-
27
-
28
-
29
-
30
-
31
-
32
-
33
-
34
-
35
-
36
-
37
-
 38
38 -
 39
39 -
 40
40 -
 41
41 -
 42
42 -
 43
43 -
 44
44 -
 45
45 -
 46
46 -
 47
47 -
 48
48 -
49
-
50
-
51
-
52
-
53
-
54
-
55
-
56
-
57
-
58
-
59
-
60
-
61
-
62
-
63
-
64
-
65
-
66
-
67
-
68
-
69
-
70
-
71
-
72
-
73
-
74
-
75
-
76
-
77
-
78
-
79
-
80
-
81
-
82
-
83
-
84
 |
 |