TASCAM SS-R200 100 SS-R200 SS-CDR200 Owners Manual - Page 28
− Playback, Files that can be played, Tracks and files, Play area, Setting the play area
 |
View all TASCAM SS-R200 manuals
Add to My Manuals
Save this manual to your list of manuals |
Page 28 highlights
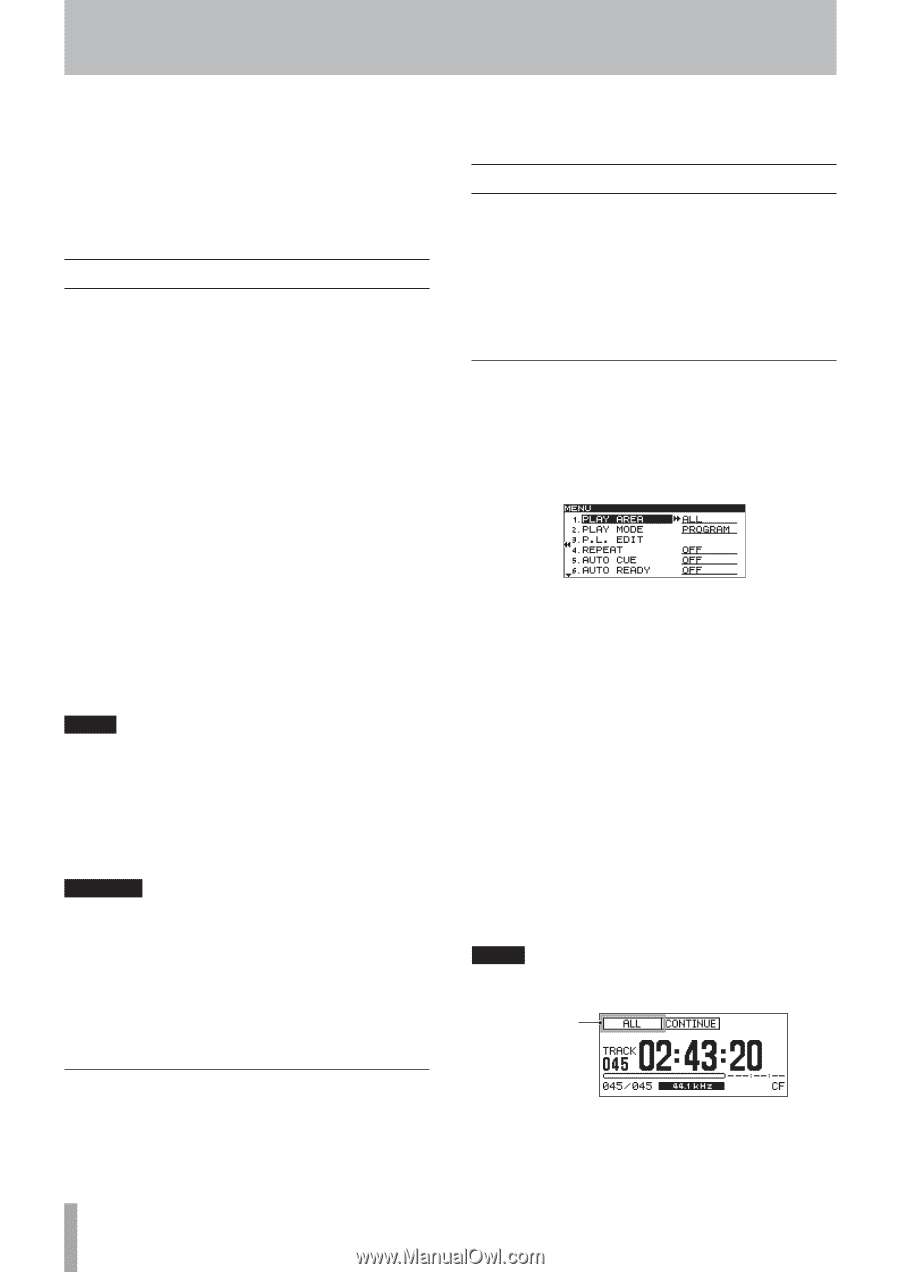
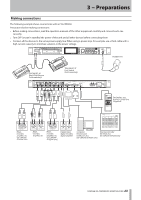
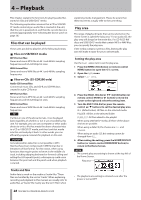
4 − Playback This chapter explains the functions for playing audio files stored on CDs and USB/SD/CF media. The following explanation assumes that a CD or USB/SD/ CF media containing an audio file is inserted in the unit, that the unit is powered-on, and that the current device is selected appropriately (See "Selecting the device used" on page 26.) Files that can be played These units are able to play files of the following formats. 88 Files on USB/SD/CF media MP3 format files Stereo and mono MP3 files at 44.1 and 48 kHz sampling frequencies and 64-320 kbps bit rates WAV format files Stereo and mono WAV files at 44.1 and 48 kHz sampling frequencies 88 Files on CDs (SS-CDR200 only) Audio CD format files Commercial music CDs, and CD-R and CD-RW discs created in audio CD format MP3 format files Stereo and mono MP3 files at 44.1 and 48 kHz sampling frequencies and 64-320 kbps bit rates WAV format files Stereo and mono WAV files at 44.1 and 48 kHz sampling frequencies TIP If a file is in one of the above formats, it can be played back regardless of whether or not it was recorded by this unit. For example, you can use a computer or other audio device to write a file that meets the above characteristics to a CD or USB/SD/CF media, and then load that media into this unit and play it back. In other words, you can efficiently prepare materials for playback on this unit. CAUTION Accurate position detection is not possible in MP3 files that have been compressed in VBR format due to limitations of that format. For this reason, when using functions that require points to be set in the middle of a track, including skipping backward or forward, calling and setting the A-B repeat A point, a discrepancy could occur between the point set and the point used when playback is started. Tracks and files Audio data is saved on the media as "audio files." These files are handled by the unit as "tracks." When explaining recording and playback in this manual, we usually refer to audio files as "tracks." We mainly use the term "files" when 28 TASCAM SS-CDR200/SS-R200/SS-R100 explaining media management. Please be aware that these two terms actually refer to the same thing. Play area The range of playback tracks that can be selected on the Home Screen is called the "play area." For an audio CD, the play area will always be the entire disc. For CD-R/CD-RW discs and USB/SD/CF media that contain MP3 or WAV files, you can specify the play area. If the media contains numerous files, limiting the play area will make it easier for you to select tracks. Setting the play area Use the PLAY AREA item to set the play area. 1 Press the MENU [JOG] button (or remote control MENU button) to open the MENU screen. 2 Open the PLAY menu. 3 Select PLAY AREA. 4 Press the MULTI JOG dial or , [LOCK] button (or remote control ENTER or t button) to move the cursor to the right and select the setting item. 5 Turn the MULTI JOG dial (or press the remote control 5/b buttons) to set the desired play area. ALL (default value): All files on the selected media FOLDER: All files in the selected folder PLAYLIST: All files added to the playlist When using USB/SD/CF media, all three of the above choices are possible. When using a data CD, the choices are ALL and FOLDER. When using an audio CD, this setting cannot be changed from ALL. 6 After making the setting, press the HOME/DISPLAY button (or remote control HOME/DISP button) to return to the Home Screen. NOTE • The current play area setting is shown at the top left of the Home Screen. Play area • The playback area setting is retained even after the power is turned OFF.
-
 1
1 -
2
-
3
-
4
-
5
-
6
-
7
-
8
-
9
-
10
-
11
-
12
-
13
-
14
-
15
-
16
-
17
-
18
-
19
-
20
-
21
-
22
-
 23
23 -
 24
24 -
 25
25 -
 26
26 -
 27
27 -
 28
28 -
 29
29 -
 30
30 -
 31
31 -
 32
32 -
 33
33 -
34
-
35
-
36
-
37
-
38
-
39
-
40
-
41
-
42
-
43
-
44
-
45
-
46
-
47
-
48
-
49
-
50
-
51
-
52
-
53
-
54
-
55
-
56
-
57
-
58
-
59
-
60
-
61
-
62
-
63
-
64
-
65
-
66
-
67
-
68
-
69
-
70
-
71
-
72
-
73
-
74
-
75
-
76
-
77
-
78
-
79
-
80
-
81
-
82
-
83
-
84
 |
 |