HP 450c Service Manual - Page 129
Removing the Bail Assembly, Removal, Installation
 |
View all HP 450c manuals
Add to My Manuals
Save this manual to your list of manuals |
Page 129 highlights
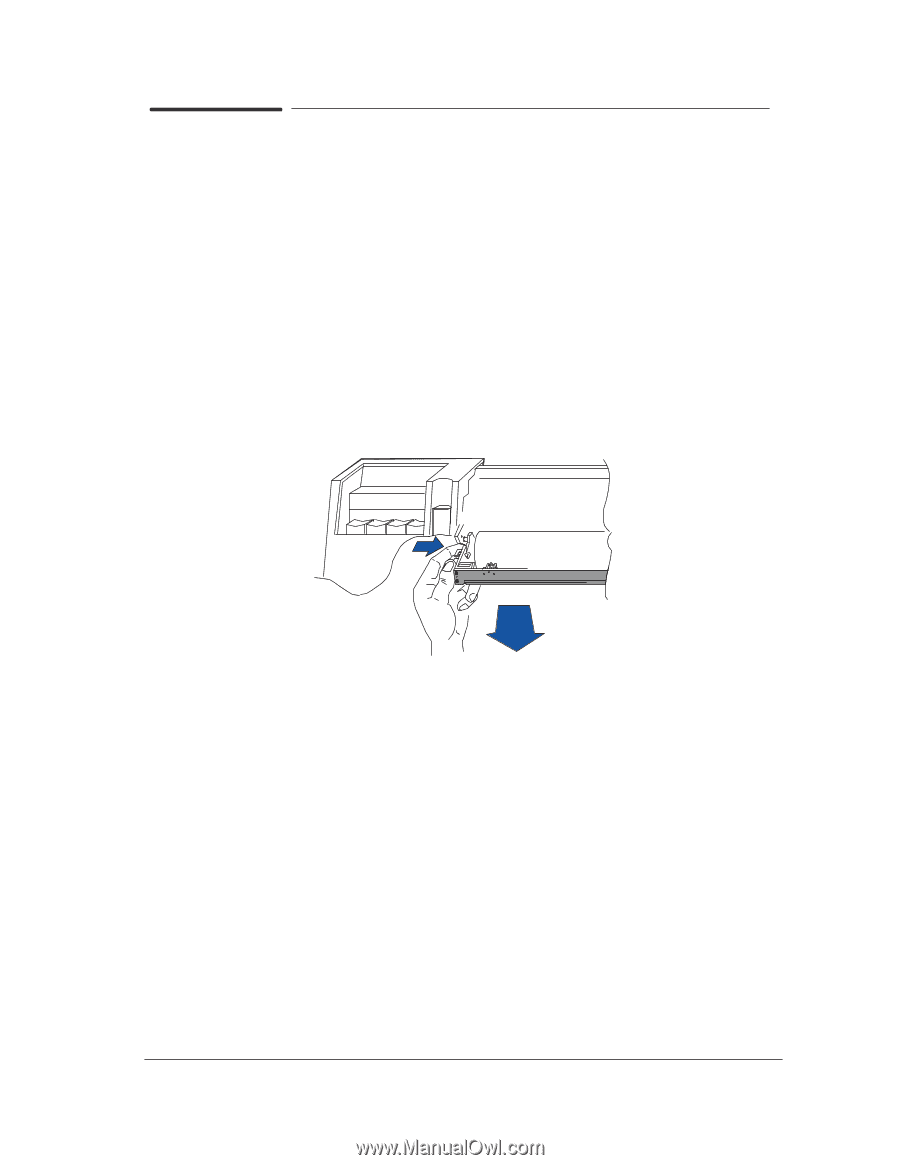
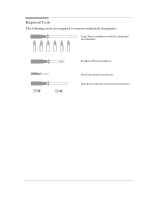
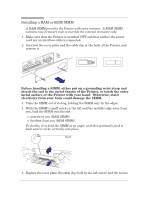
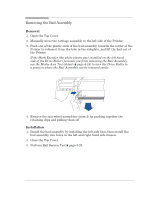
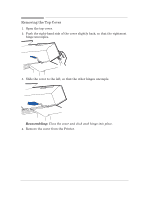
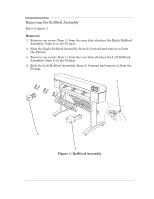
Removing the Bail Assembly Removal 1. Open the Top Cover. 2. Manually move the carriage assembly to the left side of the Printer. 3. Push one of the plastic ends of the bail assembly towards the center of the Printer to release it from the hole in the sideplate, and lift the bail out of the Printer. If the Mark Encoder (the white plastic part installed on the left hand side of the Drive Roller) prevents you from removing the Bail Assembly, use the MediaĆAxis Test (details ' page 4Ć16) to turn the Drive Roller to a position where the Bail Assembly can be removed easily. 4. Remove the star wheel assemblies (item 2) by pushing together the retaining clips and pulling them off Installation 1. Install the bail assembly by installing the left side first, then install the bail assembly into holes in the left and right hand side chassis. 2. Close the Top Cover. 3. Perform Bail Service Test ' page 4Ć23. Removal and Installation HP DesignJet 430, 450C and 455CA Printers 8-7
-
 1
1 -
2
-
3
-
4
-
5
-
6
-
7
-
8
-
9
-
10
-
11
-
12
-
13
-
14
-
15
-
16
-
17
-
18
-
19
-
20
-
21
-
22
-
23
-
24
-
25
-
26
-
27
-
28
-
29
-
30
-
31
-
32
-
33
-
34
-
35
-
36
-
37
-
38
-
39
-
40
-
41
-
42
-
43
-
44
-
45
-
46
-
47
-
48
-
49
-
50
-
51
-
52
-
53
-
54
-
55
-
56
-
57
-
58
-
59
-
60
-
61
-
62
-
63
-
64
-
65
-
66
-
67
-
68
-
69
-
70
-
71
-
72
-
73
-
74
-
75
-
76
-
77
-
78
-
79
-
80
-
81
-
82
-
83
-
84
-
85
-
86
-
87
-
88
-
89
-
90
-
91
-
92
-
93
-
94
-
95
-
96
-
97
-
98
-
99
-
100
-
101
-
102
-
103
-
104
-
105
-
106
-
107
-
108
-
109
-
110
-
111
-
112
-
113
-
114
-
115
-
116
-
117
-
118
-
119
-
120
-
121
-
122
-
123
-
 124
124 -
 125
125 -
 126
126 -
 127
127 -
 128
128 -
 129
129 -
 130
130 -
 131
131 -
 132
132 -
 133
133 -
 134
134 -
135
-
136
-
137
-
138
-
139
-
140
-
141
-
142
-
143
-
144
-
145
-
146
-
147
-
148
-
149
-
150
-
151
-
152
-
153
-
154
-
155
-
156
-
157
-
158
-
159
-
160
-
161
-
162
-
163
-
164
-
165
-
166
-
167
-
168
-
169
-
170
-
171
-
172
-
173
-
174
-
175
-
176
-
177
-
178
-
179
-
180
-
181
-
182
-
183
-
184
-
185
-
186
-
187
-
188
-
189
-
190
-
191
-
192
-
193
-
194
-
195
-
196
-
197
-
198
-
199
-
200
-
201
-
202
-
203
-
204
-
205
-
206
-
207
-
208
 |
 |