HP 450c Service Manual - Page 49
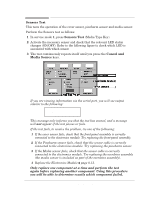
Sensors Test, Cancel and, Media Source, Media Type Key.
 |
View all HP 450c manuals
Add to My Manuals
Save this manual to your list of manuals |
Page 49 highlights
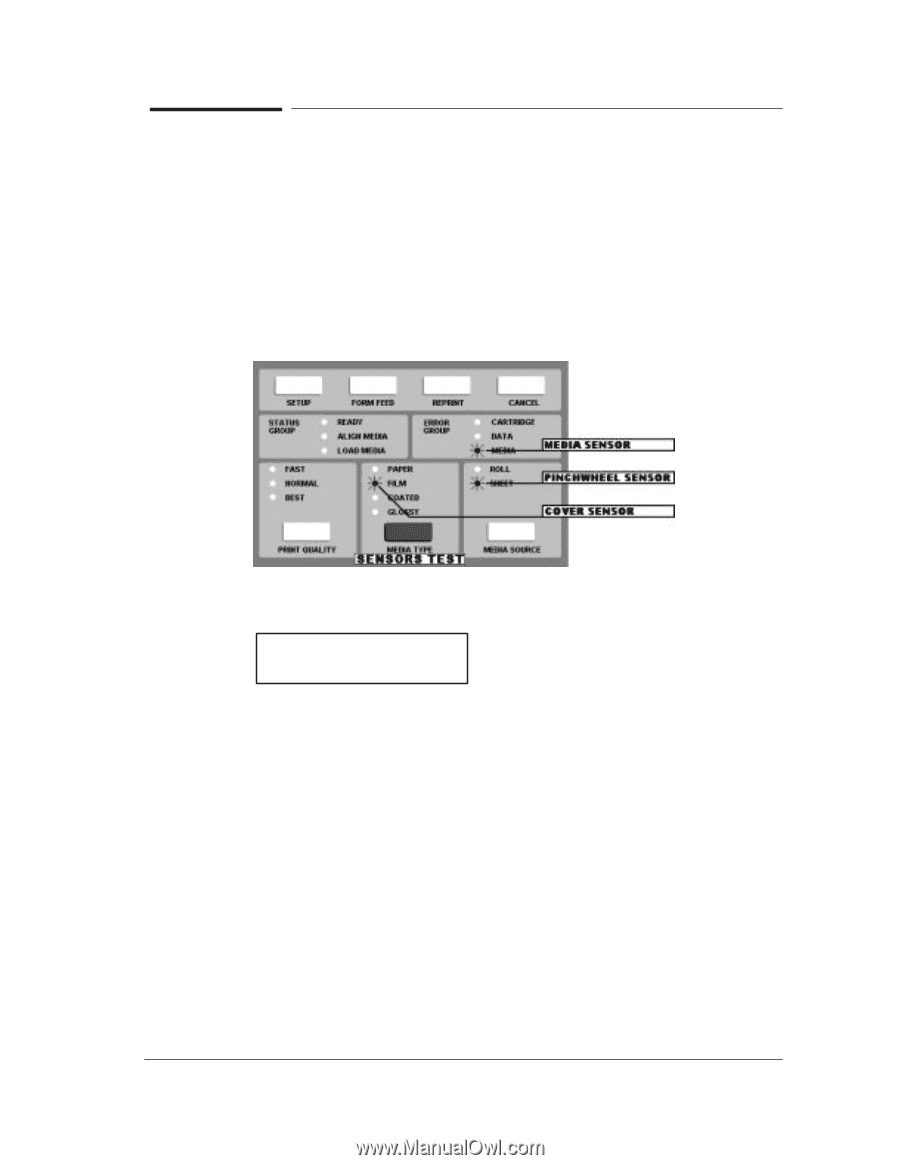
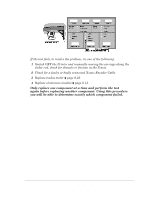
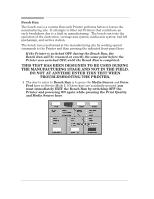
Sensors Test This tests the operation of the cover sensor, pincharm sensor and media sensor. Perform the Sensors test as follows: 1 In service mode 1, press Sensors Test (Media Type Key). 2 Activate the necessary sensor and check that the relevant LED status changes (ON/OFF). Refer to the following figure to check which LED is associated with which sensor. 3 The test continuously repeats itself until you press the Cancel and Media Source keys. If you are viewing information via the serial port, you will see output similar to the following: 5. - SENSORS TEST This message only informs you that the test has started, and a message will not appear if the test passes or fails. If the test fails, to resolve the problem, try one of the following: 1 If the cover sensor fails, check that the frontĆpanel assembly is correctly connected to the electronics module. Try replacing the frontĆpanel assembly. 2 If the Pincharm sensor fails, check that the sensor cable is correctly connected to the electronics module. Try replacing the pincharm sensor. 3 If the Media sensor fails, check that the sensor cable is correctly connected to the electronics module. Try replacing the overdrive assembly (the media sensor is included as part of the overdrive assembly). 4 Replace the Electronics Module ' page 8Ć13. Only replace one component at a time and perform the test again before replacing another component. Using this procedure you will be able to determine exactly which component failed. Service Tests HP DesignJet 430, 450C and 455CA Printers 4-15
-
 1
1 -
2
-
3
-
4
-
5
-
6
-
7
-
8
-
9
-
10
-
11
-
12
-
13
-
14
-
15
-
16
-
17
-
18
-
19
-
20
-
21
-
22
-
23
-
24
-
25
-
26
-
27
-
28
-
29
-
30
-
31
-
32
-
33
-
34
-
35
-
36
-
37
-
38
-
39
-
40
-
41
-
42
-
43
-
 44
44 -
 45
45 -
 46
46 -
 47
47 -
 48
48 -
 49
49 -
 50
50 -
 51
51 -
 52
52 -
 53
53 -
 54
54 -
55
-
56
-
57
-
58
-
59
-
60
-
61
-
62
-
63
-
64
-
65
-
66
-
67
-
68
-
69
-
70
-
71
-
72
-
73
-
74
-
75
-
76
-
77
-
78
-
79
-
80
-
81
-
82
-
83
-
84
-
85
-
86
-
87
-
88
-
89
-
90
-
91
-
92
-
93
-
94
-
95
-
96
-
97
-
98
-
99
-
100
-
101
-
102
-
103
-
104
-
105
-
106
-
107
-
108
-
109
-
110
-
111
-
112
-
113
-
114
-
115
-
116
-
117
-
118
-
119
-
120
-
121
-
122
-
123
-
124
-
125
-
126
-
127
-
128
-
129
-
130
-
131
-
132
-
133
-
134
-
135
-
136
-
137
-
138
-
139
-
140
-
141
-
142
-
143
-
144
-
145
-
146
-
147
-
148
-
149
-
150
-
151
-
152
-
153
-
154
-
155
-
156
-
157
-
158
-
159
-
160
-
161
-
162
-
163
-
164
-
165
-
166
-
167
-
168
-
169
-
170
-
171
-
172
-
173
-
174
-
175
-
176
-
177
-
178
-
179
-
180
-
181
-
182
-
183
-
184
-
185
-
186
-
187
-
188
-
189
-
190
-
191
-
192
-
193
-
194
-
195
-
196
-
197
-
198
-
199
-
200
-
201
-
202
-
203
-
204
-
205
-
206
-
207
-
208
 |
 |