HP 450c Service Manual - Page 62
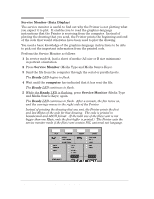
Media Source, Color Configuration, Print Quality + Media Type, Configuration Print Quality + Setup
 |
View all HP 450c manuals
Add to My Manuals
Save this manual to your list of manuals |
Page 62 highlights
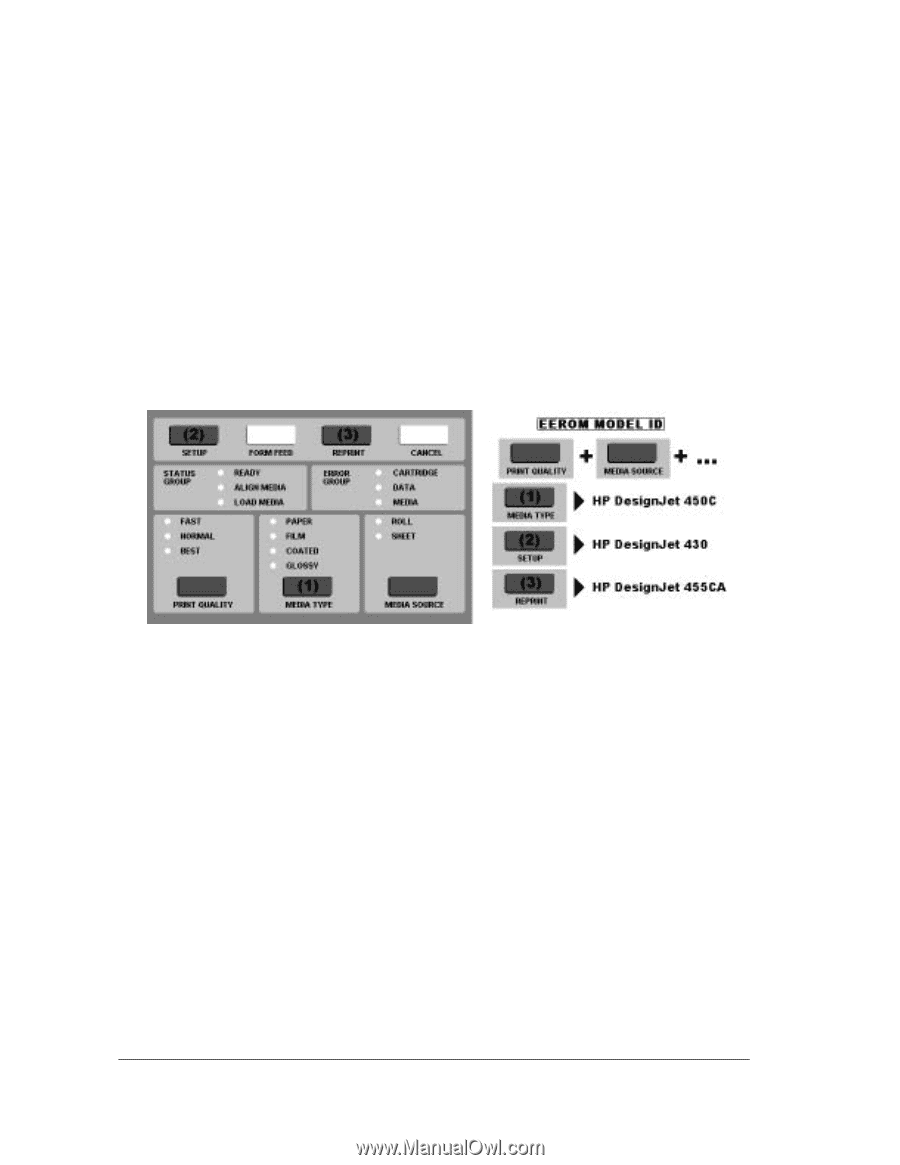
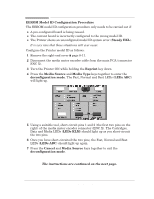
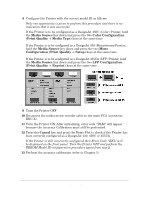
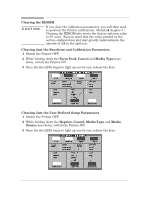
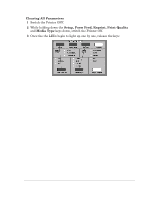
8 Configure the Printer with the correct model ID as follows: Only one opportunity is given to perform this procedure and there is no indication that it was successful. If the Printer is to be configured as a DesignJet 450C (Color) Printer, hold the Media Source key down and press the two Color Configuration (Print Quality + Media Type) keys at the same time. If the Printer is to be configured as a DesignJet 430 (Monochrome)Printer, hold the Media Source key down and press the two Mono Configuration (Print Quality + Setup) keys at the same time. If the Printer is to be configured as a DesignJet 455CA (LFP) Printer, hold the Media Source key down and press the two LFP Configuration (Print Quality + Reprint) keys at the same time. 9 Turn the Printer OFF. 10 Reconnect the media motor encoder cable to the main PCA (connector ENC X). 11 Turn the Printer ON. After initializing, error code DLM" will appear because the Accuracy Calibration must still be performed. 12 Press the Cancel key and print the Demo Plot to check if the Printer has been correctly configured as a DesignJet 430, 450C or 455CA. If the Printer is still incorrectly configured then Error Code EKL" will be displayed on the front panel. Turn the Printer OFF and perform the EEROM Model ID configuration procedure again from step 2. 13 Perform the accuracy calibration (refer to Chapter 5). 4-28 HP DesignJet 430, 450C and 455CA Printers Service Tests
-
 1
1 -
2
-
3
-
4
-
5
-
6
-
7
-
8
-
9
-
10
-
11
-
12
-
13
-
14
-
15
-
16
-
17
-
18
-
19
-
20
-
21
-
22
-
23
-
24
-
25
-
26
-
27
-
28
-
29
-
30
-
31
-
32
-
33
-
34
-
35
-
36
-
37
-
38
-
39
-
40
-
41
-
42
-
43
-
44
-
45
-
46
-
47
-
48
-
49
-
50
-
51
-
52
-
53
-
54
-
55
-
56
-
 57
57 -
 58
58 -
 59
59 -
 60
60 -
 61
61 -
 62
62 -
 63
63 -
 64
64 -
 65
65 -
 66
66 -
 67
67 -
68
-
69
-
70
-
71
-
72
-
73
-
74
-
75
-
76
-
77
-
78
-
79
-
80
-
81
-
82
-
83
-
84
-
85
-
86
-
87
-
88
-
89
-
90
-
91
-
92
-
93
-
94
-
95
-
96
-
97
-
98
-
99
-
100
-
101
-
102
-
103
-
104
-
105
-
106
-
107
-
108
-
109
-
110
-
111
-
112
-
113
-
114
-
115
-
116
-
117
-
118
-
119
-
120
-
121
-
122
-
123
-
124
-
125
-
126
-
127
-
128
-
129
-
130
-
131
-
132
-
133
-
134
-
135
-
136
-
137
-
138
-
139
-
140
-
141
-
142
-
143
-
144
-
145
-
146
-
147
-
148
-
149
-
150
-
151
-
152
-
153
-
154
-
155
-
156
-
157
-
158
-
159
-
160
-
161
-
162
-
163
-
164
-
165
-
166
-
167
-
168
-
169
-
170
-
171
-
172
-
173
-
174
-
175
-
176
-
177
-
178
-
179
-
180
-
181
-
182
-
183
-
184
-
185
-
186
-
187
-
188
-
189
-
190
-
191
-
192
-
193
-
194
-
195
-
196
-
197
-
198
-
199
-
200
-
201
-
202
-
203
-
204
-
205
-
206
-
207
-
208
 |
 |