Kyocera KM-C3232E C2525E/C3225E/C3232E/C4035E Operation Guide (Basic) - Page 110
Database Connection Setup, Scan. Setup, Scanner Address, Waiting Scan, Start, Connects
 |
View all Kyocera KM-C3232E manuals
Add to My Manuals
Save this manual to your list of manuals |
Page 110 highlights
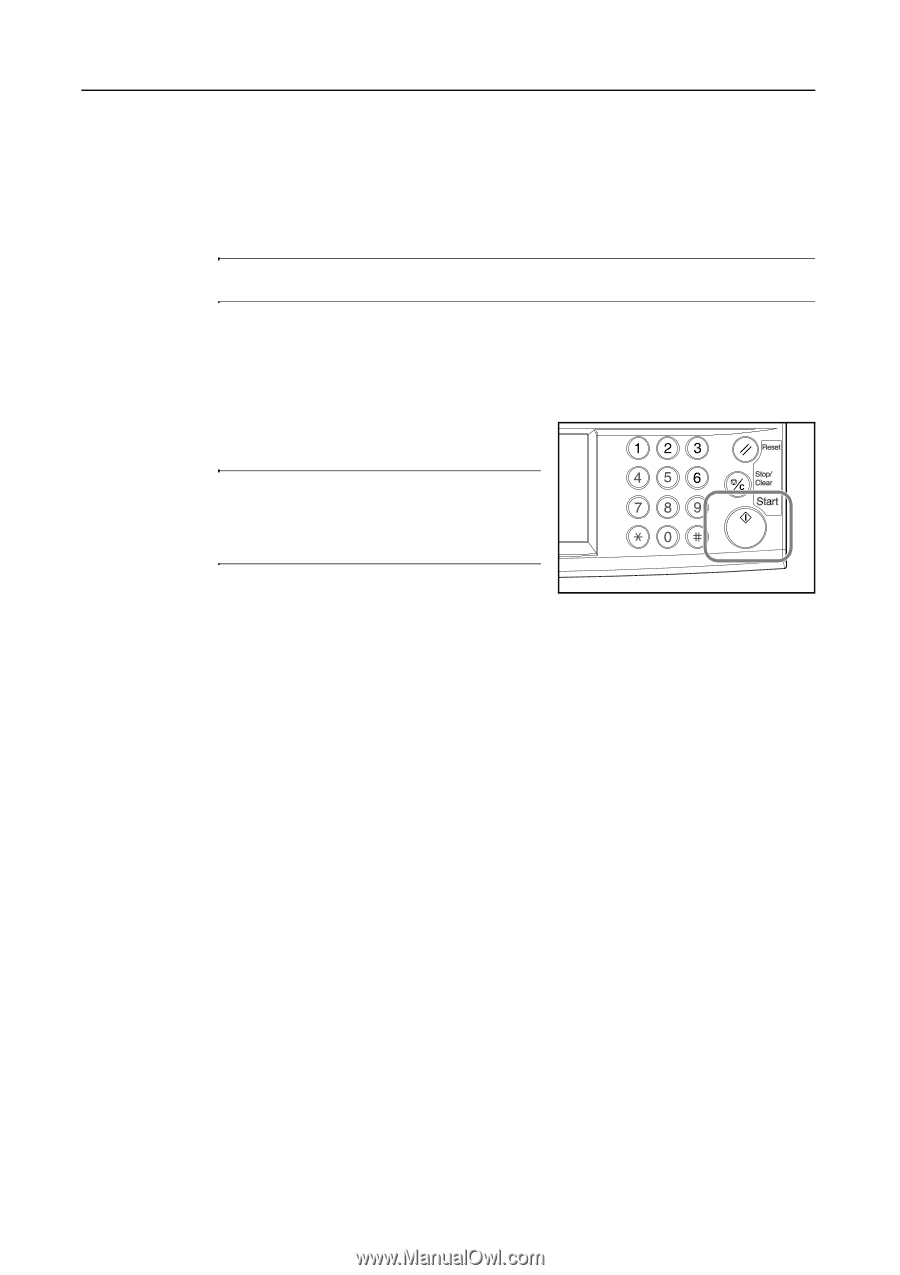
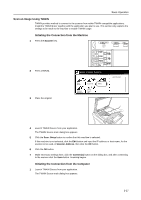
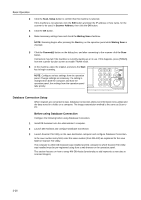
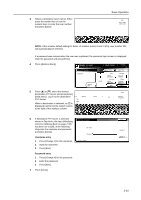
Basic Operation 2 Click the Scan. Setup button to confirm that this machine is selected. If this machine is not selected, click the Edit button and input the IP address or host name, for the scanner to be used, in Scanner Address, then click the OK button. 3 Click the OK button. 4 Make necessary settings here and check the Waiting Scan checkbox. NOTE: Scanning begins after pressing the Start key on the operation panel while Waiting Scan is checked. 5 Click the Connect(s) button on the dialog box, and after connecting to the scanner click the Scan button. Connection may fail if the machine is currently starting up or in use. If this happens, press [TWAIN] from the scanner function screen to enable TWAIN mode. 6 At the machine, place the original, and press the Start key to begin scanning. NOTE: Configure various settings from the operation panel. Change settings as necessary. If a setting is changed from both the computer and from the operation panel, the settings from the operation panel take priority. Database Connection Setup When originals are converted to data, Database Connection allows text information to be added and the data stored in a folder on a computer. The image transmission method is the same as Scan to PC. Before using Database Connection Configure the following before using Database Connection. 1 Install DB Assistant onto the administrator's computer. 2 Launch DB Assistant and configure Database Connection. 3 Launch Scanner File Utility on the save destination computer and configure Database Connection. In the save number entry field, enter the same number (from 001-100) as registered for the save folder in Scanner File Utility. The computer to which DB Assistant was installed and the computer to which Scanner File Utility was installed must be pre-registered using from a web browser or the operation panel. This section focuses on how to setup KM-DB Assist (functionality to add keywords as text data to scanned images). 3-28
-
 1
1 -
2
-
3
-
4
-
5
-
6
-
7
-
8
-
9
-
10
-
11
-
12
-
13
-
14
-
15
-
16
-
17
-
18
-
19
-
20
-
21
-
22
-
23
-
24
-
25
-
26
-
27
-
28
-
29
-
30
-
31
-
32
-
33
-
34
-
35
-
36
-
37
-
38
-
39
-
40
-
41
-
42
-
43
-
44
-
45
-
46
-
47
-
48
-
49
-
50
-
51
-
52
-
53
-
54
-
55
-
56
-
57
-
58
-
59
-
60
-
61
-
62
-
63
-
64
-
65
-
66
-
67
-
68
-
69
-
70
-
71
-
72
-
73
-
74
-
75
-
76
-
77
-
78
-
79
-
80
-
81
-
82
-
83
-
84
-
85
-
86
-
87
-
88
-
89
-
90
-
91
-
92
-
93
-
94
-
95
-
96
-
97
-
98
-
99
-
100
-
101
-
102
-
103
-
104
-
 105
105 -
 106
106 -
 107
107 -
 108
108 -
 109
109 -
 110
110 -
 111
111 -
 112
112 -
 113
113 -
 114
114 -
 115
115 -
116
-
117
-
118
-
119
-
120
-
121
-
122
-
123
-
124
-
125
-
126
-
127
-
128
-
129
-
130
-
131
-
132
-
133
-
134
-
135
-
136
-
137
-
138
-
139
-
140
-
141
-
142
-
143
-
144
-
145
-
146
-
147
-
148
-
149
-
150
-
151
-
152
-
153
-
154
-
155
-
156
-
157
-
158
-
159
-
160
-
161
-
162
-
163
-
164
-
165
-
166
-
167
-
168
-
169
-
170
-
171
-
172
-
173
-
174
-
175
-
176
-
177
-
178
-
179
-
180
 |
 |