Kyocera KM-C3232E C2525E/C3225E/C3232E/C4035E Operation Guide (Basic) - Page 116
to scan., Full-Color, Now scanning originals., Place the original and press
 |
View all Kyocera KM-C3232E manuals
Add to My Manuals
Save this manual to your list of manuals |
Page 116 highlights
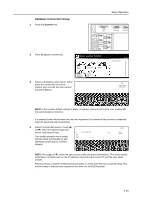
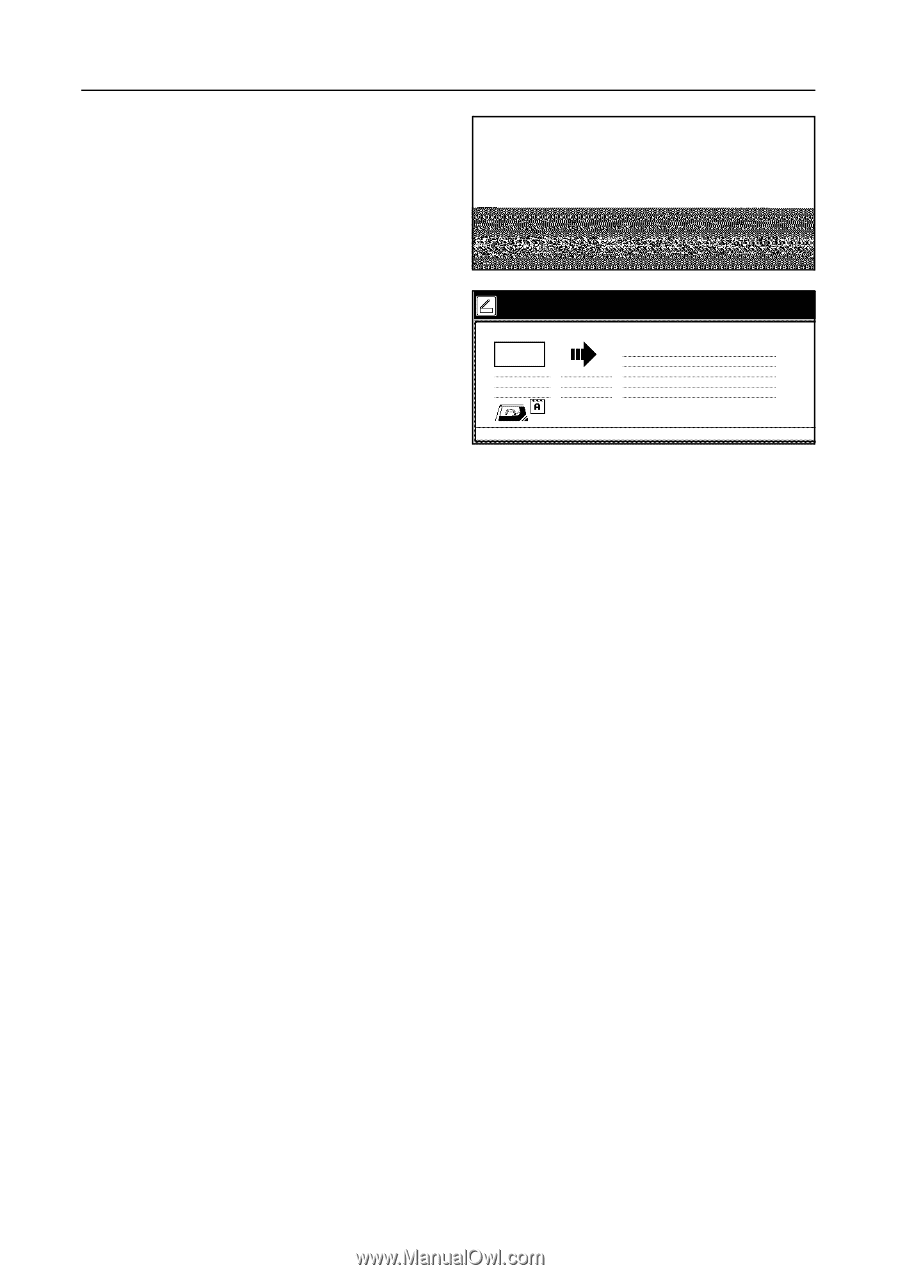
Basic Operation 8 Configure the scan settings. to scan. riginal and select destination. nding ( Full-Color ) Original Send 11×8½" 8½×11" 08/08/'05 14:00 Register Prgrm Cont. TX to Cancel Address Book Delete Auto Select Orig.Size Auto size Select Send Size Basic Top Edge Orig. Set Direction 200dpi Scanning Resolution Quality Auto File Name Input JPEG File Type Edit 9 Place the original and press the Start Now scanning originals. key. Scanning of the original begins. 08/08 After scanning is complete, the machine uploads the scanned data to the destination FTP server(s). Orig. Page 3. 11×8½" 1 sided Top Edge Send Scan to FTP 8½×11" SCAN0004_nnn.jpg User name: UserA 3-34
-
 1
1 -
2
-
3
-
4
-
5
-
6
-
7
-
8
-
9
-
10
-
11
-
12
-
13
-
14
-
15
-
16
-
17
-
18
-
19
-
20
-
21
-
22
-
23
-
24
-
25
-
26
-
27
-
28
-
29
-
30
-
31
-
32
-
33
-
34
-
35
-
36
-
37
-
38
-
39
-
40
-
41
-
42
-
43
-
44
-
45
-
46
-
47
-
48
-
49
-
50
-
51
-
52
-
53
-
54
-
55
-
56
-
57
-
58
-
59
-
60
-
61
-
62
-
63
-
64
-
65
-
66
-
67
-
68
-
69
-
70
-
71
-
72
-
73
-
74
-
75
-
76
-
77
-
78
-
79
-
80
-
81
-
82
-
83
-
84
-
85
-
86
-
87
-
88
-
89
-
90
-
91
-
92
-
93
-
94
-
95
-
96
-
97
-
98
-
99
-
100
-
101
-
102
-
103
-
104
-
105
-
106
-
107
-
108
-
109
-
110
-
 111
111 -
 112
112 -
 113
113 -
 114
114 -
 115
115 -
 116
116 -
 117
117 -
 118
118 -
 119
119 -
 120
120 -
 121
121 -
122
-
123
-
124
-
125
-
126
-
127
-
128
-
129
-
130
-
131
-
132
-
133
-
134
-
135
-
136
-
137
-
138
-
139
-
140
-
141
-
142
-
143
-
144
-
145
-
146
-
147
-
148
-
149
-
150
-
151
-
152
-
153
-
154
-
155
-
156
-
157
-
158
-
159
-
160
-
161
-
162
-
163
-
164
-
165
-
166
-
167
-
168
-
169
-
170
-
171
-
172
-
173
-
174
-
175
-
176
-
177
-
178
-
179
-
180
 |
 |
Basic Operation
3-34
8
Configure the scan settings.
9
Place the original and press the
Start
key. Scanning of the original begins.
After scanning is complete, the machine
uploads the scanned data to the
destination FTP server(s).
riginal and select destination.
Send
Cancel
nding
Original
11×8½"
Address
8½×11"
Select
Auto
Scanning
Basic
Quality
Edit
Auto size
Select
Send Size
JPEG
File Type
Top Edge
Orig. Set
08/08/’05 14:00
Book
Orig.Size
Direction
Resolution
to scan.
(
)
Full-Color
Cont. TX to
Register Prgrm
Auto
200dpi
File Name
Input
Delete
Now scanning originals.
1 sided
Orig. Page
Top Edge
11×8½"
User name:
Send
SCAN0004_nnn.jpg
Scan to FTP
8½×11"
08/08
UserA
3
.