Ricoh Aficio SP 4310N Software Guide - Page 68
Deleting Sample Print files, For details about [User ID], see p.77 Printing from the User ID Screen.
 |
View all Ricoh Aficio SP 4310N manuals
Add to My Manuals
Save this manual to your list of manuals |
Page 68 highlights
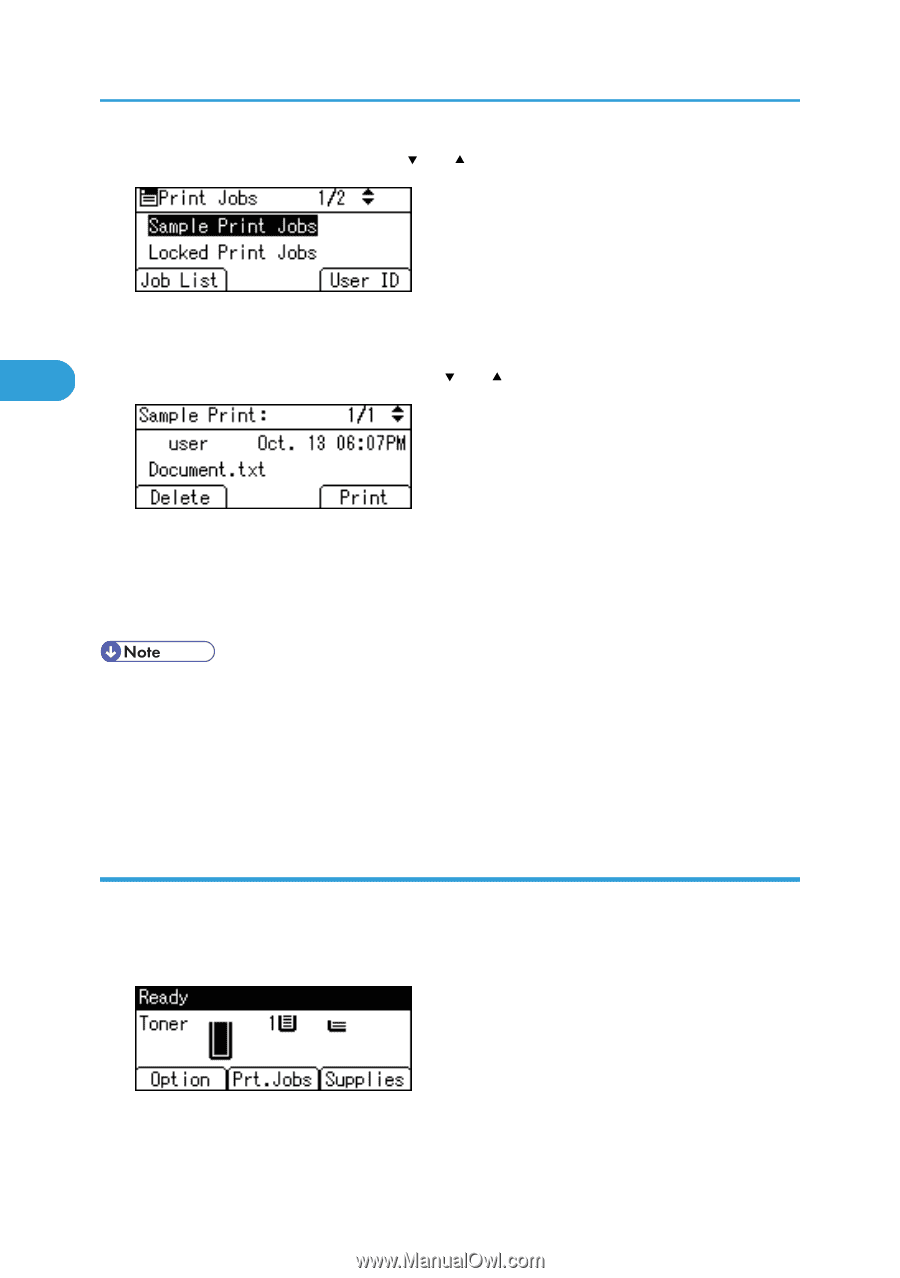
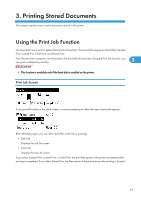
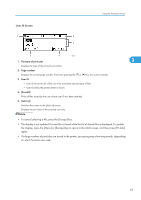
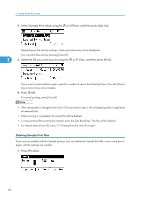
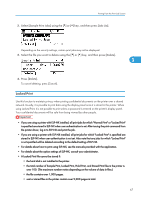
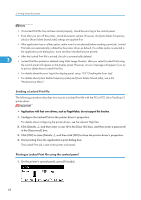
3. Printing Stored Documents 2. Select [Sample Print Jobs] using the [ ] or [ ] key, and then press [Job List]. Depending on the security settings, certain print jobs may not be displayed. You can print files also by pressing [User ID]. 3 3. Select the file you want to print using the [ ] or [ ] key, and then press [Print]. If you want to print multiple copies, specify a number of sets in the [Quantity] box. Press the [Clear] key to correct any entry mistakes. 4. Press [Print]. To cancel printing, press [Cancel]. • If the set quantity is changed when [User ID] is pressed in step 2, the changed quantity is applied to all selected files. • When printing is completed, the stored file will be deleted. • To stop printing after printing has started, press the [Job Reset] key. The file will be deleted. • For details about [User ID], see p.77 "Printing from the User ID Screen". Deleting Sample Print files If you are not satisfied with the Sample printout, you can delete the Sample Print file, revise it and print it again until the settings are suitable. 1. Press [Prt.Jobs]. 66
-
 1
1 -
2
-
3
-
4
-
5
-
6
-
7
-
8
-
9
-
10
-
11
-
12
-
13
-
14
-
15
-
16
-
17
-
18
-
19
-
20
-
21
-
22
-
23
-
24
-
25
-
26
-
27
-
28
-
29
-
30
-
31
-
32
-
33
-
34
-
35
-
36
-
37
-
38
-
39
-
40
-
41
-
42
-
43
-
44
-
45
-
46
-
47
-
48
-
49
-
50
-
51
-
52
-
53
-
54
-
55
-
56
-
57
-
58
-
59
-
60
-
61
-
62
-
 63
63 -
 64
64 -
 65
65 -
 66
66 -
 67
67 -
 68
68 -
 69
69 -
 70
70 -
 71
71 -
 72
72 -
 73
73 -
74
-
75
-
76
-
77
-
78
-
79
-
80
-
81
-
82
-
83
-
84
-
85
-
86
-
87
-
88
-
89
-
90
-
91
-
92
-
93
-
94
-
95
-
96
-
97
-
98
-
99
-
100
-
101
-
102
-
103
-
104
-
105
-
106
-
107
-
108
-
109
-
110
-
111
-
112
-
113
-
114
-
115
-
116
-
117
-
118
-
119
-
120
-
121
-
122
-
123
-
124
-
125
-
126
-
127
-
128
-
129
-
130
-
131
-
132
-
133
-
134
-
135
-
136
-
137
-
138
-
139
-
140
-
141
-
142
-
143
-
144
-
145
-
146
-
147
-
148
-
149
-
150
-
151
-
152
-
153
-
154
-
155
-
156
-
157
-
158
-
159
-
160
-
161
-
162
-
163
-
164
-
165
-
166
-
167
-
168
-
169
-
170
-
171
-
172
-
173
-
174
-
175
-
176
-
177
-
178
-
179
-
180
-
181
-
182
-
183
-
184
-
185
-
186
-
187
-
188
-
189
-
190
-
191
-
192
-
193
-
194
-
195
-
196
-
197
-
198
-
199
-
200
-
201
-
202
-
203
-
204
-
205
-
206
-
207
-
208
-
209
-
210
-
211
-
212
-
213
-
214
-
215
-
216
-
217
-
218
-
219
-
220
-
221
-
222
-
223
-
224
 |
 |