Ricoh Aficio SP 4310N Software Guide - Page 69
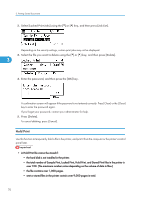
Locked Print, Select [Sample Print Jobs] using - default password
 |
View all Ricoh Aficio SP 4310N manuals
Add to My Manuals
Save this manual to your list of manuals |
Page 69 highlights
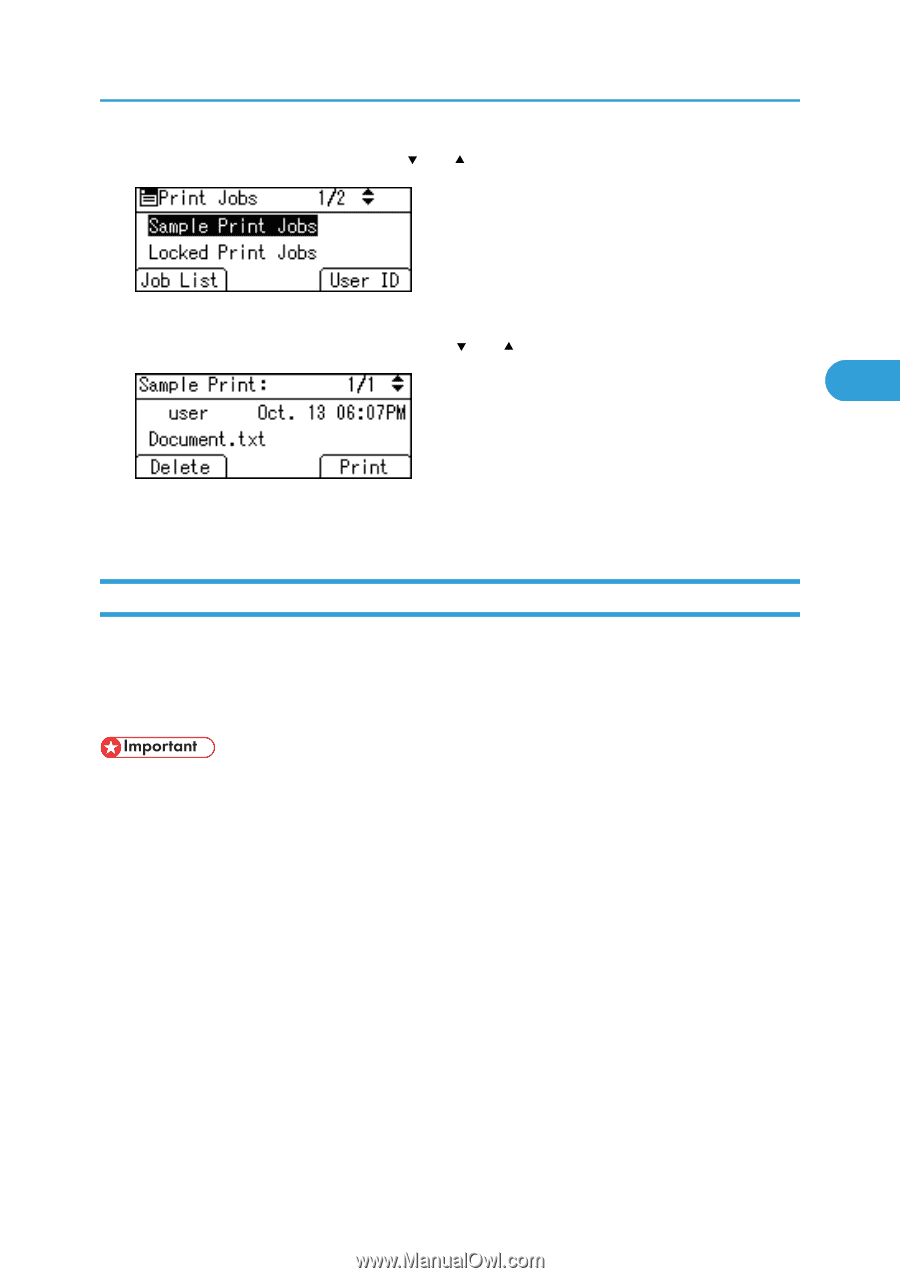
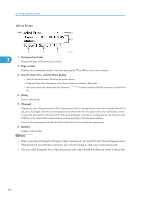
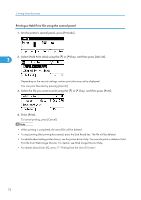
Printing from the Print Job Screen 2. Select [Sample Print Jobs] using the [ ] or [ ] key, and then press [Job List]. Depending on the security settings, certain print jobs may not be displayed. 3. Select the file you want to delete using the [ ] or [ ] key, and then press [Delete]. 3 4. Press [Delete]. To cancel deleting, press [Cancel]. Locked Print Use this function to maintain privacy when printing confidential documents on the printer over a shared network. Usually, it is possible to print data using the display panel once it is stored in this printer. When using Locked Print, it is not possible to print unless a password is entered on the printer's display panel. Your confidential documents will be safe from being viewed by other people. • If you are using a printer with ELP-NX installed, all print jobs for which "Normal Print" or "Locked Print" is specified are stored in ELP-NX when user authentication is set. After issuing the print command from the printer driver, log in to ELP-NX and print the job. • If you are using a printer with ELP-NX installed, all print jobs for which "Locked Print" is specified are stored in ELP-NX when user authentication is not set. Also note that any jobs for which "Locked Print" is not specified will be deleted according to the default setting of ELP-NX. • For details about how to print using ELP-NX, see the manuals provided with the application. • For details about the option settings of ELP-NX, consult your administrator. • A Locked Print file cannot be stored if: • the hard disk is not installed in the printer. • the total number of Sample Print, Locked Print, Hold Print, and Stored Print files in the printer is over 100. (The maximum number varies depending on the volume of data in files.) • the file contains over 1,000 pages. • sent or stored files in the printer contain over 9,000 pages in total. 67
-
 1
1 -
2
-
3
-
4
-
5
-
6
-
7
-
8
-
9
-
10
-
11
-
12
-
13
-
14
-
15
-
16
-
17
-
18
-
19
-
20
-
21
-
22
-
23
-
24
-
25
-
26
-
27
-
28
-
29
-
30
-
31
-
32
-
33
-
34
-
35
-
36
-
37
-
38
-
39
-
40
-
41
-
42
-
43
-
44
-
45
-
46
-
47
-
48
-
49
-
50
-
51
-
52
-
53
-
54
-
55
-
56
-
57
-
58
-
59
-
60
-
61
-
62
-
63
-
 64
64 -
 65
65 -
 66
66 -
 67
67 -
 68
68 -
 69
69 -
 70
70 -
 71
71 -
 72
72 -
 73
73 -
 74
74 -
75
-
76
-
77
-
78
-
79
-
80
-
81
-
82
-
83
-
84
-
85
-
86
-
87
-
88
-
89
-
90
-
91
-
92
-
93
-
94
-
95
-
96
-
97
-
98
-
99
-
100
-
101
-
102
-
103
-
104
-
105
-
106
-
107
-
108
-
109
-
110
-
111
-
112
-
113
-
114
-
115
-
116
-
117
-
118
-
119
-
120
-
121
-
122
-
123
-
124
-
125
-
126
-
127
-
128
-
129
-
130
-
131
-
132
-
133
-
134
-
135
-
136
-
137
-
138
-
139
-
140
-
141
-
142
-
143
-
144
-
145
-
146
-
147
-
148
-
149
-
150
-
151
-
152
-
153
-
154
-
155
-
156
-
157
-
158
-
159
-
160
-
161
-
162
-
163
-
164
-
165
-
166
-
167
-
168
-
169
-
170
-
171
-
172
-
173
-
174
-
175
-
176
-
177
-
178
-
179
-
180
-
181
-
182
-
183
-
184
-
185
-
186
-
187
-
188
-
189
-
190
-
191
-
192
-
193
-
194
-
195
-
196
-
197
-
198
-
199
-
200
-
201
-
202
-
203
-
204
-
205
-
206
-
207
-
208
-
209
-
210
-
211
-
212
-
213
-
214
-
215
-
216
-
217
-
218
-
219
-
220
-
221
-
222
-
223
-
224
 |
 |