HP Armada 1100 Armada 1100 Family of Personal Computers Maintenance and Servic - Page 101
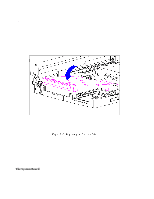
bearings. DO NOT USE ALCOHOL ON THE SENSOR WINDOW. Instead, gently wipe, Trackball Cleaning Procedures
 |
View all HP Armada 1100 manuals
Add to My Manuals
Save this manual to your list of manuals |
Page 101 highlights
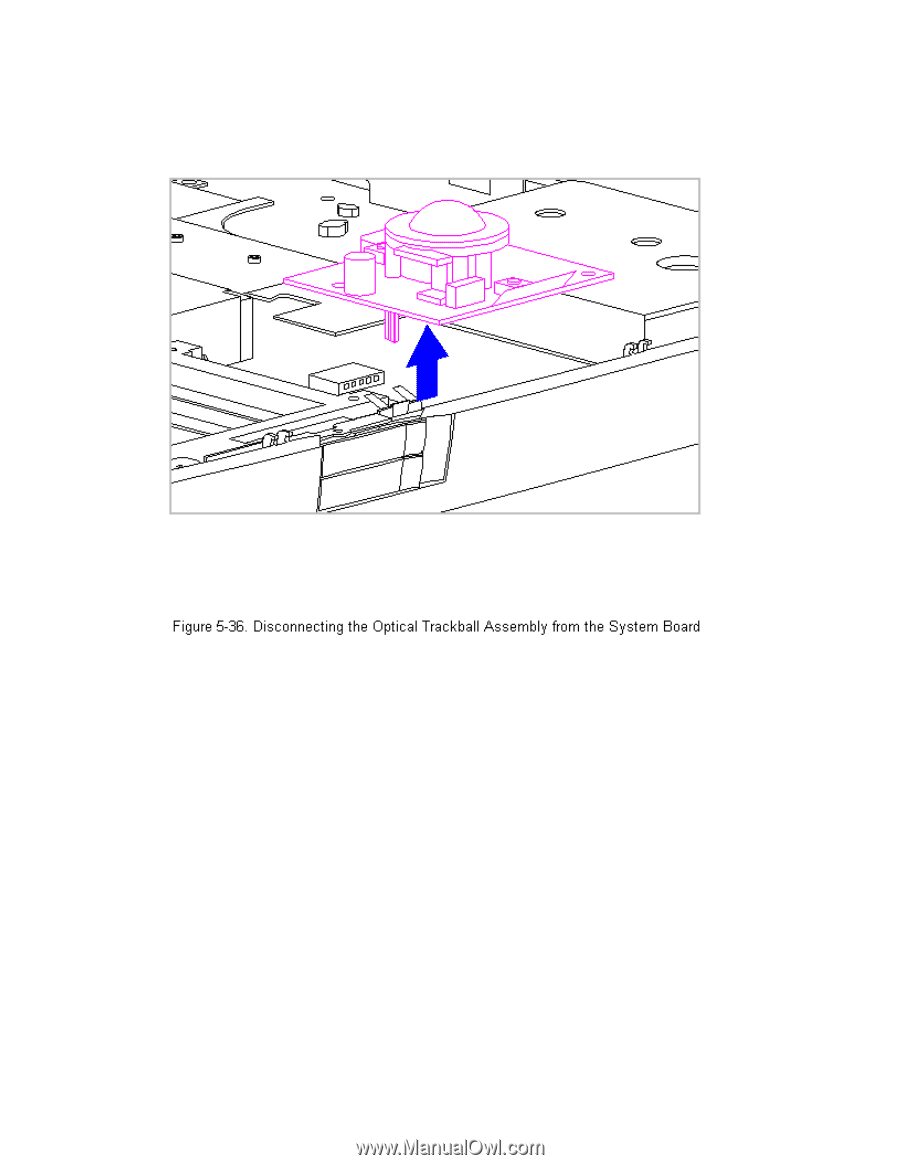
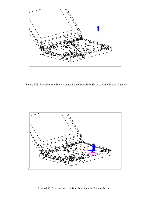
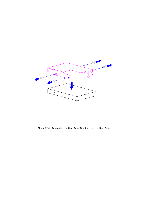
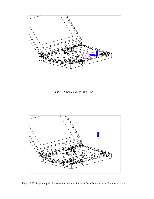
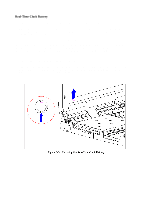
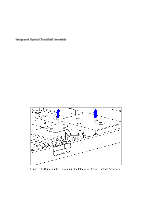
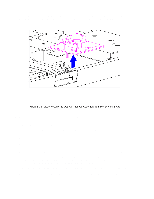
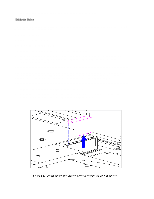
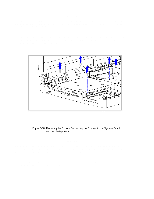
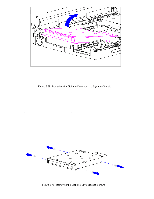
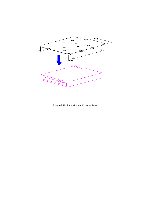
4. Disconnect the integrated optical trackball assembly from the system board by pulling upward on the trackball assembly (Figure 5-36). 5. To replace the integrated optical trackball assembly, reverse the previous steps. Trackball Cleaning Procedures 1. Turn off the computer, disconnect AC power, and remove the battery pack. 2. Remove the optical trackball. 3. Remove any large particles of debris that have fallen into the trackball housing. 4. Dip a cotton swab in isopropyl alcohol and squeeze off excess liquid. 5. Carefully wipe inside the cage to remove residue from surfaces. Clean the ball bearings by rubbing with the swab. Do not attempt to remove the bearings. DO NOT USE ALCOHOL ON THE SENSOR WINDOW. Instead, gently wipe the sensor window with a soft, dry, lint-free cloth until all debris is removed. Allow enough time for the parts to air dry before reassembling. 6. Replace the ball and gently secure the retaining ring by rotating it clockwise.
-
 1
1 -
2
-
3
-
4
-
5
-
6
-
7
-
8
-
9
-
10
-
11
-
12
-
13
-
14
-
15
-
16
-
17
-
18
-
19
-
20
-
21
-
22
-
23
-
24
-
25
-
26
-
27
-
28
-
29
-
30
-
31
-
32
-
33
-
34
-
35
-
36
-
37
-
38
-
39
-
40
-
41
-
42
-
43
-
44
-
45
-
46
-
47
-
48
-
49
-
50
-
51
-
52
-
53
-
54
-
55
-
56
-
57
-
58
-
59
-
60
-
61
-
62
-
63
-
64
-
65
-
66
-
67
-
68
-
69
-
70
-
71
-
72
-
73
-
74
-
75
-
76
-
77
-
78
-
79
-
80
-
81
-
82
-
83
-
84
-
85
-
86
-
87
-
88
-
89
-
90
-
91
-
92
-
93
-
94
-
95
-
 96
96 -
 97
97 -
 98
98 -
 99
99 -
 100
100 -
 101
101 -
 102
102 -
 103
103 -
 104
104 -
 105
105 -
 106
106 -
107
-
108
-
109
-
110
-
111
-
112
-
113
-
114
-
115
-
116
-
117
-
118
-
119
-
120
-
121
-
122
-
123
-
124
-
125
-
126
-
127
-
128
-
129
-
130
-
131
-
132
-
133
-
134
-
135
-
136
-
137
-
138
-
139
-
140
-
141
-
142
-
143
-
144
-
145
-
146
-
147
-
148
-
149
-
150
-
151
-
152
-
153
-
154
-
155
-
156
-
157
-
158
-
159
-
160
-
161
-
162
-
163
-
164
-
165
-
166
-
167
-
168
-
169
-
170
-
171
-
172
-
173
-
174
-
175
-
176
-
177
-
178
-
179
-
180
-
181
-
182
-
183
-
184
-
185
-
186
-
187
-
188
-
189
-
190
-
191
-
192
-
193
-
194
-
195
-
196
-
197
-
198
 |
 |