HP Armada 1100 Armada 1100 Family of Personal Computers Maintenance and Servic - Page 128
Removing and Replacing the Display Bezel, Remove the four screws from the display bezel
 |
View all HP Armada 1100 manuals
Add to My Manuals
Save this manual to your list of manuals |
Page 128 highlights
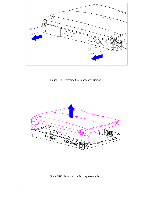
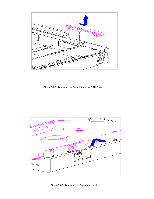
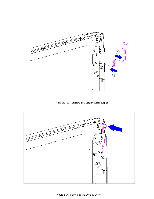
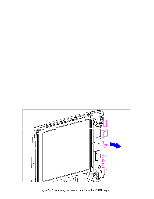
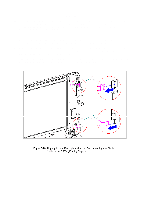
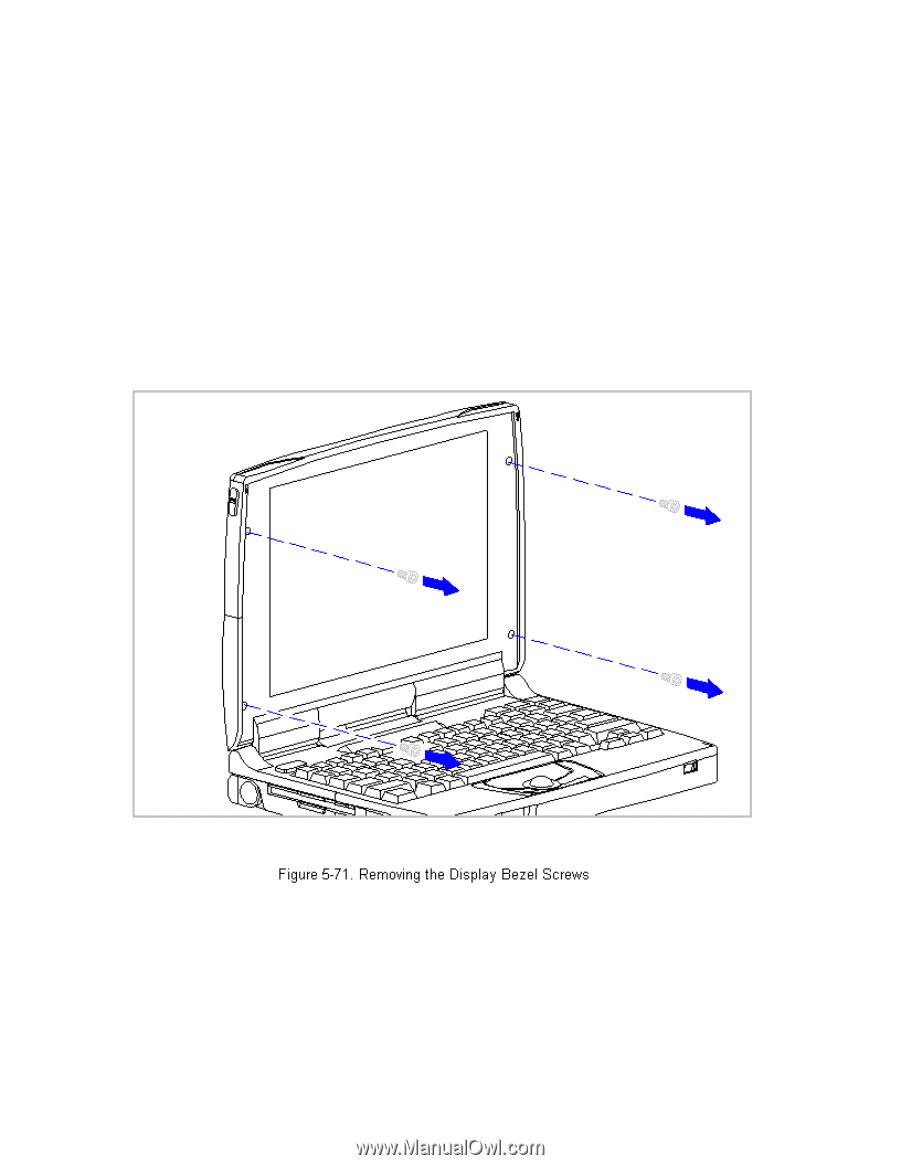
o Bezel o Latches o Inverter board Removing and Replacing the Display Bezel To remove the display bezel, follow these steps: 1. Turn the computer off and remove all external devices, including the battery pack and the AC Adapter. Remove the diskette and PC Card, if installed (Section 5.3). 2. Open the computer. 3. Remove the four screws from the display bezel (Figure 5-71). 4. Tilt the display to approximately a 110-degree angle. 5. Using the case utility tool, separate the display bezel from the display assembly (Figure 5-72).
-
 1
1 -
2
-
3
-
4
-
5
-
6
-
7
-
8
-
9
-
10
-
11
-
12
-
13
-
14
-
15
-
16
-
17
-
18
-
19
-
20
-
21
-
22
-
23
-
24
-
25
-
26
-
27
-
28
-
29
-
30
-
31
-
32
-
33
-
34
-
35
-
36
-
37
-
38
-
39
-
40
-
41
-
42
-
43
-
44
-
45
-
46
-
47
-
48
-
49
-
50
-
51
-
52
-
53
-
54
-
55
-
56
-
57
-
58
-
59
-
60
-
61
-
62
-
63
-
64
-
65
-
66
-
67
-
68
-
69
-
70
-
71
-
72
-
73
-
74
-
75
-
76
-
77
-
78
-
79
-
80
-
81
-
82
-
83
-
84
-
85
-
86
-
87
-
88
-
89
-
90
-
91
-
92
-
93
-
94
-
95
-
96
-
97
-
98
-
99
-
100
-
101
-
102
-
103
-
104
-
105
-
106
-
107
-
108
-
109
-
110
-
111
-
112
-
113
-
114
-
115
-
116
-
117
-
118
-
119
-
120
-
121
-
122
-
 123
123 -
 124
124 -
 125
125 -
 126
126 -
 127
127 -
 128
128 -
 129
129 -
 130
130 -
 131
131 -
 132
132 -
 133
133 -
134
-
135
-
136
-
137
-
138
-
139
-
140
-
141
-
142
-
143
-
144
-
145
-
146
-
147
-
148
-
149
-
150
-
151
-
152
-
153
-
154
-
155
-
156
-
157
-
158
-
159
-
160
-
161
-
162
-
163
-
164
-
165
-
166
-
167
-
168
-
169
-
170
-
171
-
172
-
173
-
174
-
175
-
176
-
177
-
178
-
179
-
180
-
181
-
182
-
183
-
184
-
185
-
186
-
187
-
188
-
189
-
190
-
191
-
192
-
193
-
194
-
195
-
196
-
197
-
198
 |
 |
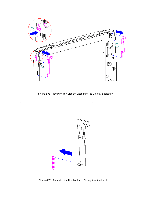
o Bezel
o Latches
o Inverter board
Removing and Replacing the Display Bezel
To remove the display bezel, follow these steps:
1. Turn the computer off and remove all external devices, including the
battery pack and the AC Adapter. Remove the diskette and PC Card, if
installed (Section 5.3).
2. Open the computer.
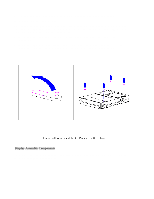
3. Remove the four screws from the display bezel (Figure 5-71).
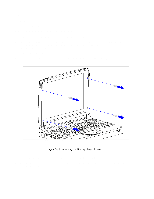
4. Tilt the display to approximately a 110-degree angle.
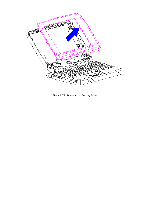
5. Using the case utility tool, separate the display bezel from the display
assembly (Figure 5-72).