HP Armada 1100 Armada 1100 Family of Personal Computers Maintenance and Servic - Page 87
Removing the Top PC Card PCMCIA Door and Spring, Keyboard Assembly in
 |
View all HP Armada 1100 manuals
Add to My Manuals
Save this manual to your list of manuals |
Page 87 highlights
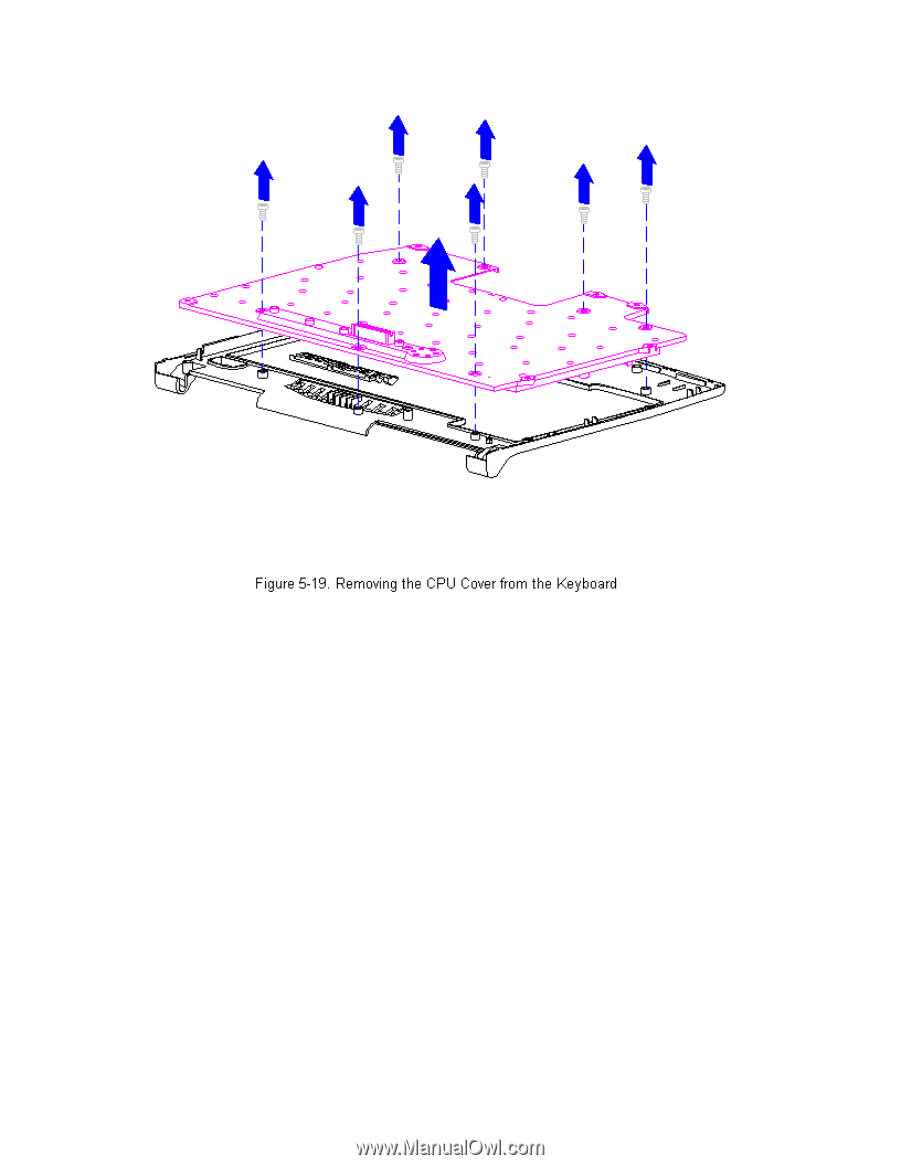
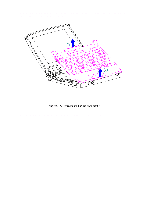
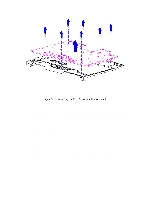
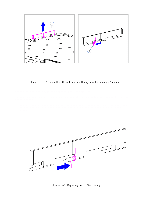
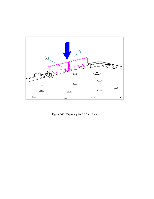
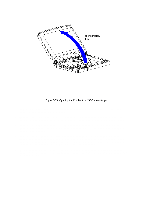
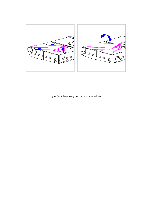
5. To replace the CPU cover, reverse the previous steps. IMPORTANT: A set of warning labels can be ordered as a spare parts kit (spare part number 189288-001). Install the label in the upper right-corner of the cover. This label contains a warning message to prevent physical discomfort and harm. Installation of this label is essential. Removing the Top PC Card (PCMCIA) Door and Spring To remove the top PC Card door and spring from the keyboard assembly, follow these steps: 1. Remove the keyboard assembly from the computer. Refer to "Removing the Keyboard Assembly" in this section. 2. Turn the keyboard assembly topside down. 3. To remove the PC Card door from the keyboard assembly, unsnap the PC Card door [1] from the posts, and remove the door (Figure 5-20). 4. Remove the spring [2] from the PC Card door (Figure 5-20).
-
 1
1 -
2
-
3
-
4
-
5
-
6
-
7
-
8
-
9
-
10
-
11
-
12
-
13
-
14
-
15
-
16
-
17
-
18
-
19
-
20
-
21
-
22
-
23
-
24
-
25
-
26
-
27
-
28
-
29
-
30
-
31
-
32
-
33
-
34
-
35
-
36
-
37
-
38
-
39
-
40
-
41
-
42
-
43
-
44
-
45
-
46
-
47
-
48
-
49
-
50
-
51
-
52
-
53
-
54
-
55
-
56
-
57
-
58
-
59
-
60
-
61
-
62
-
63
-
64
-
65
-
66
-
67
-
68
-
69
-
70
-
71
-
72
-
73
-
74
-
75
-
76
-
77
-
78
-
79
-
80
-
81
-
 82
82 -
 83
83 -
 84
84 -
 85
85 -
 86
86 -
 87
87 -
 88
88 -
 89
89 -
 90
90 -
 91
91 -
 92
92 -
93
-
94
-
95
-
96
-
97
-
98
-
99
-
100
-
101
-
102
-
103
-
104
-
105
-
106
-
107
-
108
-
109
-
110
-
111
-
112
-
113
-
114
-
115
-
116
-
117
-
118
-
119
-
120
-
121
-
122
-
123
-
124
-
125
-
126
-
127
-
128
-
129
-
130
-
131
-
132
-
133
-
134
-
135
-
136
-
137
-
138
-
139
-
140
-
141
-
142
-
143
-
144
-
145
-
146
-
147
-
148
-
149
-
150
-
151
-
152
-
153
-
154
-
155
-
156
-
157
-
158
-
159
-
160
-
161
-
162
-
163
-
164
-
165
-
166
-
167
-
168
-
169
-
170
-
171
-
172
-
173
-
174
-
175
-
176
-
177
-
178
-
179
-
180
-
181
-
182
-
183
-
184
-
185
-
186
-
187
-
188
-
189
-
190
-
191
-
192
-
193
-
194
-
195
-
196
-
197
-
198
 |
 |