Lenovo ThinkStation P700 (English) User Guide - ThinkStation P500 (type 30A6, - Page 126
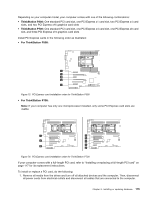
Installing or replacing a PCI card
 |
View all Lenovo ThinkStation P700 manuals
Add to My Manuals
Save this manual to your list of manuals |
Page 126 highlights
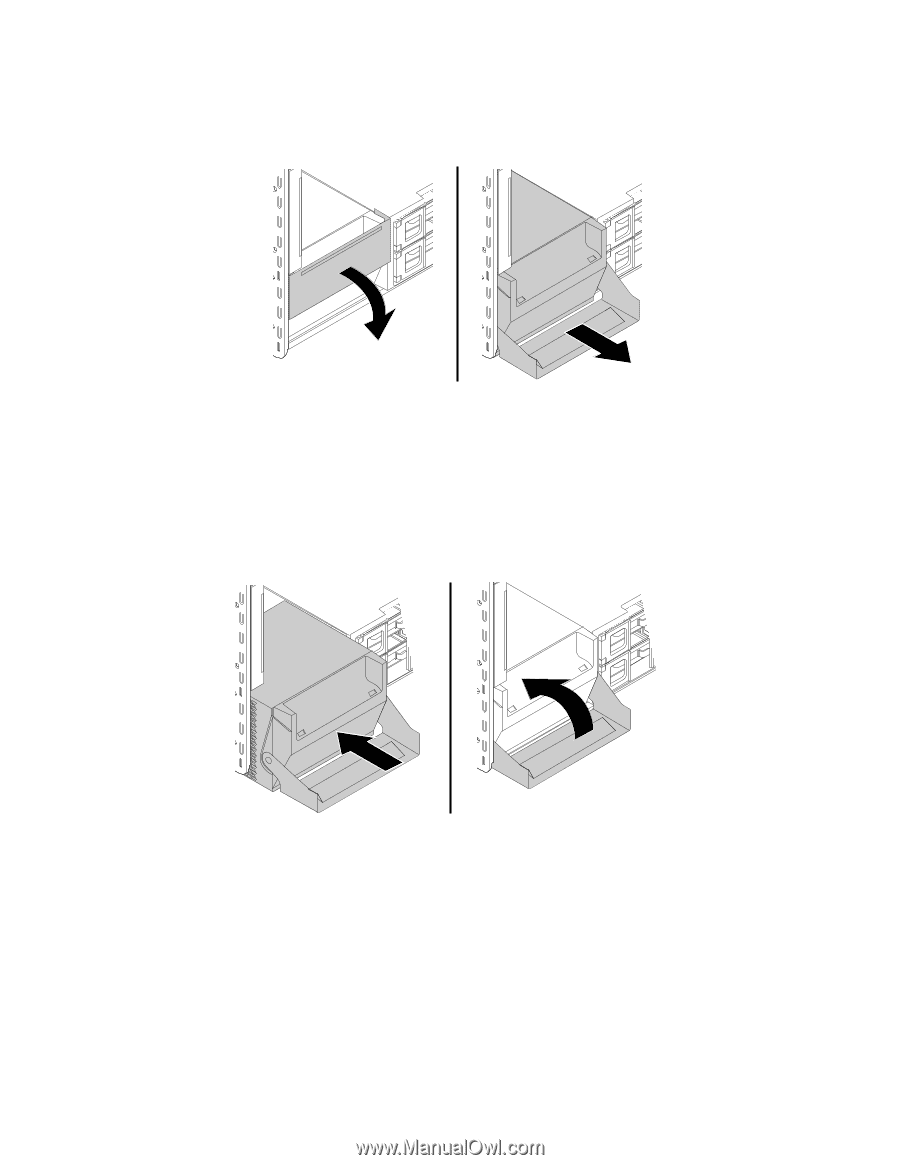
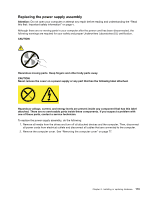
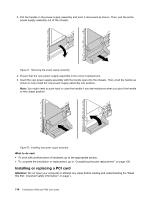
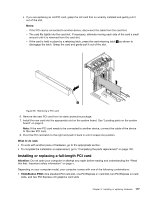
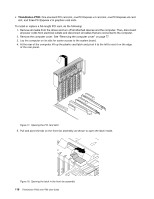
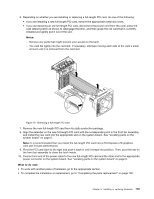
3. Pull the handle on the power supply assembly and pivot it downward as shown. Then, pull the entire power supply assembly out of the chassis. Figure 71. Removing the power supply assembly 4. Ensure that the new power supply assembly is the correct replacement. 5. Insert the new power supply assembly with the handle open into the chassis. Then, pivot the handle as shown to fully install the new power supply assembly into position. Note: You might need to push hard to close the handle if you feel resistance when you pivot the handle to the closed position. Figure 72. Installing the power supply assembly What to do next: • To work with another piece of hardware, go to the appropriate section. • To complete the installation or replacement, go to "Completing the parts replacement" on page 130. Installing or replacing a PCI card Attention: Do not open your computer or attempt any repair before reading and understanding the "Read this first: Important safety information" on page v. 114 ThinkStation P500 and P700 User Guide
-
 1
1 -
2
-
3
-
4
-
5
-
6
-
7
-
8
-
9
-
10
-
11
-
12
-
13
-
14
-
15
-
16
-
17
-
18
-
19
-
20
-
21
-
22
-
23
-
24
-
25
-
26
-
27
-
28
-
29
-
30
-
31
-
32
-
33
-
34
-
35
-
36
-
37
-
38
-
39
-
40
-
41
-
42
-
43
-
44
-
45
-
46
-
47
-
48
-
49
-
50
-
51
-
52
-
53
-
54
-
55
-
56
-
57
-
58
-
59
-
60
-
61
-
62
-
63
-
64
-
65
-
66
-
67
-
68
-
69
-
70
-
71
-
72
-
73
-
74
-
75
-
76
-
77
-
78
-
79
-
80
-
81
-
82
-
83
-
84
-
85
-
86
-
87
-
88
-
89
-
90
-
91
-
92
-
93
-
94
-
95
-
96
-
97
-
98
-
99
-
100
-
101
-
102
-
103
-
104
-
105
-
106
-
107
-
108
-
109
-
110
-
111
-
112
-
113
-
114
-
115
-
116
-
117
-
118
-
119
-
120
-
 121
121 -
 122
122 -
 123
123 -
 124
124 -
 125
125 -
 126
126 -
 127
127 -
 128
128 -
 129
129 -
 130
130 -
 131
131 -
132
-
133
-
134
-
135
-
136
-
137
-
138
-
139
-
140
-
141
-
142
-
143
-
144
-
145
-
146
-
147
-
148
-
149
-
150
-
151
-
152
-
153
-
154
-
155
-
156
-
157
-
158
-
159
-
160
-
161
-
162
-
163
-
164
-
165
-
166
-
167
-
168
-
169
-
170
 |
 |