Nokia n95 8gb User Guide - Page 62
Take pictures, To lock the focus on an - camera
 |
UPC - 758478012215
View all Nokia n95 8gb manuals
Add to My Manuals
Save this manual to your list of manuals |
Page 62 highlights
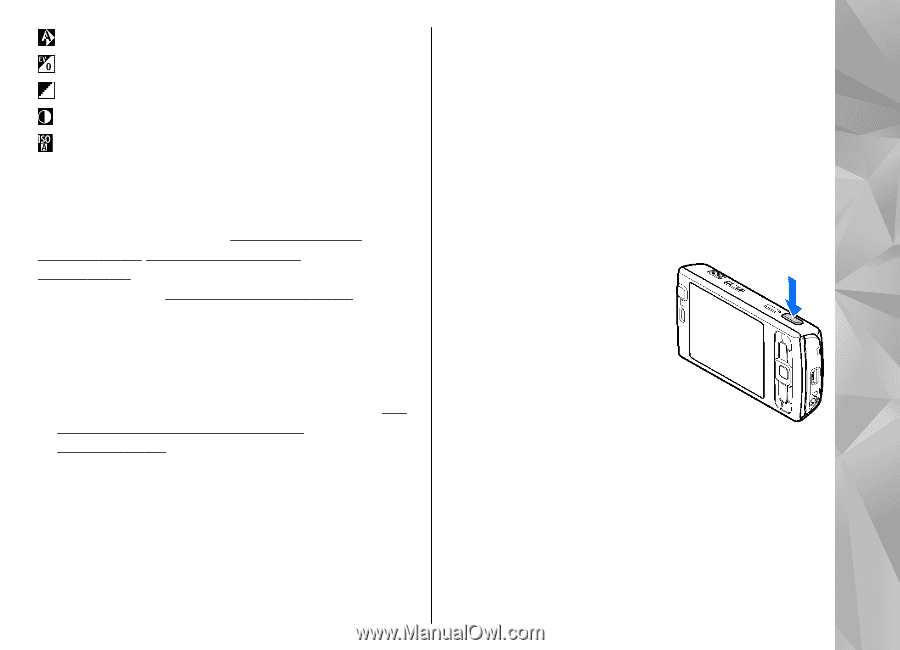
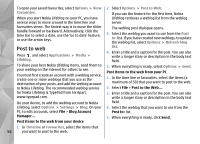
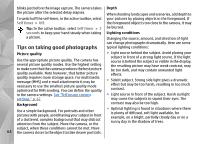
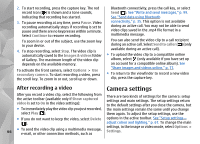
to adjust white balance When taking a picture, note the following: to adjust the exposure compensation (images only) ● Use both hands to keep the camera still. to adjust sharpness (images only) ● The quality of a digitally zoomed picture is lower to adjust contrast (images only) than that of a nonzoomed picture. to adjust light sensitivity (images only) The icons change to reflect the current status of the setting. The available options vary depending on the capture mode and view you are in. See "After taking a picture," p. 62. See "After recording a ● The camera goes into the battery saving mode if there are no keypresses for a moment. To continue taking pictures, press the capture key. To take a picture, do the following: 1. If the camera is in the video mode, select the image mode from the active toolbar. video," p. 66. The active toolbar in Gallery has 2. To lock the focus on an different options. See "Active toolbar," p. 71. object, press the capture key halfway down (main camera Take pictures Before taking a picture, note the following: only, not available in landscape and sports scenes). The green locked ● To make lighting and colour adjustments, use the focus indicator appears on scroll key to scroll through the active toolbar. See the display. If the focus was "Setup settings-adjust colour and not locked, the red focus lighting," p. 67. Saving the captured image may indicator appears. Release take longer if you change the zoom, lighting, or the capture key, and press it halfway down again. colour settings. You can, however, take the picture without locking ● To free memory for new pictures, back up files to a the focus. compatible PC using a compatible USB data cable, 3. To take a picture, press the capture key. Do not for example. The device informs you when the move the device before the image is saved. memory is full, and asks whether you want to change the memory in use. To zoom in or out when taking a picture, use the zoom key in your device. 61
-
 1
1 -
2
-
3
-
4
-
5
-
6
-
7
-
8
-
9
-
10
-
11
-
12
-
13
-
14
-
15
-
16
-
17
-
18
-
19
-
20
-
21
-
22
-
23
-
24
-
25
-
26
-
27
-
28
-
29
-
30
-
31
-
32
-
33
-
34
-
35
-
36
-
37
-
38
-
39
-
40
-
41
-
42
-
43
-
44
-
45
-
46
-
47
-
48
-
49
-
50
-
51
-
52
-
53
-
54
-
55
-
56
-
 57
57 -
 58
58 -
 59
59 -
 60
60 -
 61
61 -
 62
62 -
 63
63 -
 64
64 -
 65
65 -
 66
66 -
 67
67 -
68
-
69
-
70
-
71
-
72
-
73
-
74
-
75
-
76
-
77
-
78
-
79
-
80
-
81
-
82
-
83
-
84
-
85
-
86
-
87
-
88
-
89
-
90
-
91
-
92
-
93
-
94
-
95
-
96
-
97
-
98
-
99
-
100
-
101
-
102
-
103
-
104
-
105
-
106
-
107
-
108
-
109
-
110
-
111
-
112
-
113
-
114
-
115
-
116
-
117
-
118
-
119
-
120
-
121
-
122
-
123
-
124
-
125
-
126
-
127
-
128
-
129
-
130
-
131
-
132
-
133
-
134
-
135
-
136
-
137
-
138
-
139
-
140
-
141
-
142
-
143
-
144
-
145
-
146
-
147
-
148
-
149
-
150
-
151
-
152
-
153
-
154
-
155
-
156
-
157
-
158
-
159
-
160
-
161
-
162
-
163
 |
 |