Panasonic WJ-HD716/1000 Installation Guide - Page 117
Setting the detection depth
 |
View all Panasonic WJ-HD716/1000 manuals
Add to My Manuals
Save this manual to your list of manuals |
Page 117 highlights
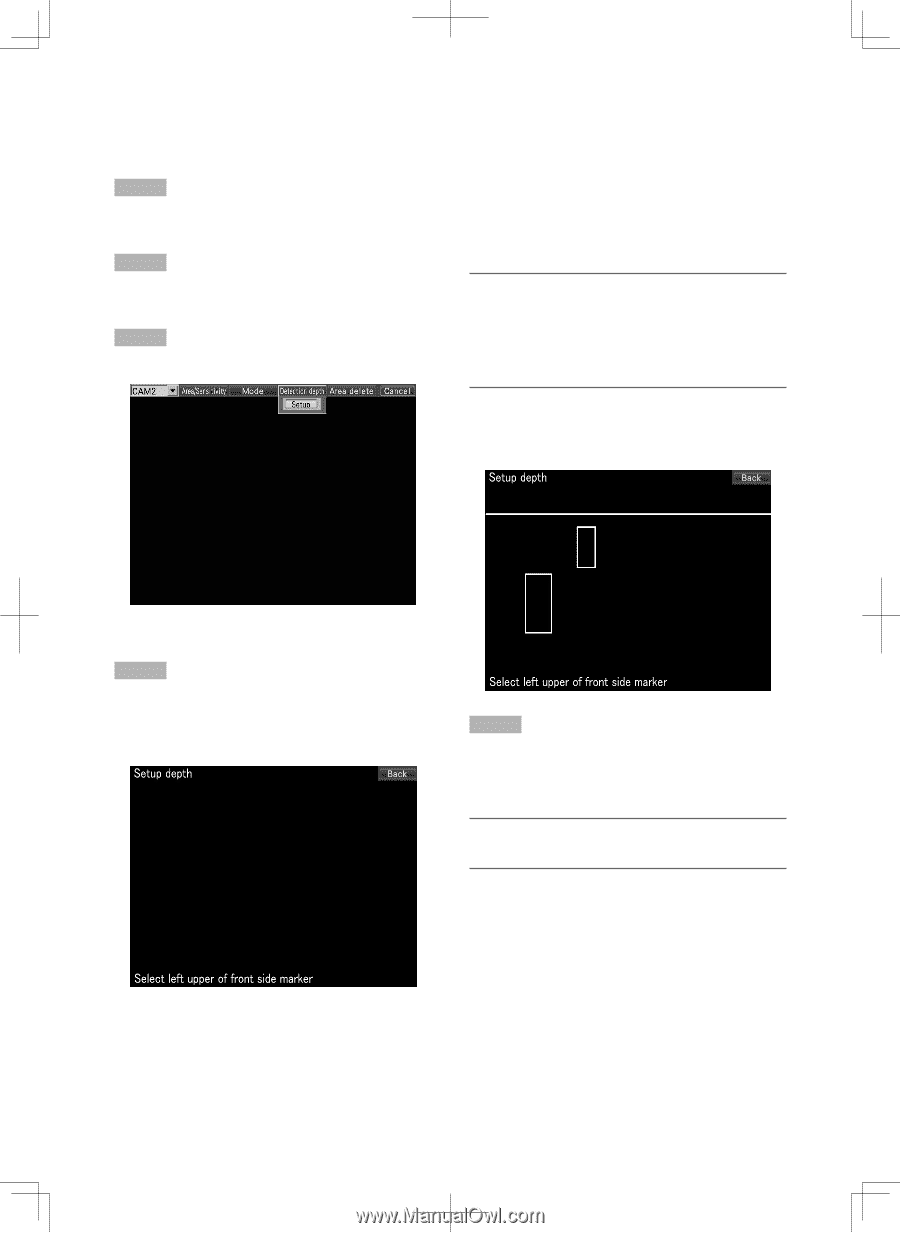
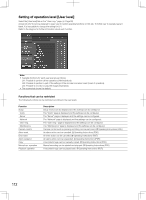
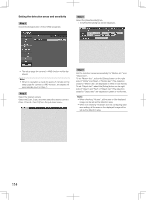
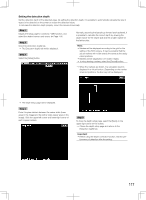
Setting the detection depth Set the detection depth of the detected areas. By setting the detection depth, it is possible to automatically calculate the size of object to be detected on the screen to reduce the detection failure. To calculate the detection depth properly, mount the camera horizontally. Step 1 Display the setup page for camera's i-VMD function, and select the desired camera and scene. (☞ Page 114) Normally, assuming that people go forward and backward, it is possible to calculate the correct depth by drawing the larger marker for the nearer side and the smaller marker for Step 2 the farther side. Select the [Detection depth] tab. → The [Detection depth] tab will be displayed. Step 3 Select the [Setup] button. Note: • Markers will be displayed according to the grid for the setting of the SD5 camera. It may be possible that the actual markers will not be exactly the same as the designated positions. • Markers will be displayed in 3:1 (width: height). • To retry drawing markers, select the [Cancel] button. → When the markers are drawn, the calculation result is displayed in a virtual horizon. (Depending on the marker sizes and positions, the line may not be displayed.) → The depth setup page will be displayed. Step 4 Draw 2 square markers between the nearer sides (lower areas in the image) and the farther sides (upper areas in the image). Click the upper-left corner and lower-right corner of each square markers. Step 5 To close the depth setup page, select the [Back] on the upper right corner on the screen. → Closes the depth setup page and returns to the [Detection depth] tab. Important: • Before using the depth correction function, test the per- formance of detection after the setting. 117
-
 1
1 -
2
-
3
-
4
-
5
-
6
-
7
-
8
-
9
-
10
-
11
-
12
-
13
-
14
-
15
-
16
-
17
-
18
-
19
-
20
-
21
-
22
-
23
-
24
-
25
-
26
-
27
-
28
-
29
-
30
-
31
-
32
-
33
-
34
-
35
-
36
-
37
-
38
-
39
-
40
-
41
-
42
-
43
-
44
-
45
-
46
-
47
-
48
-
49
-
50
-
51
-
52
-
53
-
54
-
55
-
56
-
57
-
58
-
59
-
60
-
61
-
62
-
63
-
64
-
65
-
66
-
67
-
68
-
69
-
70
-
71
-
72
-
73
-
74
-
75
-
76
-
77
-
78
-
79
-
80
-
81
-
82
-
83
-
84
-
85
-
86
-
87
-
88
-
89
-
90
-
91
-
92
-
93
-
94
-
95
-
96
-
97
-
98
-
99
-
100
-
101
-
102
-
103
-
104
-
105
-
106
-
107
-
108
-
109
-
110
-
111
-
 112
112 -
 113
113 -
 114
114 -
 115
115 -
 116
116 -
 117
117 -
 118
118 -
 119
119 -
 120
120 -
 121
121 -
 122
122 -
123
-
124
-
125
-
126
-
127
-
128
-
129
-
130
-
131
-
132
-
133
-
134
-
135
-
136
-
137
-
138
-
139
-
140
-
141
-
142
-
143
-
144
-
145
-
146
-
147
-
148
-
149
-
150
-
151
-
152
-
153
-
154
-
155
-
156
 |
 |