Panasonic WJ-HD716/1000 Installation Guide - Page 26
Basic operation
 |
View all Panasonic WJ-HD716/1000 manuals
Add to My Manuals
Save this manual to your list of manuals |
Page 26 highlights
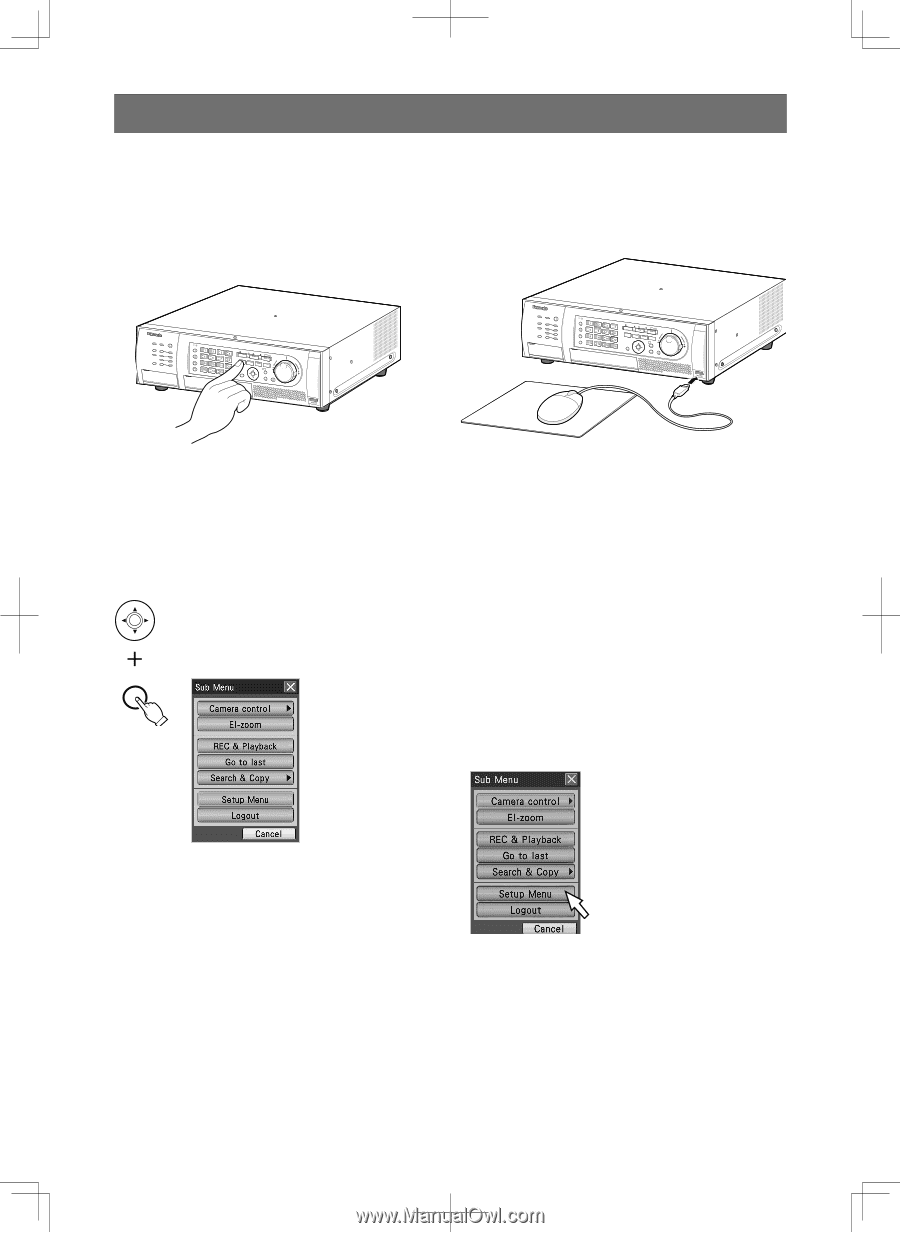
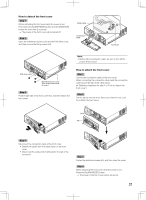
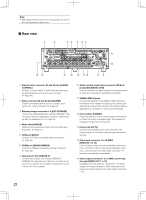
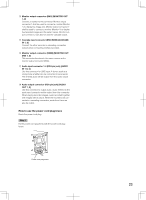
Basic operation To directly operate the recorder, there are 2 ways of how to operate it: operations using the buttons on the front cover and operations using a mouse connected to the recorder. Operations using the buttons on the front cover Operations using a mouse Digital Disk Recorder WJ-HD616 Digital Disk Recorder WJ-HD616 The recorder can be operated using the buttons on the front cover to which the functions are assigned. Refer to the "Major operating controls and their functions" section (☞ page 16) for further information about the functions assigned to each button. Refer to Operating Instructions (PDF) for how to operate each function. When you find "Select XX button" in the operating instructions, move the cursor onto the XX button using the arrows button (CDAB) and press the [SET] button. SET The recorder can be operated using a mouse connected to the mouse port on the front cover. Move the mouse cursor onto a button or a tab on the screen of Monitor 2, and then click on it When right-clicking, the operation panel representing the front cover (the monitor operation button and the camera selection button on the front cover) will be displayed on Monitor 2.The camera selection and monitor selection can be made by moving the cursor on the button and click it. When no operation is made for 10 seconds while the operation panel or the setup menu is displayed, the mouse cursor will disappear. The mouse cursor will be displayed when the mouse is moved. Refer to Operating Instructions (PDF) for how to operate each function. When you find "Select XX button" in the operating instructions, click the XX button. 26
-
 1
1 -
2
-
3
-
4
-
5
-
6
-
7
-
8
-
9
-
10
-
11
-
12
-
13
-
14
-
15
-
16
-
17
-
18
-
19
-
20
-
 21
21 -
 22
22 -
 23
23 -
 24
24 -
 25
25 -
 26
26 -
 27
27 -
 28
28 -
 29
29 -
 30
30 -
 31
31 -
32
-
33
-
34
-
35
-
36
-
37
-
38
-
39
-
40
-
41
-
42
-
43
-
44
-
45
-
46
-
47
-
48
-
49
-
50
-
51
-
52
-
53
-
54
-
55
-
56
-
57
-
58
-
59
-
60
-
61
-
62
-
63
-
64
-
65
-
66
-
67
-
68
-
69
-
70
-
71
-
72
-
73
-
74
-
75
-
76
-
77
-
78
-
79
-
80
-
81
-
82
-
83
-
84
-
85
-
86
-
87
-
88
-
89
-
90
-
91
-
92
-
93
-
94
-
95
-
96
-
97
-
98
-
99
-
100
-
101
-
102
-
103
-
104
-
105
-
106
-
107
-
108
-
109
-
110
-
111
-
112
-
113
-
114
-
115
-
116
-
117
-
118
-
119
-
120
-
121
-
122
-
123
-
124
-
125
-
126
-
127
-
128
-
129
-
130
-
131
-
132
-
133
-
134
-
135
-
136
-
137
-
138
-
139
-
140
-
141
-
142
-
143
-
144
-
145
-
146
-
147
-
148
-
149
-
150
-
151
-
152
-
153
-
154
-
155
-
156
 |
 |