Dell XPS M2010 Owner's Manual - Page 53
Setting Up the Camera, Accessing Help, Taking a Picture or Recording a Video, For more information
 |
View all Dell XPS M2010 manuals
Add to My Manuals
Save this manual to your list of manuals |
Page 53 highlights
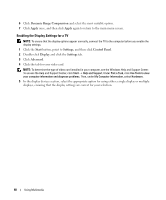
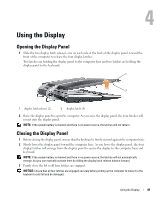
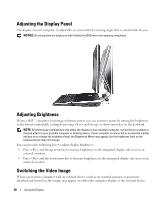
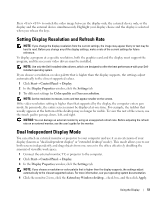
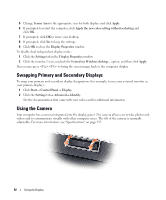
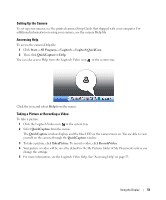
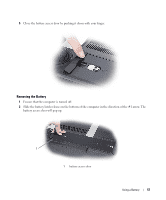
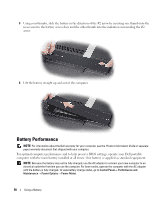
Setting Up the Camera To set up your camera, see the printed camera Setup Guide that shipped with your computer. For additional information on using your camera, see the camera Help file. Accessing Help To access the camera Help file: 1 Click Start→ All Programs→ Logitech→ Logitech QuickCam. 2 Then click QuickCapture→ Help. You can also access Help from the Logitech Video icon in the system tray. Click the icon and select Help from the menu. Taking a Picture or Recording a Video To take a picture: 1 Click the Logitech Video icon in the system tray. 2 Select QuickCapture from the menu. The QuickCapture window displays and the blue LED on the camera turns on. You are able to view yourself on the camera through the QuickCapture window. 3 To take a picture, click TakeaPicture. To record a video, click RecordaVideo. 4 Your picture or video will be saved by default in the My Pictures folder of My Documents unless you change the settings. 5 For more information, see the Logitech Video Help. See "Accessing Help" on page 53. Using the Display 53
-
 1
1 -
2
-
3
-
4
-
5
-
6
-
7
-
8
-
9
-
10
-
11
-
12
-
13
-
14
-
15
-
16
-
17
-
18
-
19
-
20
-
21
-
22
-
23
-
24
-
25
-
26
-
27
-
28
-
29
-
30
-
31
-
32
-
33
-
34
-
35
-
36
-
37
-
38
-
39
-
40
-
41
-
42
-
43
-
44
-
45
-
46
-
47
-
 48
48 -
 49
49 -
 50
50 -
 51
51 -
 52
52 -
 53
53 -
 54
54 -
 55
55 -
 56
56 -
 57
57 -
 58
58 -
59
-
60
-
61
-
62
-
63
-
64
-
65
-
66
-
67
-
68
-
69
-
70
-
71
-
72
-
73
-
74
-
75
-
76
-
77
-
78
-
79
-
80
-
81
-
82
-
83
-
84
-
85
-
86
-
87
-
88
-
89
-
90
-
91
-
92
-
93
-
94
-
95
-
96
-
97
-
98
-
99
-
100
-
101
-
102
-
103
-
104
-
105
-
106
-
107
-
108
-
109
-
110
-
111
-
112
-
113
-
114
-
115
-
116
-
117
-
118
-
119
-
120
-
121
-
122
-
123
-
124
-
125
-
126
-
127
-
128
-
129
-
130
-
131
-
132
-
133
-
134
-
135
-
136
-
137
-
138
-
139
-
140
-
141
-
142
-
143
-
144
-
145
-
146
-
147
-
148
-
149
-
150
-
151
-
152
-
153
-
154
-
155
-
156
-
157
-
158
-
159
-
160
-
161
-
162
-
163
-
164
-
165
-
166
-
167
-
168
-
169
-
170
-
171
-
172
-
173
-
174
-
175
-
176
-
177
-
178
-
179
-
180
-
181
-
182
-
183
-
184
-
185
-
186
-
187
-
188
-
189
-
190
-
191
-
192
-
193
-
194
 |
 |