HP Visualize J210XC IRIX to HP-UX Migration Guide - Page 97
Nis_client=1
 |
View all HP Visualize J210XC manuals
Add to My Manuals
Save this manual to your list of manuals |
Page 97 highlights
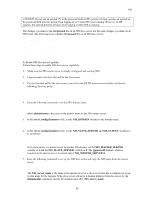
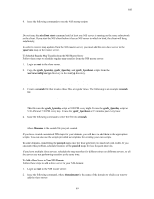
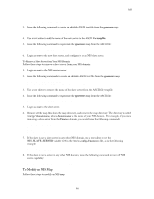
NIS +::-2:60001::: To Edit the NIS Client's group File Follow these steps to edit the NIS client's group file: 1. Remove all groups from the /etc/group file except the group entries required for your system to boot. 2. Add the following entry as the last line in the /etc/group file: +:*:* The plus sign (+) initiates consultation of NIS for any group information not found in the local /etc/group file. The asterisk (*) in the password field prevents people from using the plus sign as a valid group name if NIS is not running. The changes you make to the /etc/group file on an NIS client are the same changes you make on an NIS slave server. The following is an example /etc/group file on an NIS client: root::0:rootl,sam other::1: bin::2: sys::3: adm::4: daemon::5: mail::6: lp::7: +:*:* To Enable NIS Client Capability Follow these steps to enable NIS client capability: 1. Make sure at least one NIS master or slave server is running on the client's subnetwork. 2. Login as root to the NIS client. 3. On the NIS client, ensure that the $PATH environment variable includes the following directory paths: /var/yp /usr/lib/netsvc/yp /usr/ccs/bin 4. Issue the following command to set the NIS domain name: # /usr/bin/domainname domainname where domainname is a domain served by an NIS server on the client's subnetwork. 5. In the /etc/rc.config.d/namesvrs file, set the NIS_DOMAIN variable to the domain name: NIS_DOMAIN= domainname 6. In the /etc/rc.config.d/namesvrs file, set the NIS_CLIENT variable to 1, as follows: NIS_CLIENT=1 7. Issue the following command to run the NIS startup script: # /sbin/init.d/nis.client start 92
-
 1
1 -
2
-
3
-
4
-
5
-
6
-
7
-
8
-
9
-
10
-
11
-
12
-
13
-
14
-
15
-
16
-
17
-
18
-
19
-
20
-
21
-
22
-
23
-
24
-
25
-
26
-
27
-
28
-
29
-
30
-
31
-
32
-
33
-
34
-
35
-
36
-
37
-
38
-
39
-
40
-
41
-
42
-
43
-
44
-
45
-
46
-
47
-
48
-
49
-
50
-
51
-
52
-
53
-
54
-
55
-
56
-
57
-
58
-
59
-
60
-
61
-
62
-
63
-
64
-
65
-
66
-
67
-
68
-
69
-
70
-
71
-
72
-
73
-
74
-
75
-
76
-
77
-
78
-
79
-
80
-
81
-
82
-
83
-
84
-
85
-
86
-
87
-
88
-
89
-
90
-
91
-
 92
92 -
 93
93 -
 94
94 -
 95
95 -
 96
96 -
 97
97 -
 98
98 -
 99
99 -
 100
100 -
 101
101 -
 102
102 -
103
-
104
-
105
-
106
-
107
-
108
-
109
-
110
-
111
-
112
-
113
-
114
-
115
-
116
-
117
-
118
-
119
-
120
-
121
-
122
-
123
-
124
-
125
 |
 |
