Sharp MX-M363N Installation Manual - Page 11
C. Toner density reference control level setting, D. Install toner cartridge
 |
View all Sharp MX-M363N manuals
Add to My Manuals
Save this manual to your list of manuals |
Page 11 highlights
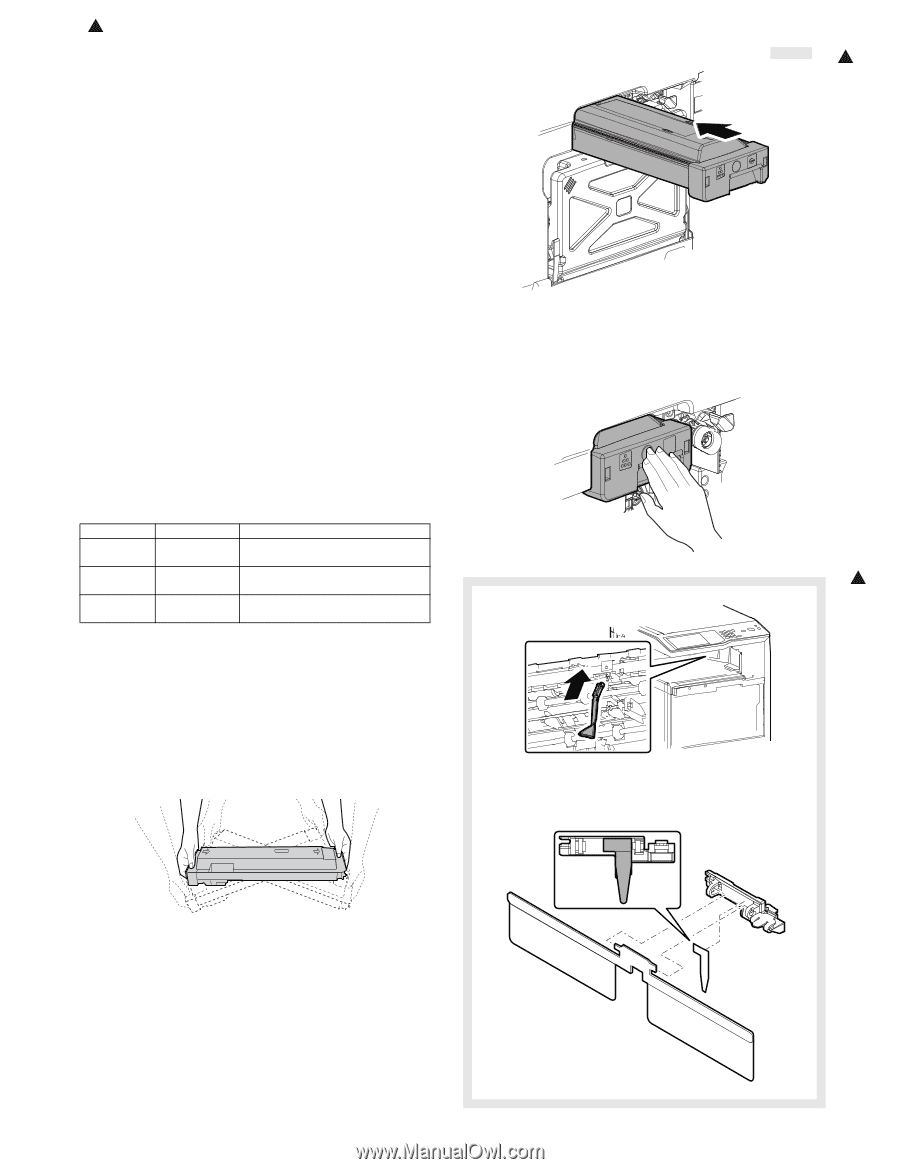
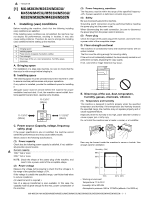
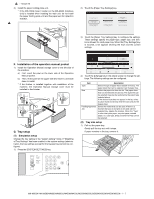
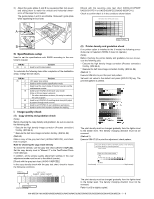
1 : '10/Jun/18 C. Toner density reference control level setting 1) Insert the power plug into a power outlet. With the front cabinet open, turn ON the power switch of the machine and the power switch on the operation panel. 2) With the front cabinet open, enter SIM 25-2. WARNING: Do not install the toner cartridge before completing the Toner density reference control level setting (SIM 25-2). 3) Close the front cabinet. 4) After completion of the adjustment of the toner density control reference value, insert the toner cartridge. 5) When [EXECUTE] key is pressed, it is highlighted. The devel- oping roller rotates, and the toner density sensor detects toner density, and the output value is displayed. The above operation is executed for 3 minutes, and the average value of the toner density sensor detection level is set (saved) as the reference toner density control value. When the reference toner density control adjustment operation is completed, [EXECUTE] key returns to normal from highlight. This makes known about whether the adjustment operation is completed or not. 6) Press the CA key to exit the simulation. NOTE: If the operation is interrupted within 3 minutes, the adjustment result is not reflected. When [EXECUTE] key is pressed during rotation, the operation is stopped and [EXECUTE] key returns to the normal display. If [EE-EU] or [EE-EL] is displayed, setting of the reference toner density control value is not completed normally. Error display EE-EL EE-EU EE-EC Content EL abnormality EU abnormality EU abnormality Details of content Sensor output level less than 67, or sensor control voltage level over 197 Sensor output level over 154, or sensor control voltage level less than 49 Sensor output level less than 95, or sensor control voltage level over 105 NOTE: When not replacing the developer, do not execute SIM252. Only execute SIM 25-2 when replacing the Developer. SIM 25-2 should only be run immediately after installing new DV material. Toner Concentration Reference Control Level Setting will be incorrect if SIM 25-2 is performed at any other time. D. Install toner cartridge 1) Shake the toner cartridge several times. 2) Open the front cabinet, and insert the toner cartridge slowly. 1 * Do not forcibly insert the toner cartridge. Keep holding the cartridge and completely insert it. * When the machine is transported with the developing unit removed, be sure to remove the toner cartridge. (If not, toner may be clogged.) 3) Insert the cartridge securely until it locks. E. Installation of the paper holding plate unit 1) Install the paper exit full detection actuator. 1 2) Install the paper fixing sheet and paper fixture to the paper fixture HCT. MX-M503N MX-M283N/M363N/M363U/M453N/M453U/M503N/M503U/M282N/M362N/M452N/M502N 1 - 6
-
 1
1 -
2
-
3
-
4
-
5
-
 6
6 -
 7
7 -
 8
8 -
 9
9 -
 10
10 -
 11
11 -
 12
12 -
 13
13 -
 14
14 -
 15
15 -
 16
16 -
17
-
18
-
19
-
20
-
21
-
22
-
23
-
24
-
25
-
26
-
27
-
28
-
29
-
30
-
31
-
32
-
33
-
34
-
35
-
36
-
37
-
38
-
39
-
40
-
41
-
42
-
43
-
44
-
45
-
46
-
47
-
48
-
49
-
50
-
51
-
52
-
53
-
54
-
55
-
56
-
57
-
58
-
59
-
60
-
61
-
62
-
63
-
64
-
65
-
66
-
67
-
68
-
69
-
70
-
71
-
72
-
73
-
74
-
75
-
76
-
77
-
78
-
79
-
80
-
81
-
82
-
83
-
84
-
85
-
86
-
87
-
88
-
89
-
90
-
91
-
92
-
93
-
94
-
95
-
96
-
97
-
98
-
99
-
100
-
101
-
102
-
103
-
104
-
105
-
106
-
107
-
108
-
109
-
110
-
111
-
112
-
113
-
114
-
115
-
116
-
117
 |
 |