Sharp MX-M363N Installation Manual - Page 85
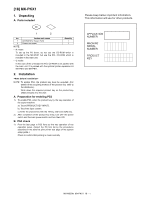
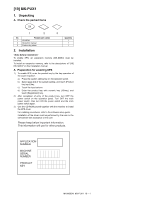
MX-PUX1, 1. Unpacking, A. Check the packed items, 2. Installation, A. Preparation for enabling XPS
 |
View all Sharp MX-M363N manuals
Add to My Manuals
Save this manual to your list of manuals |
Page 85 highlights
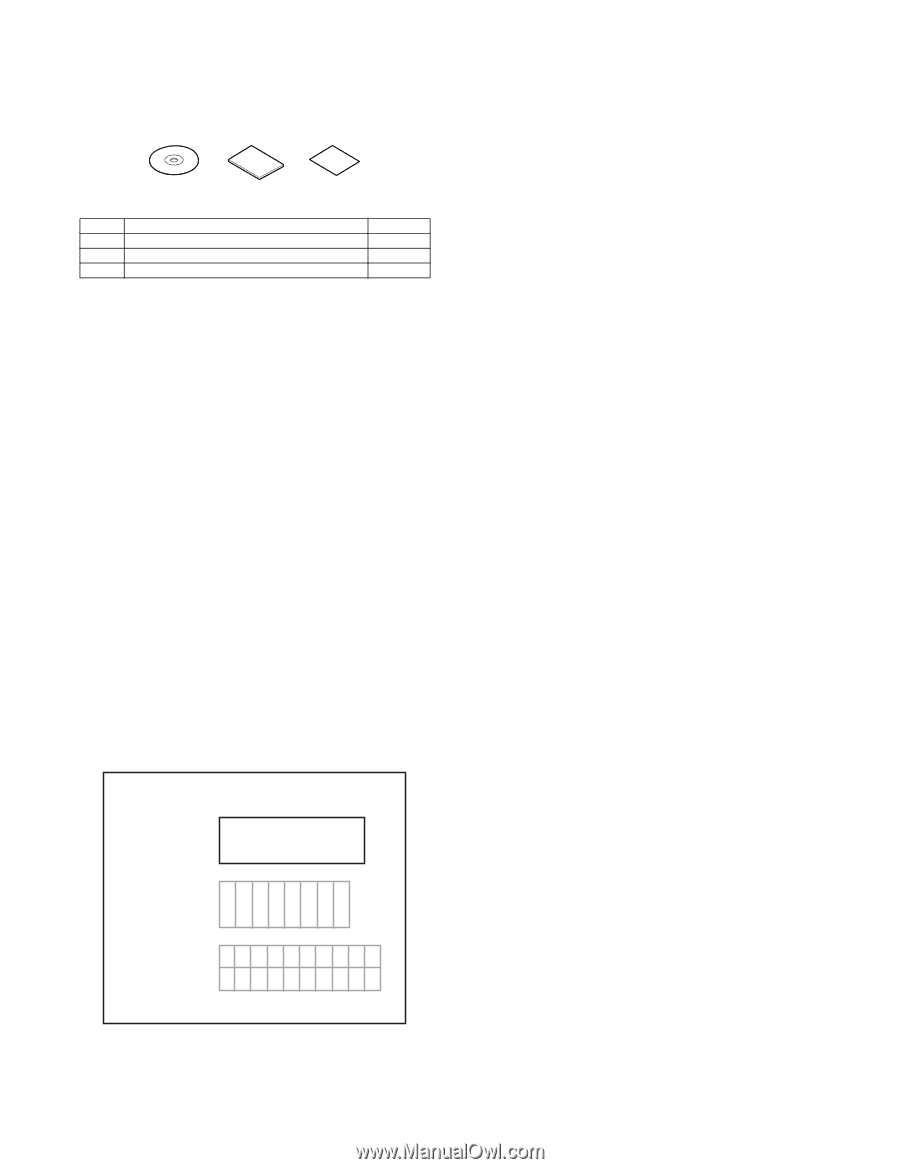
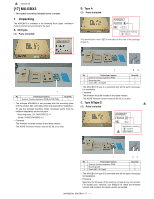
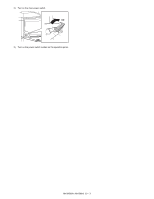
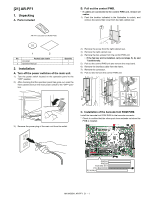
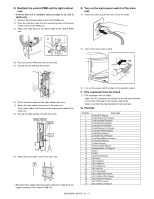
[M1X-9M]50M3NX-PUX1 1. Unpacking A. Check the packed items Service Manual 1 2 3 No. Packed part names 1 CD-ROM 2 Operation manual 3 Product key sheet Quantity 1 1 1 2. Installation To enable XPS, an expansion memory (MX-SMX3) must be installed. To install an expansion memory, refer to the descriptions of "[18] MX-SMX3" on this Installation manual. A. Preparation for enabling XPS 1) To enable XPS, enter the product key by the key operation of the copier machine. a) Press the system setting key on the operation panel. b) Select page 2/2 of the system setting, and touch [Product key input] key. c) Touch the input column. d) Enter the product key with numeric key (10-key), and touch [Registration] key. 2) After completion of entry of the product key, turn OFF the power switch on the operation panel. Turn OFF the main power switch, then turn ON the power switch and the main power switch again. 3) Use the CD-ROM packed together with the machine to install the XPS driver. For installing procedures, refer to the software setup guide. Installation of the driver must be performed by the user or the serviceman with assistance or the user. Please keep below important information. This information will use for other products. APPLICATION NUMBER MACHINE SERIAL NUMBER PRODUCT KEY MX-M503N MX-PUX1 19 - 1
-
 1
1 -
2
-
3
-
4
-
5
-
6
-
7
-
8
-
9
-
10
-
11
-
12
-
13
-
14
-
15
-
16
-
17
-
18
-
19
-
20
-
21
-
22
-
23
-
24
-
25
-
26
-
27
-
28
-
29
-
30
-
31
-
32
-
33
-
34
-
35
-
36
-
37
-
38
-
39
-
40
-
41
-
42
-
43
-
44
-
45
-
46
-
47
-
48
-
49
-
50
-
51
-
52
-
53
-
54
-
55
-
56
-
57
-
58
-
59
-
60
-
61
-
62
-
63
-
64
-
65
-
66
-
67
-
68
-
69
-
70
-
71
-
72
-
73
-
74
-
75
-
76
-
77
-
78
-
79
-
 80
80 -
 81
81 -
 82
82 -
 83
83 -
 84
84 -
 85
85 -
 86
86 -
 87
87 -
 88
88 -
 89
89 -
 90
90 -
91
-
92
-
93
-
94
-
95
-
96
-
97
-
98
-
99
-
100
-
101
-
102
-
103
-
104
-
105
-
106
-
107
-
108
-
109
-
110
-
111
-
112
-
113
-
114
-
115
-
116
-
117
 |
 |