Sharp MX-M363N Installation Manual - Page 84
MX-PKX1, 1. Unpacking, A. Parts included, 2. Installation, A. Preparation for enabling PS3, B. PS3
 |
View all Sharp MX-M363N manuals
Add to My Manuals
Save this manual to your list of manuals |
Page 84 highlights
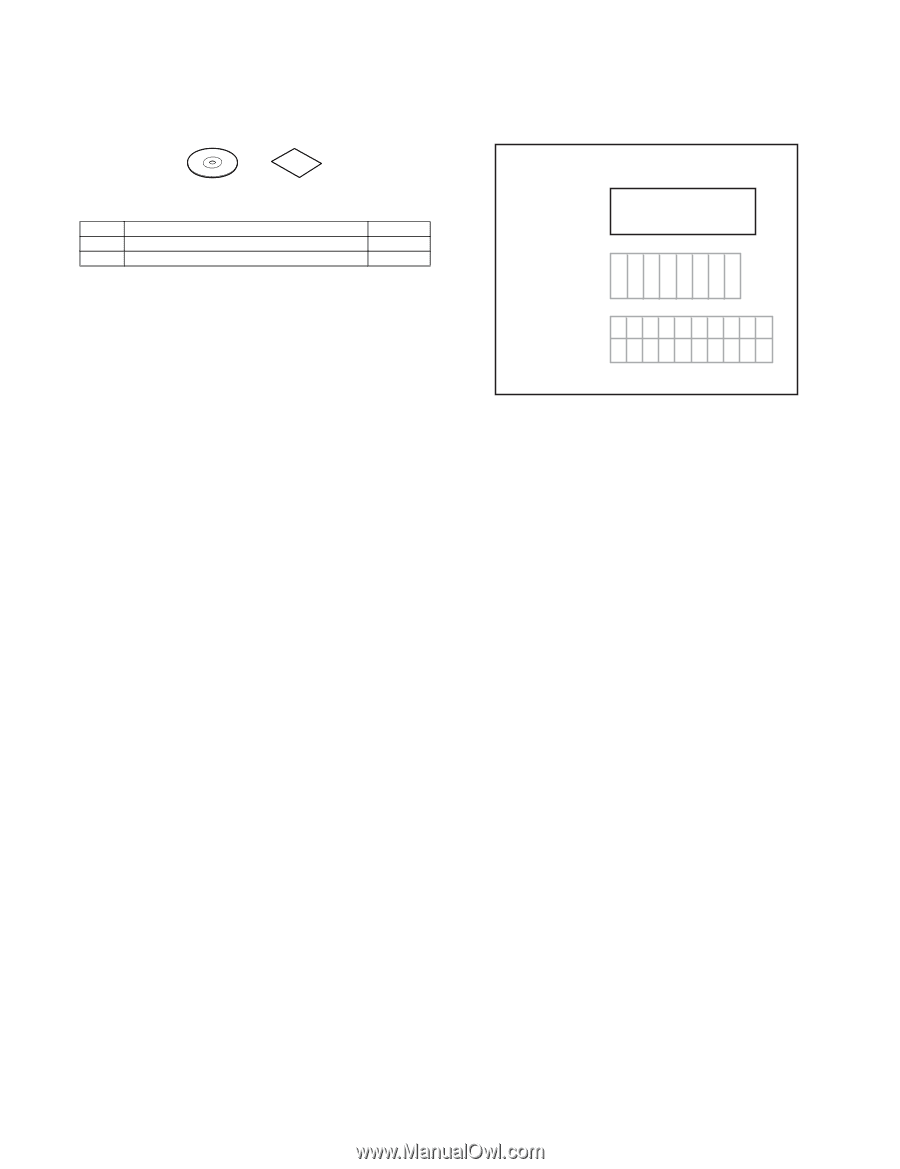
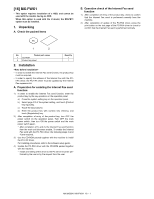
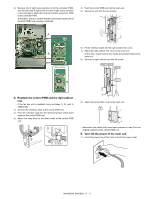
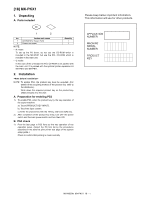
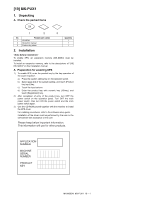
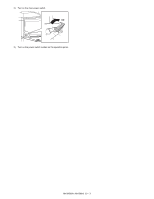
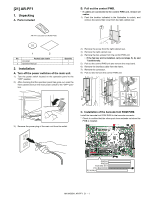
M[1X-8M]50M3NX-PKX1 1. Unpacking A. Parts included Service Manual Please keep below important information. This information will use for other products. 1 2 No. Packed part names 1 CD-ROM (For Screen Font) 2 Product key sheet Quantity 1 1 NOTE: • N model To set up the PS driver, do not use the CD-ROM which is included in the MX-PKX1 but use the PCL CD-ROM which is included in the main unit. • U model In the case of the U model, the PCL CD ROM is not packed with the main unit. It is packed with the optional printer expansion kit MX-PB10 and MX-PB11. 2. Installation NOTE: To enable PS3, the product key must be acquired. (For details of the acquiring method of the product key, refer to the distributor.) Write down the acquired product key on the product key sheet and pass it to the user. A. Preparation for enabling PS3 1) To enable PS3, enter the product key by the key operation of the copier machine. a) Touch [PRODUCT KEY INPUT]. b) Touch the input column. c) Enter the product key with the 10-key, and touch [OK] key. 2) After completion of the product key entry, turn OFF the power switch and the main power switch and turn them ON. B. PS3 check 1) Print the test page in PS3 fonts by the key operation of the operation panel. (Select the PS font list by the procedures described in the data list print printer test page of the system setup guide.) Check to confirm that printing is made normally. APPLICATION NUMBER MACHINE SERIAL NUMBER PRODUCT KEY MX-M503N MX-PKX1 18 - 1
-
 1
1 -
2
-
3
-
4
-
5
-
6
-
7
-
8
-
9
-
10
-
11
-
12
-
13
-
14
-
15
-
16
-
17
-
18
-
19
-
20
-
21
-
22
-
23
-
24
-
25
-
26
-
27
-
28
-
29
-
30
-
31
-
32
-
33
-
34
-
35
-
36
-
37
-
38
-
39
-
40
-
41
-
42
-
43
-
44
-
45
-
46
-
47
-
48
-
49
-
50
-
51
-
52
-
53
-
54
-
55
-
56
-
57
-
58
-
59
-
60
-
61
-
62
-
63
-
64
-
65
-
66
-
67
-
68
-
69
-
70
-
71
-
72
-
73
-
74
-
75
-
76
-
77
-
78
-
 79
79 -
 80
80 -
 81
81 -
 82
82 -
 83
83 -
 84
84 -
 85
85 -
 86
86 -
 87
87 -
 88
88 -
 89
89 -
90
-
91
-
92
-
93
-
94
-
95
-
96
-
97
-
98
-
99
-
100
-
101
-
102
-
103
-
104
-
105
-
106
-
107
-
108
-
109
-
110
-
111
-
112
-
113
-
114
-
115
-
116
-
117
 |
 |