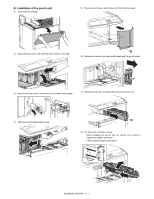
Sharp MX-M363N Installation Manual - Page 36
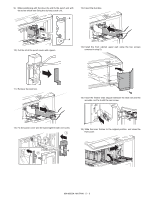
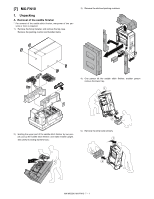
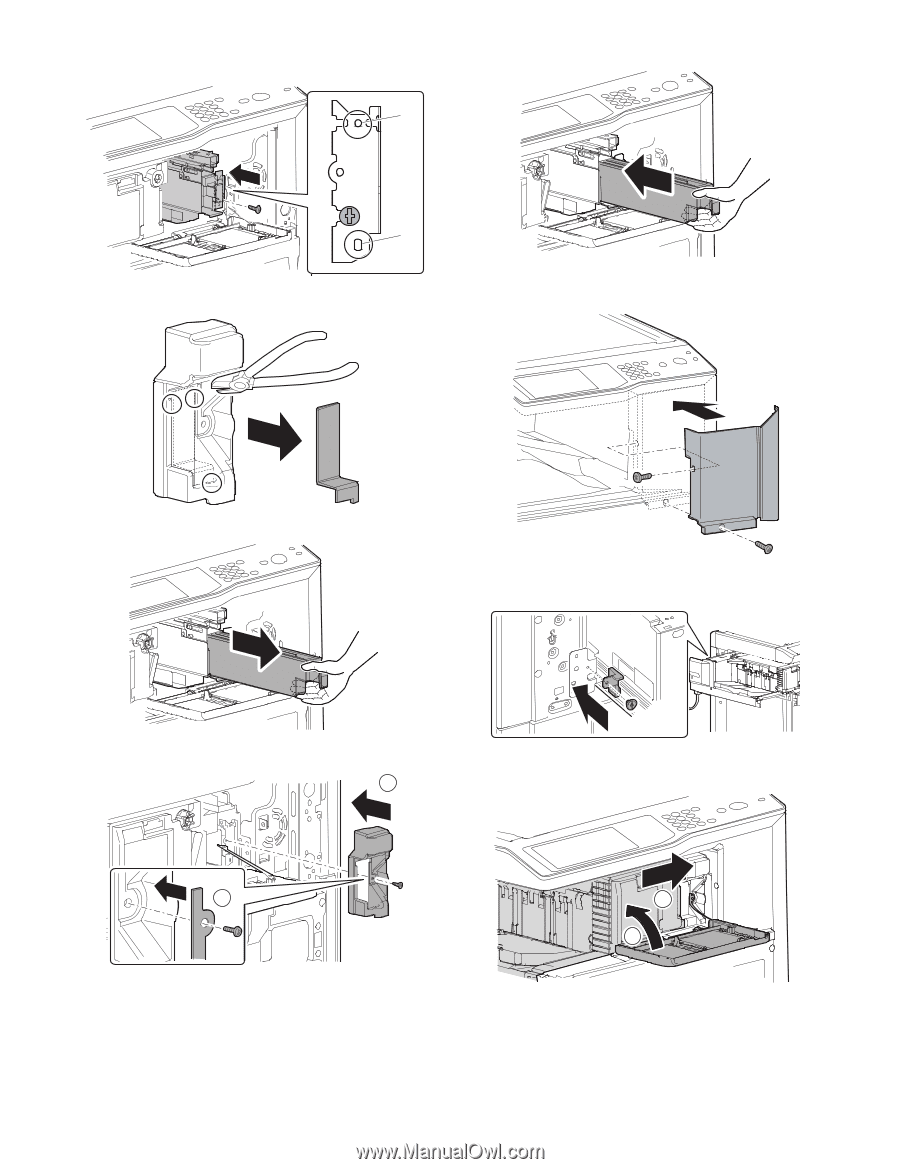
Fix the punch cover and the band together with one screw., Remove the dust box.
 |
View all Sharp MX-M363N manuals
Add to My Manuals
Save this manual to your list of manuals |
Page 36 highlights
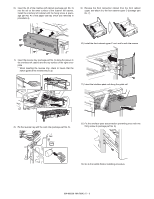
9) Make positioning with the dove (A) and fix the punch unit with the screw which was fixing the dummy punch unit. A 13) Insert the dust box. 10) Cut the lid of the punch cover with nippers. A 14) Install the front cabinet upper part using the two screws removed in step 5). 11) Remove the dust box. 15) Insert the finisher slide stopper between the slide rail and the accuride, and fix it with the coin screw. 12) Fix the punch cover and the band together with one screw. 1 16) Slide the inner finisher to the original position, and close the front cover. 2 1 2 MX-M503N MX-PNX1 5 - 3
-
 1
1 -
2
-
3
-
4
-
5
-
6
-
7
-
8
-
9
-
10
-
11
-
12
-
13
-
14
-
15
-
16
-
17
-
18
-
19
-
20
-
21
-
22
-
23
-
24
-
25
-
26
-
27
-
28
-
29
-
30
-
 31
31 -
 32
32 -
 33
33 -
 34
34 -
 35
35 -
 36
36 -
 37
37 -
 38
38 -
 39
39 -
 40
40 -
 41
41 -
42
-
43
-
44
-
45
-
46
-
47
-
48
-
49
-
50
-
51
-
52
-
53
-
54
-
55
-
56
-
57
-
58
-
59
-
60
-
61
-
62
-
63
-
64
-
65
-
66
-
67
-
68
-
69
-
70
-
71
-
72
-
73
-
74
-
75
-
76
-
77
-
78
-
79
-
80
-
81
-
82
-
83
-
84
-
85
-
86
-
87
-
88
-
89
-
90
-
91
-
92
-
93
-
94
-
95
-
96
-
97
-
98
-
99
-
100
-
101
-
102
-
103
-
104
-
105
-
106
-
107
-
108
-
109
-
110
-
111
-
112
-
113
-
114
-
115
-
116
-
117
 |
 |
MX-M503N
MX-PNX1
5 – 3
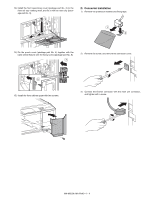
9)
Make positioning with the dove (A) and fix the punch unit with
the screw which was fixing the dummy punch unit.
10)
Cut the lid of the punch cover with nippers.
11)
Remove the dust box.
12)
Fix the punch cover and the band together with one screw.
13)
Insert the dust box.
14) Install the front cabinet upper part using the two screws
removed in step 5).
15)
Insert the finisher slide stopper between the slide rail and the
accuride, and fix it with the coin screw.
16)
Slide the inner finisher to the original position, and close the
front cover.
A
A
1
2
2
1