Sharp MX-M363N Installation Manual - Page 98
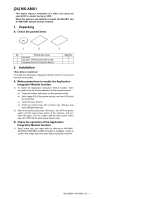
MX-AMX1, 1. Unpacking, A. Check the packed items, 2. Installation, A. Make preparations to enable
 |
View all Sharp MX-M363N manuals
Add to My Manuals
Save this manual to your list of manuals |
Page 98 highlights
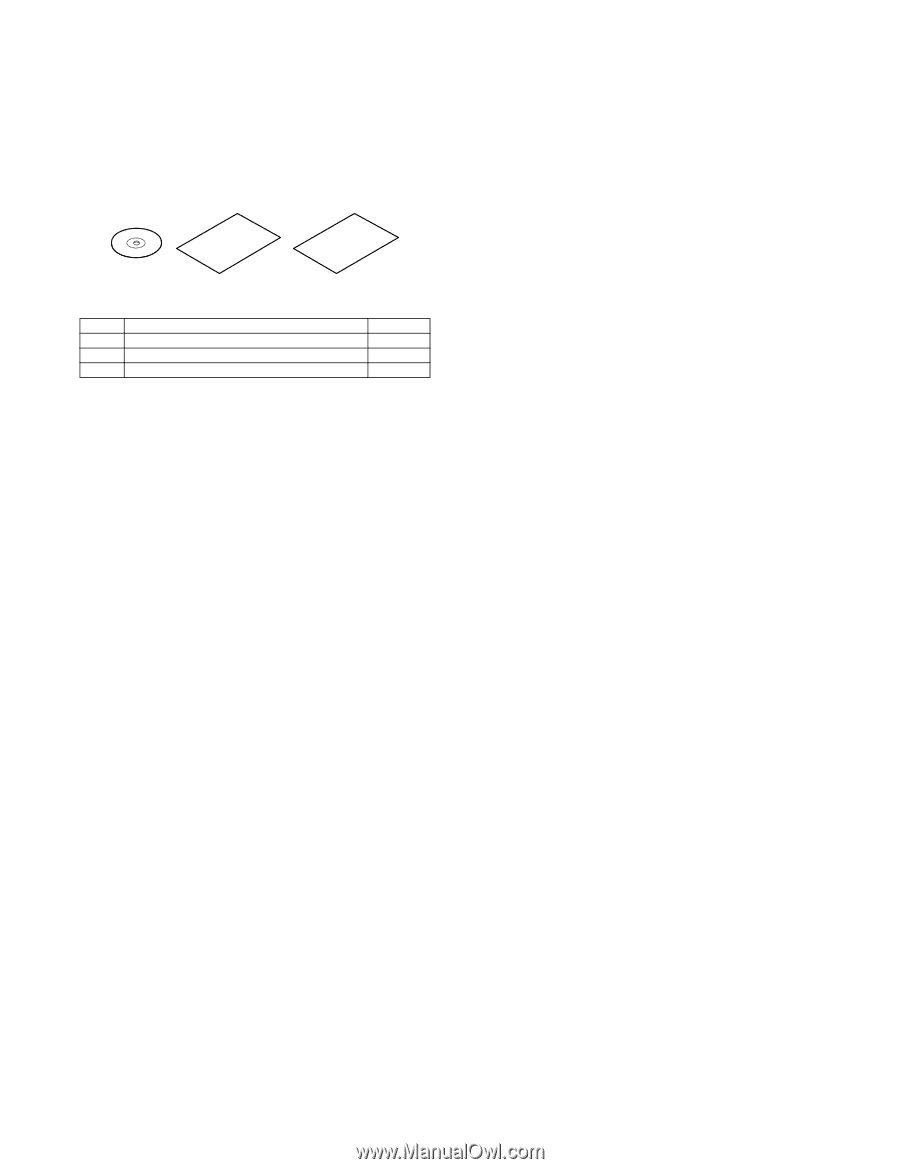
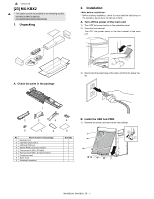
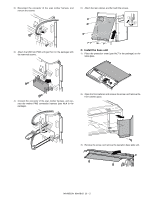
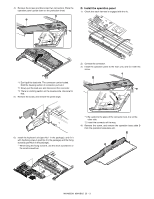
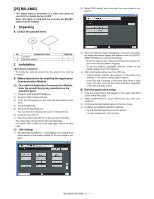
[M2X-4M]50M3NX-AMX1 * This option requires installation of a HDD, and cannot be used with the models having no HDD. When this option is used with the U model, the MX-PB11 and the MX-NSX1 options must be installed. 1. Unpacking A. Check the packed items Service Manual 1 2 3 No. Packed part names 1 CD-ROM 2 MX-AMX1 GETTING STARTED GUIDE 3 Sharpdesk license kit Operation Manual Quantity 2 1 1 2. Installation To enable the Application Integration Module function, the product key must be acquired. A. Make preparations to enable the Application Integration Module function. 1) To enable the Application Integration Module function, enter the product key by the key operation of the operation panel. a) Press the system setting key on the operation panel. b) Select page 2/2 of the system setting, and touch [Product key input] key. c) Touch the input column. d) Enter the product key with numeric key (10-key), and touch [Registration] key. 2) After entering the product key information, turn OFF the power switch and the main power switch of the machine, and turn them ON again. (For the models with the main power switch only, turn OFF/ON the main power switch only.) B. Check the operation of the Application Integration Module function. 1) Send image data and meta data by referring to MX-AMX1 GETTING STARTED GUIDE (included in package). Check to confirm that image data and meta data are properly received. MX-M503N MX-AMX1 24 - 1
-
 1
1 -
2
-
3
-
4
-
5
-
6
-
7
-
8
-
9
-
10
-
11
-
12
-
13
-
14
-
15
-
16
-
17
-
18
-
19
-
20
-
21
-
22
-
23
-
24
-
25
-
26
-
27
-
28
-
29
-
30
-
31
-
32
-
33
-
34
-
35
-
36
-
37
-
38
-
39
-
40
-
41
-
42
-
43
-
44
-
45
-
46
-
47
-
48
-
49
-
50
-
51
-
52
-
53
-
54
-
55
-
56
-
57
-
58
-
59
-
60
-
61
-
62
-
63
-
64
-
65
-
66
-
67
-
68
-
69
-
70
-
71
-
72
-
73
-
74
-
75
-
76
-
77
-
78
-
79
-
80
-
81
-
82
-
83
-
84
-
85
-
86
-
87
-
88
-
89
-
90
-
91
-
92
-
 93
93 -
 94
94 -
 95
95 -
 96
96 -
 97
97 -
 98
98 -
 99
99 -
 100
100 -
 101
101 -
 102
102 -
 103
103 -
104
-
105
-
106
-
107
-
108
-
109
-
110
-
111
-
112
-
113
-
114
-
115
-
116
-
117
 |
 |