Dell PowerVault TL4000 Dell Model TL2000/TL4000 Tape Library- User's Guide - Page 215
as shown in each foot into one of the six areas
 |
View all Dell PowerVault TL4000 manuals
Add to My Manuals
Save this manual to your list of manuals |
Page 215 highlights
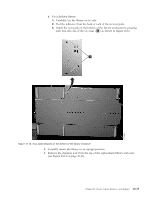
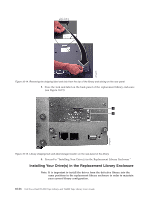
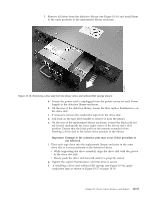
b. For a desktop library: 1) Carefully, lay the library on its side. 2) Peel the adhesive from the back of each of the six foot pads. 3) Install the foot pads on the bottom of the library enclosure by pressing each foot into one of the six areas ( 1 ) as shown in Figure 10-13. 1 Figure 10-13. Foot pads installed on the bottom of the library enclosure 3. Carefully return the library to an upright position. 4. Remove the shipping lock from the top of the replacement library enclosure (see Figure 10-14 on page 10-16). Chapter 10. Check, Adjust, Remove, and Replace 10-15 a77ug085
-
 1
1 -
2
-
3
-
4
-
5
-
6
-
7
-
8
-
9
-
10
-
11
-
12
-
13
-
14
-
15
-
16
-
17
-
18
-
19
-
20
-
21
-
22
-
23
-
24
-
25
-
26
-
27
-
28
-
29
-
30
-
31
-
32
-
33
-
34
-
35
-
36
-
37
-
38
-
39
-
40
-
41
-
42
-
43
-
44
-
45
-
46
-
47
-
48
-
49
-
50
-
51
-
52
-
53
-
54
-
55
-
56
-
57
-
58
-
59
-
60
-
61
-
62
-
63
-
64
-
65
-
66
-
67
-
68
-
69
-
70
-
71
-
72
-
73
-
74
-
75
-
76
-
77
-
78
-
79
-
80
-
81
-
82
-
83
-
84
-
85
-
86
-
87
-
88
-
89
-
90
-
91
-
92
-
93
-
94
-
95
-
96
-
97
-
98
-
99
-
100
-
101
-
102
-
103
-
104
-
105
-
106
-
107
-
108
-
109
-
110
-
111
-
112
-
113
-
114
-
115
-
116
-
117
-
118
-
119
-
120
-
121
-
122
-
123
-
124
-
125
-
126
-
127
-
128
-
129
-
130
-
131
-
132
-
133
-
134
-
135
-
136
-
137
-
138
-
139
-
140
-
141
-
142
-
143
-
144
-
145
-
146
-
147
-
148
-
149
-
150
-
151
-
152
-
153
-
154
-
155
-
156
-
157
-
158
-
159
-
160
-
161
-
162
-
163
-
164
-
165
-
166
-
167
-
168
-
169
-
170
-
171
-
172
-
173
-
174
-
175
-
176
-
177
-
178
-
179
-
180
-
181
-
182
-
183
-
184
-
185
-
186
-
187
-
188
-
189
-
190
-
191
-
192
-
193
-
194
-
195
-
196
-
197
-
198
-
199
-
200
-
201
-
202
-
203
-
204
-
205
-
206
-
207
-
208
-
209
-
 210
210 -
 211
211 -
 212
212 -
 213
213 -
 214
214 -
 215
215 -
 216
216 -
 217
217 -
 218
218 -
 219
219 -
 220
220 -
221
-
222
-
223
-
224
-
225
-
226
-
227
-
228
-
229
-
230
-
231
-
232
-
233
-
234
-
235
-
236
-
237
-
238
-
239
-
240
-
241
-
242
-
243
-
244
-
245
-
246
-
247
-
248
-
249
-
250
-
251
-
252
-
253
-
254
-
255
-
256
-
257
-
258
-
259
-
260
-
261
-
262
-
263
-
264
-
265
-
266
-
267
-
268
-
269
-
270
-
271
-
272
-
273
-
274
-
275
-
276
-
277
-
278
-
279
-
280
-
281
-
282
-
283
 |
 |
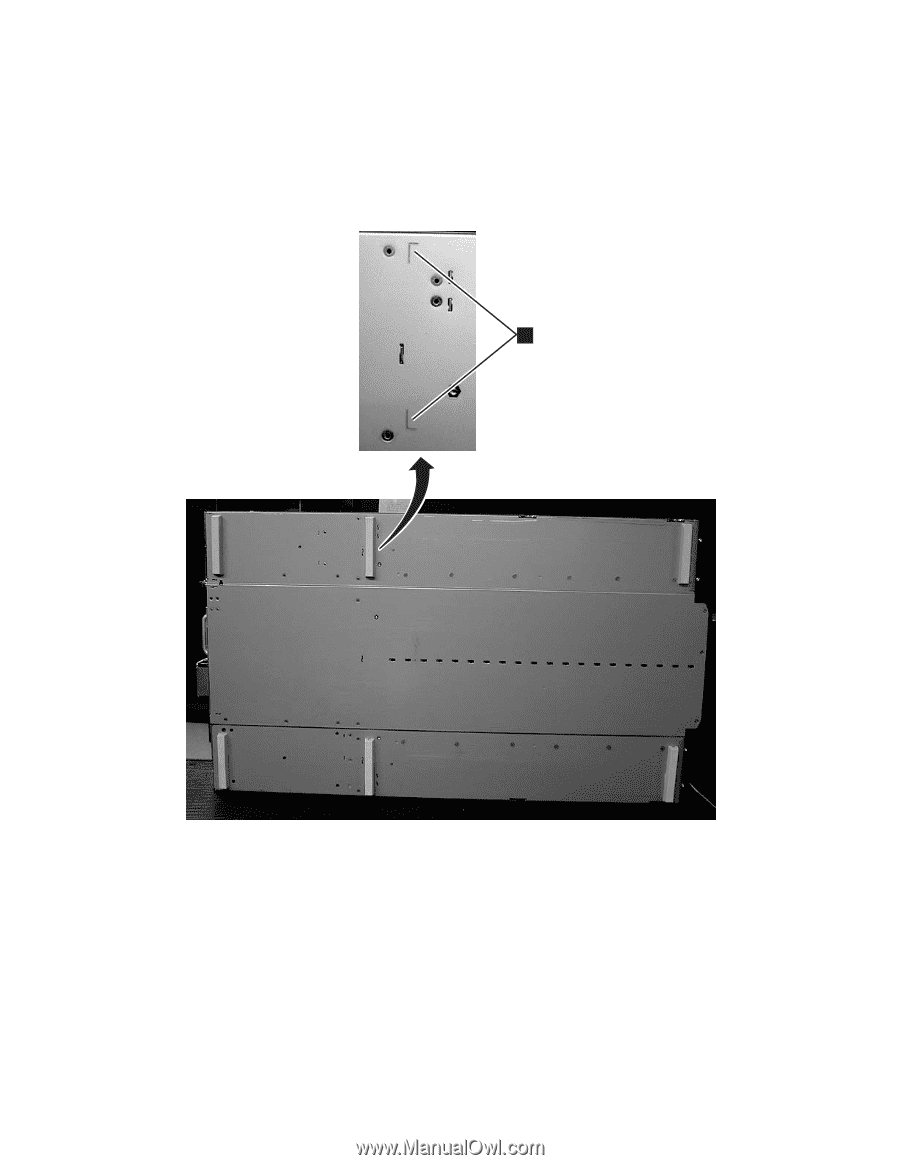
b.
For a desktop library:
1)
Carefully, lay the library on its side.
2)
Peel the adhesive from the back of each of the six foot pads.
3)
Install the foot pads on the bottom of the library enclosure by pressing
each foot into one of the six areas (
±1²
) as shown in Figure 10-13.
3.
Carefully return the library to an upright position.
4.
Remove the shipping lock from the top of the replacement library enclosure
(see Figure 10-14 on page 10-16).
1
a77ug085
Figure 10-13. Foot pads installed on the bottom of the library enclosure
Chapter 10. Check, Adjust, Remove, and Replace
10-15