HP Xw460c Administrator's Guide for Microsoft Windows on HP ProLiant Blade Wor - Page 69
Connecting from the client to the blade, Using Enterprise Directory
 |
View all HP Xw460c manuals
Add to My Manuals
Save this manual to your list of manuals |
Page 69 highlights
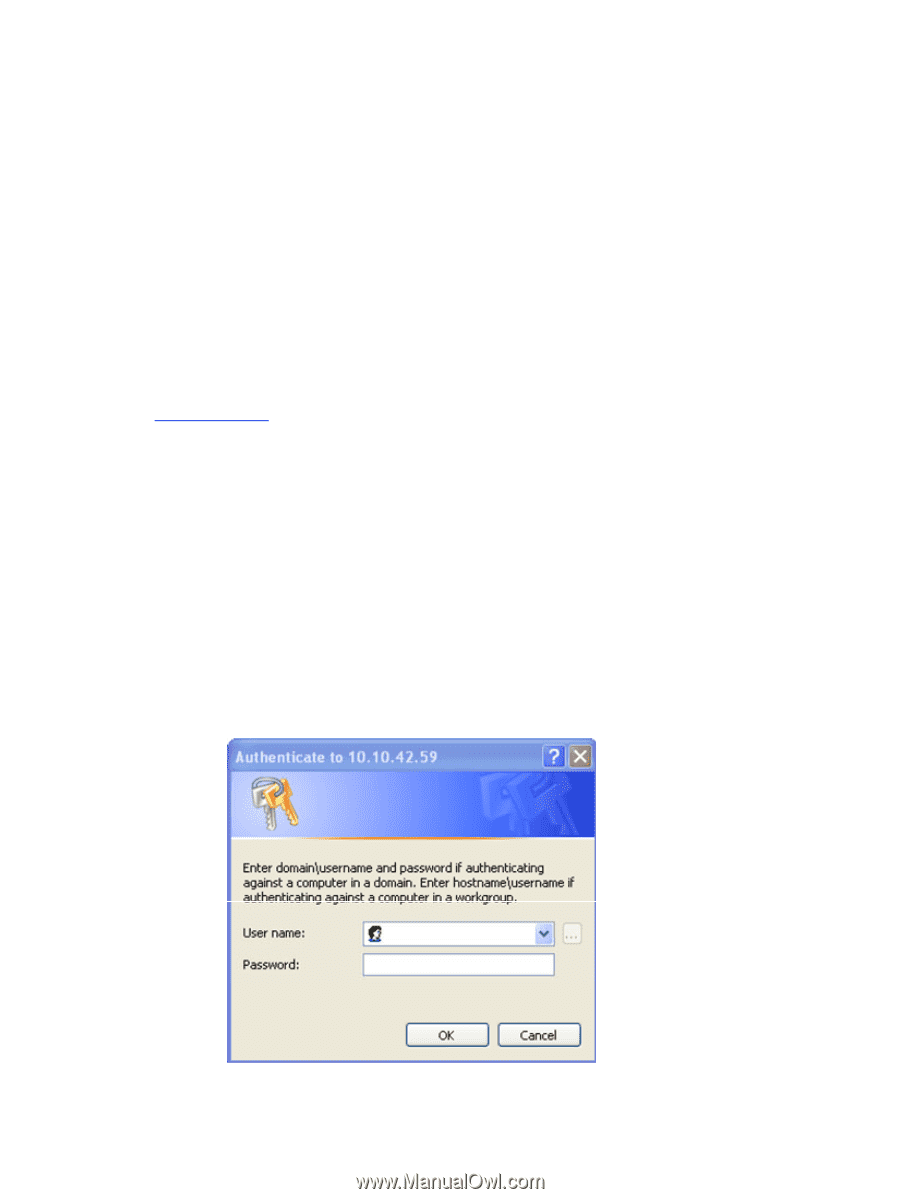
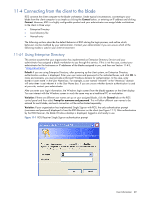
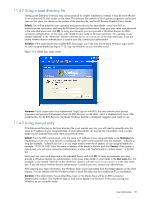
11-4 Connecting from the client to the blade RGS connects the client computer to the blade workstation. Under typical circumstances, connecting to your blade from the client computer is as simple as clicking the Connect button, or entering an IP address and clicking Connect. However, RGS is a highly configurable product and your administrator can assign blade workstations to the client in three ways: • Enterprise Directory • Local directory file • Manual entry The following sections describe the default behavior of RGS during the login process, and outline which behaviors can be modified by your administrator. Contact your administrator if you are unsure which of the following modes is used in your client environment. 11-4-1 Using Enterprise Directory This section assumes that your organization has implemented an Enterprise Directory Service and your administrator has assigned a blade workstation to you through this service. If this is not the case, contact your administrator for the hostnames or IP addresses of the blades assigned to you, and then see Section 11-4-3, "Using manual entry." Default: If you are using Enterprise Directory, after powering up the client system, an Enterprise Directory authentication window is displayed. Enter your user name and password in the indicated boxes, and click OK. In many environments, you must provide a Microsoft Windows domain for authentication. In this case, enter domain\username in the User Name box. For example, a user named "mhsmith" in the "Americas" domain will enter Americas\mhsmith in the User Name box. If you are unsure whether domain authentication is used at your site, contact your administrator. After you enter your login information, the Windows login screen (from the blade) appears on the client display. You can interact with the Windows screen in much the same way as a traditional PC or workstation. Variation: If there are different user names set up on your assigned blade, click the General tab on the RGS control panel and then select Prompt for username and password. This will allow different user names to be entered for each blade, and each connection will be authenticated separately. Variation: If your organization has implemented Single Sign-on with RGS, the only authentication prompt (username and password) displayed is from the RGS Receiver on the client (see Figure 11-1). After authentication by the RGS Receiver, the blade Windows desktop is displayed, logged-in and ready to use. Figure 11-1 RGS Receiver Single Sign-on authentication prompt User Information 69
-
 1
1 -
2
-
3
-
4
-
5
-
6
-
7
-
8
-
9
-
10
-
11
-
12
-
13
-
14
-
15
-
16
-
17
-
18
-
19
-
20
-
21
-
22
-
23
-
24
-
25
-
26
-
27
-
28
-
29
-
30
-
31
-
32
-
33
-
34
-
35
-
36
-
37
-
38
-
39
-
40
-
41
-
42
-
43
-
44
-
45
-
46
-
47
-
48
-
49
-
50
-
51
-
52
-
53
-
54
-
55
-
56
-
57
-
58
-
59
-
60
-
61
-
62
-
63
-
 64
64 -
 65
65 -
 66
66 -
 67
67 -
 68
68 -
 69
69 -
 70
70 -
 71
71 -
 72
72 -
 73
73 -
 74
74 -
75
-
76
-
77
-
78
-
79
-
80
-
81
-
82
-
83
-
84
-
85
-
86
-
87
-
88
-
89
-
90
-
91
-
92
-
93
-
94
-
95
-
96
-
97
-
98
-
99
-
100
-
101
-
102
-
103
-
104
-
105
 |
 |