Lantronix xPrintServer - Office User Guide - Page 41
Configuring Printers through Auto Discovery, Enabled, Disabled, Printer, Printers > List, Location
 |
View all Lantronix xPrintServer - Office manuals
Add to My Manuals
Save this manual to your list of manuals |
Page 41 highlights
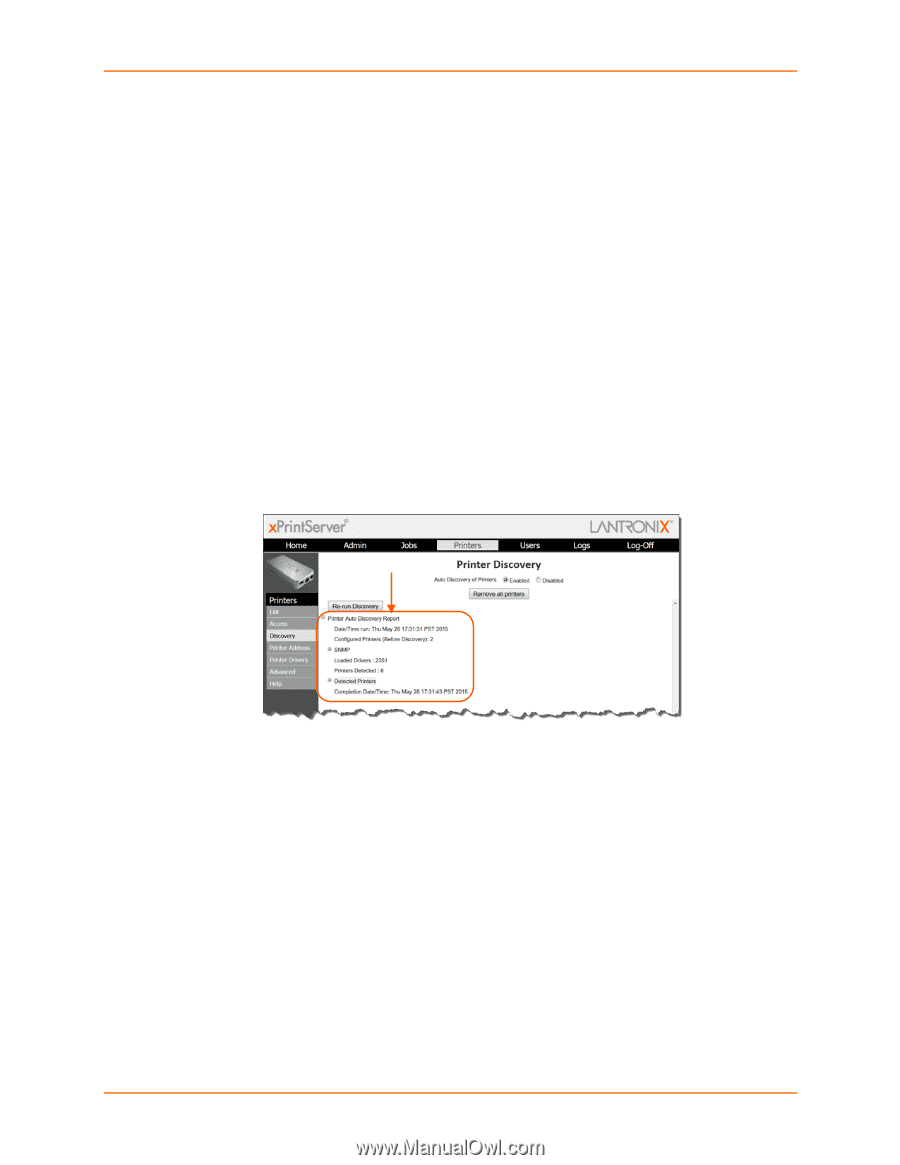
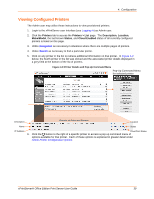
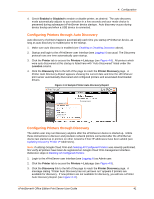
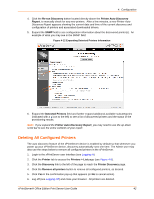
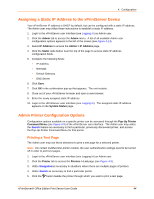
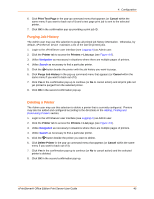
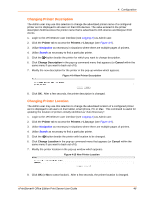
4: Configuration 4. Check Enabled or Disabled to enable or disable printer, as desired. The auto discovery mode automatically adjusts to your selection in a few seconds and your mode choice is preserved during subsequent xPrintServer device startups. Auto discovery occurs during device bootup and when a USB device is connected. Configuring Printers through Auto Discovery Auto discovery of printers happens automatically each time you startup xPrintServer device, as long as auto discovery is enabled prior to the startup. 1. Make sure auto discovery is enabled (see Enabling or Disabling Discovery above). 2. Startup and login to the xPrintServer user interface (see Logging In) as usual. The Discovery protocol runs one time automatically upon startup. 3. Click the Printer tab to access the Printers > List page (see Figure 4-9). All printers which were auto discovered at this startup is listed here with "Auto Discovered" listed under the Location column. 4. Click the Discovery link to the left of the page to reach the Printer Discovery page. A Printer Auto Discovery Report appears showing the current date and time the xPrintServer print server automatically discovered and configured printers and associated downloaded drivers. Figure 4-11 Sample Printer Auto Discovery Report Configuring Printers through Discovery The Admin user may run Discovery anytime after the xPrintServer device is started up. Utilize these instructions to discover and provision network printers connected after the xPrintServer device last started up or printers on other networks if their IP addresses have been added (see Updating Discovery Printer IP Addresses). Note: If utilizing Google Cloud Print and Deleting All Configured Printers was recently performed, first verify all printers have been de-registered on Google Cloud Print management interface. Reference steps in Deleting All Configured Printers. 1. Login to the xPrintServer user interface (see Logging In) as Admin user. 2. Click the Printer tab to access the Printers > List page (see Figure 4-9). 3. Click the Discovery link to the left of the page to reach the Printer Discovery page. A message stating "Printer Auto Discovery has not yet been run" appears if printers are available for discovery. If new printers are not available for discovery, you will see a Printer Auto Discovery Report (see Figure 4-11). xPrintServer® Office Edition Print Server User Guide 41
-
 1
1 -
2
-
3
-
4
-
5
-
6
-
7
-
8
-
9
-
10
-
11
-
12
-
13
-
14
-
15
-
16
-
17
-
18
-
19
-
20
-
21
-
22
-
23
-
24
-
25
-
26
-
27
-
28
-
29
-
30
-
31
-
32
-
33
-
34
-
35
-
 36
36 -
 37
37 -
 38
38 -
 39
39 -
 40
40 -
 41
41 -
 42
42 -
 43
43 -
 44
44 -
 45
45 -
 46
46 -
47
-
48
-
49
-
50
-
51
-
52
-
53
-
54
-
55
-
56
-
57
-
58
-
59
-
60
-
61
-
62
-
63
-
64
-
65
-
66
-
67
-
68
-
69
-
70
-
71
-
72
-
73
-
74
-
75
-
76
-
77
-
78
-
79
-
80
-
81
-
82
-
83
-
84
-
85
-
86
-
87
-
88
-
89
-
90
-
91
-
92
-
93
-
94
 |
 |